SDA Deployment
SDA LISP Roles
ITR – Ingress Tunnel Router – devices which accepts traffic from the client and looks at transmitting to the destination.
ETR – Egress Tunnel Router – device which transmits traffic to the client, this is where destination client is attached.
These above roles of LISP would be on Fabric Edge node.
Example of Ping (I am omitting the full lookup against Map Resolver and RLOC etc):
Client A —> Switch A (ITR) —> Switch B (ETR) —> Client B
Reply:
Client A <— Switch A (ETR) <— Switch B (ITR) <— Client B
If a node has both roles ITR and ETR, that Fabric Edge switch is referenced as xTR
(P – Proxy) PITR and PETR would be the Border node which communicates with destinations outside the fabric, Similarly to the last example, one border node can have both roles and can be referenced as PxTR.
Traffic example: Client A —> Switch A (ITR) — Border A (PITR) —> Server A
Reply: Client A <— Switch A (ETR) <— Border A (PETR) <— Server A
ESXI and VCenter Deployment
-: Z840 :-
Upgrade BIOS
Factory Reset BIOS
set controller mode to AHCI from RAID
enable Intel VTd under System Security section
-: ESXI DEPLOYMENT :-
VMware-VMvisor-Installer-7.0.0-15843807.x86_64
ESXi 7.0 keys
JJ2WR-25L9P-H71A8-6J20P-C0K3F
ESXI01.home.local
192.168.0.10
root
C0mplex30-
-: VCENTER DEPLOYMENT :-
Create following entries in host file
192.168.0.10 esxi01.home.local <<<<
192.168.0.11 vcenter.home.local <<<< This is checked from local machine when running VCSA setup to install vcenter, this check is different from vcenter A and PTR record lookup by installer, that is why DNS server on Windows server 2016 is needed
Bring up a winserver 2016 instance in eveng metal and configure DNS server on it
VMware-VCSA-all-7.0.0-16386292.iso
vCenter 7 keys
406DK-FWHEH-075K8-XAC06-0JH08
VCENTER.home.local
192.168.0.11
root
C0mplex30-
administrator@vsphere.local
C0mplex30-
Import vcenter Certificates in Installation station
Because we are deploying appliance through VA launcher script, we need to import certificates of vcenter into local computer trusted root certificate’s store, go to https://vCenter_FQDN/certs/download.zip, download ZIP and extract all the certs and import them


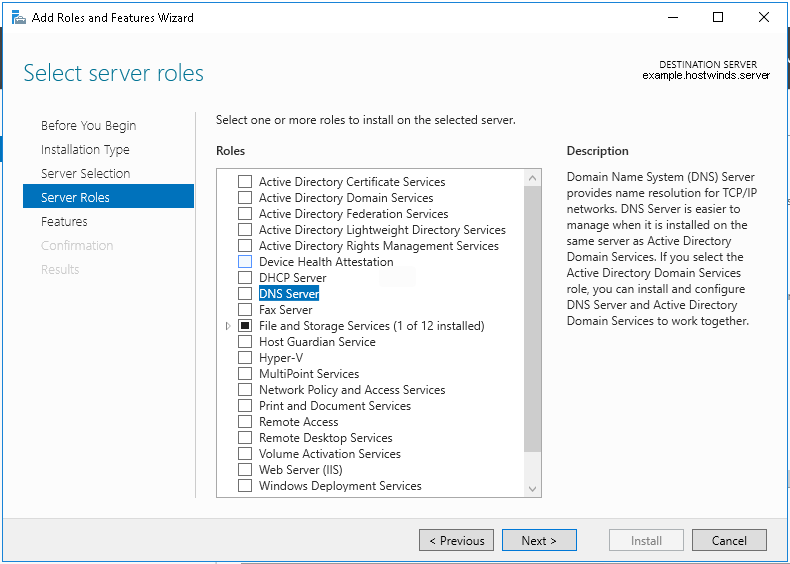
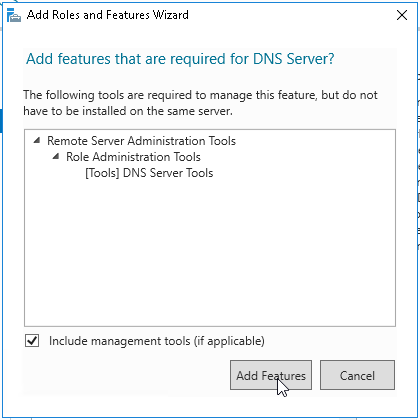
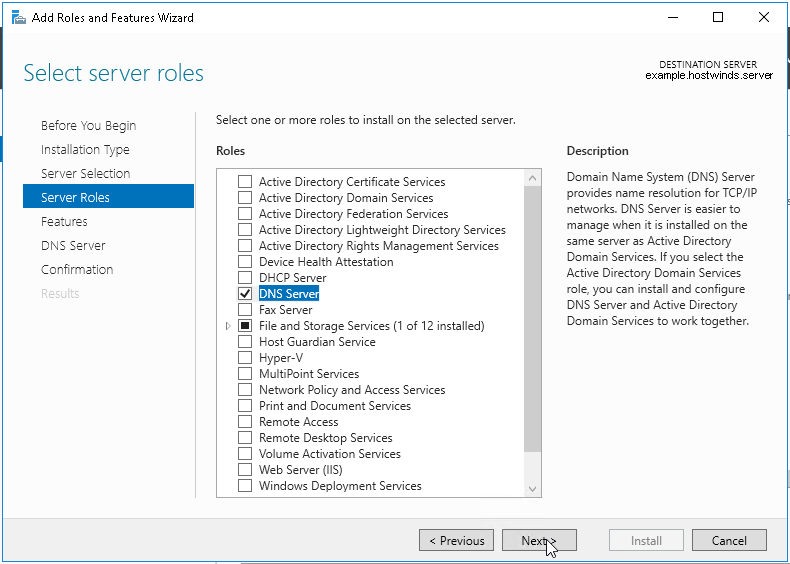
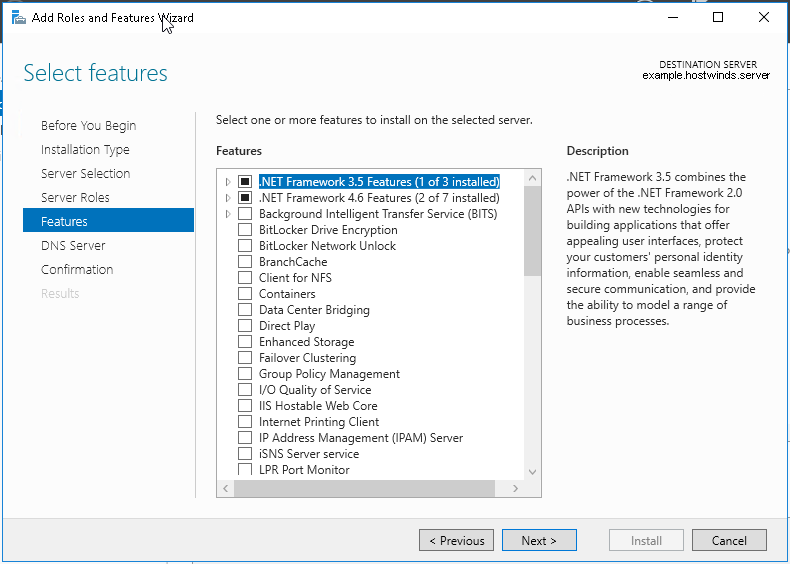
Windows Server DNS deployment


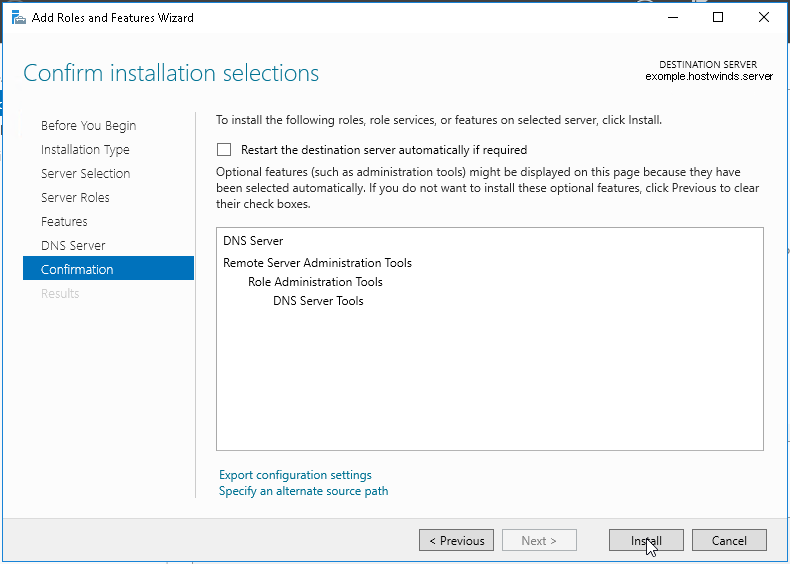
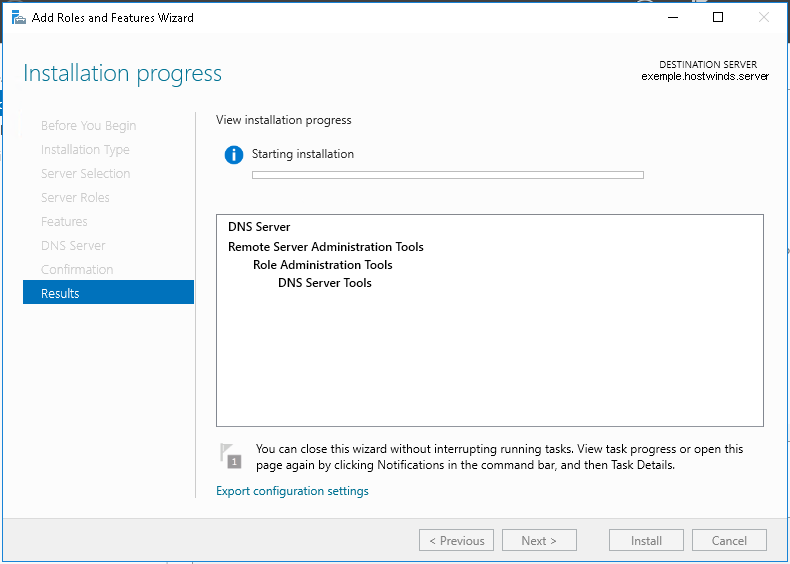
configure forward zone
configure reverse zone
create A record
vcenter.home.local 192.168.0.11
dnac.home.local 10.21.1.2
Windows 10 and VYOS deployment
Windows 10 VM
Create Windows 10 VM for VYOS deployment validation and internet access check
2 vCPUs
5GB RAM
25GB disk
admin/Test123
Pet name
dnac
City born in
dnac
City parents met
dnac
Assign only 192.168.0.200/24 and do not assign gateway 192.168.0.1
Disable IPv6 on the Windows VM interface
connect VM’s interface in vcenter
Go to Network folder and join the network
Share Downloads folder
copy wub and debloater to downloads folder
once all done then put network interface in DHCP again
VYOS deployment
2 CPUs
RAM 2 GB
4 GB Disk
! Install open-vm-tools on VY OS gateway

vyos@vy-gateway:~$ sudo vim /etc/apt/sources.list

! press esc to make sure we are in normal mode
! press i to go in insert mode

! enter first line
deb http://deb.debian.org/debian bullseye main contrib

! press escape
! enter ":wq"

vyos@vy-gateway:~$ sudo cat /etc/apt/sources.list
deb http://deb.debian.org/debian bullseye main contrib

! Update failed because of no DNS resolution
vyos@vy-gateway:~$ sudo apt update
Ign:1 http://deb.debian.org/debian bullseye InRelease
Ign:1 http://deb.debian.org/debian bullseye InRelease
Ign:1 http://deb.debian.org/debian bullseye InRelease
Err:1 http://deb.debian.org/debian bullseye InRelease
  System error resolving 'deb.debian.org:http' - getaddrinfo (16: Device or resource busy)
Reading package lists... Done
Building dependency tree... Done
Reading state information... Done
All packages are up to date.
W: Failed to fetch http://deb.debian.org/debian/dists/bullseye/InRelease  System error resolving 'deb.debian.org:http' - getaddrinfo (16: Device or resource busy)
W: Some index files failed to download. They have been ignored, or old ones used instead.

vyos@vy-gateway:~$ sudo bash

root@vy-gateway:/home/vyos# sudo bash -c 'cat > /etc/resolv.conf <<EOF
nameserver 8.8.8.8
nameserver 1.1.1.1
EOF'

root@vy-gateway:/home/vyos# cat /etc/resolv.conf
nameserver 8.8.8.8
nameserver 1.1.1.1

root@vy-gateway:/home/vyos# apt update
Get:1 http://deb.debian.org/debian bullseye InRelease [75.1 kB]
Get:2 http://deb.debian.org/debian bullseye/main amd64 Packages [8,066 kB]
Get:3 http://deb.debian.org/debian bullseye/main Translation-en [6,235 kB]
Get:4 http://deb.debian.org/debian bullseye/contrib amd64 Packages [50.4 kB]
Get:5 http://deb.debian.org/debian bullseye/contrib Translation-en [46.9 kB]
Fetched 14.5 MB in 4s (4,084 kB/s)
Reading package lists... Done
Building dependency tree... Done
Reading state information... Done
8 packages can be upgraded. Run 'apt list --upgradable' to see them.

! install should work now
root@vy-gateway:/home/vyos# apt install -y open-vm-tools
Reading package lists... Done
Building dependency tree... Done
Reading state information... Done
The following additional packages will be installed:
  libdrm-common libdrm2 libmspack0 libssl1.1 libxmlsec1 libxmlsec1-openssl
  libxslt1.1
Suggested packages:
  open-vm-tools-desktop cloud-init
Recommended packages:
  zerofree
The following NEW packages will be installed:
  libdrm-common libdrm2 libmspack0 libssl1.1 libxmlsec1 libxmlsec1-openssl
  libxslt1.1 open-vm-tools
0 upgraded, 8 newly installed, 0 to remove and 8 not upgraded.
Need to get 2,793 kB of archives.
After this operation, 8,598 kB of additional disk space will be used.
Get:1 http://deb.debian.org/debian bullseye/main amd64 libdrm-common all 2.4.104-1 [14.9 kB]
Get:2 http://deb.debian.org/debian bullseye/main amd64 libdrm2 amd64 2.4.104-1 [41.5 kB]
Get:3 http://deb.debian.org/debian bullseye/main amd64 libmspack0 amd64 0.10.1-2 [50.3 kB]
Get:4 http://deb.debian.org/debian bullseye/main amd64 libssl1.1 amd64 1.1.1w-0+deb11u1 [1,566 kB]
Get:5 http://deb.debian.org/debian bullseye/main amd64 libxslt1.1 amd64 1.1.34-4+deb11u1 [240 kB]
Get:6 http://deb.debian.org/debian bullseye/main amd64 libxmlsec1 amd64 1.2.31-1 [149 kB]
Get:7 http://deb.debian.org/debian bullseye/main amd64 libxmlsec1-openssl amd64 1.2.31-1 [100.0 kB]
Get:8 http://deb.debian.org/debian bullseye/main amd64 open-vm-tools amd64 2:11.2.5-2+deb11u3 [632 kB]
Fetched 2,793 kB in 0s (10.4 MB/s)
Preconfiguring packages ...
Selecting previously unselected package libdrm-common.
(Reading database ... 84389 files and directories currently installed.)
Preparing to unpack .../0-libdrm-common_2.4.104-1_all.deb ...
Unpacking libdrm-common (2.4.104-1) ...
Selecting previously unselected package libdrm2:amd64.
Preparing to unpack .../1-libdrm2_2.4.104-1_amd64.deb ...
Unpacking libdrm2:amd64 (2.4.104-1) ...
Selecting previously unselected package libmspack0:amd64.
Preparing to unpack .../2-libmspack0_0.10.1-2_amd64.deb ...
Unpacking libmspack0:amd64 (0.10.1-2) ...
Selecting previously unselected package libssl1.1:amd64.
Preparing to unpack .../3-libssl1.1_1.1.1w-0+deb11u1_amd64.deb ...
Unpacking libssl1.1:amd64 (1.1.1w-0+deb11u1) ...
Selecting previously unselected package libxslt1.1:amd64.
Preparing to unpack .../4-libxslt1.1_1.1.34-4+deb11u1_amd64.deb ...
Unpacking libxslt1.1:amd64 (1.1.34-4+deb11u1) ...
Selecting previously unselected package libxmlsec1:amd64.
Preparing to unpack .../5-libxmlsec1_1.2.31-1_amd64.deb ...
Unpacking libxmlsec1:amd64 (1.2.31-1) ...
Selecting previously unselected package libxmlsec1-openssl:amd64.
Preparing to unpack .../6-libxmlsec1-openssl_1.2.31-1_amd64.deb ...
Unpacking libxmlsec1-openssl:amd64 (1.2.31-1) ...
Selecting previously unselected package open-vm-tools.
Preparing to unpack .../7-open-vm-tools_2%3a11.2.5-2+deb11u3_amd64.deb ...
Unpacking open-vm-tools (2:11.2.5-2+deb11u3) ...
Setting up libssl1.1:amd64 (1.1.1w-0+deb11u1) ...
Setting up libmspack0:amd64 (0.10.1-2) ...
Setting up libxslt1.1:amd64 (1.1.34-4+deb11u1) ...
Setting up libxmlsec1:amd64 (1.2.31-1) ...
Setting up libdrm-common (2.4.104-1) ...
Setting up libxmlsec1-openssl:amd64 (1.2.31-1) ...
Setting up libdrm2:amd64 (2.4.104-1) ...
Setting up open-vm-tools (2:11.2.5-2+deb11u3) ...
Created symlink /etc/systemd/system/vmtoolsd.service → /lib/systemd/system/open-vm-tools.service.
Created symlink /etc/systemd/system/multi-user.target.wants/open-vm-tools.service → /lib/systemd/system/open-vm-tools.service.
Created symlink /etc/systemd/system/open-vm-tools.service.requires/vgauth.service → /lib/systemd/system/vgauth.service.
Processing triggers for libc-bin (2.36-9+deb12u10) ...
localepurge: Disk space freed:      0 KiB in /usr/share/locale
localepurge: Disk space freed:      0 KiB in /usr/share/man
localepurge: Disk space freed:      0 KiB in /usr/share/aptitude
localepurge: Disk space freed:      0 KiB in /usr/share/vim/vim90/lang

Total disk space freed by localepurge: 0 KiB

root@vy-gateway:/home/vyos#
vyos/C0mplex30
Install from live image
install image
show configuration
show configuration commands

configure
set interfaces ethernet eth0 address '192.168.0.12/24'
set interfaces ethernet eth0 description 'home'

set interfaces ethernet eth1 address '172.16.25.1/24'
set interfaces ethernet eth1 description 'mgmt'

set interfaces ethernet eth2 address '10.21.1.1/24'
set interfaces ethernet eth2 description 'data'


show interface ethernet
show interface ethernet eth0
show interface ethernet eth0 physical

set protocols static route 0.0.0.0/0 next-hop 192.168.0.1 distance '1'
set service ssh port '22'
set system host-name 'vy-gateway'

commit
save
vcenter
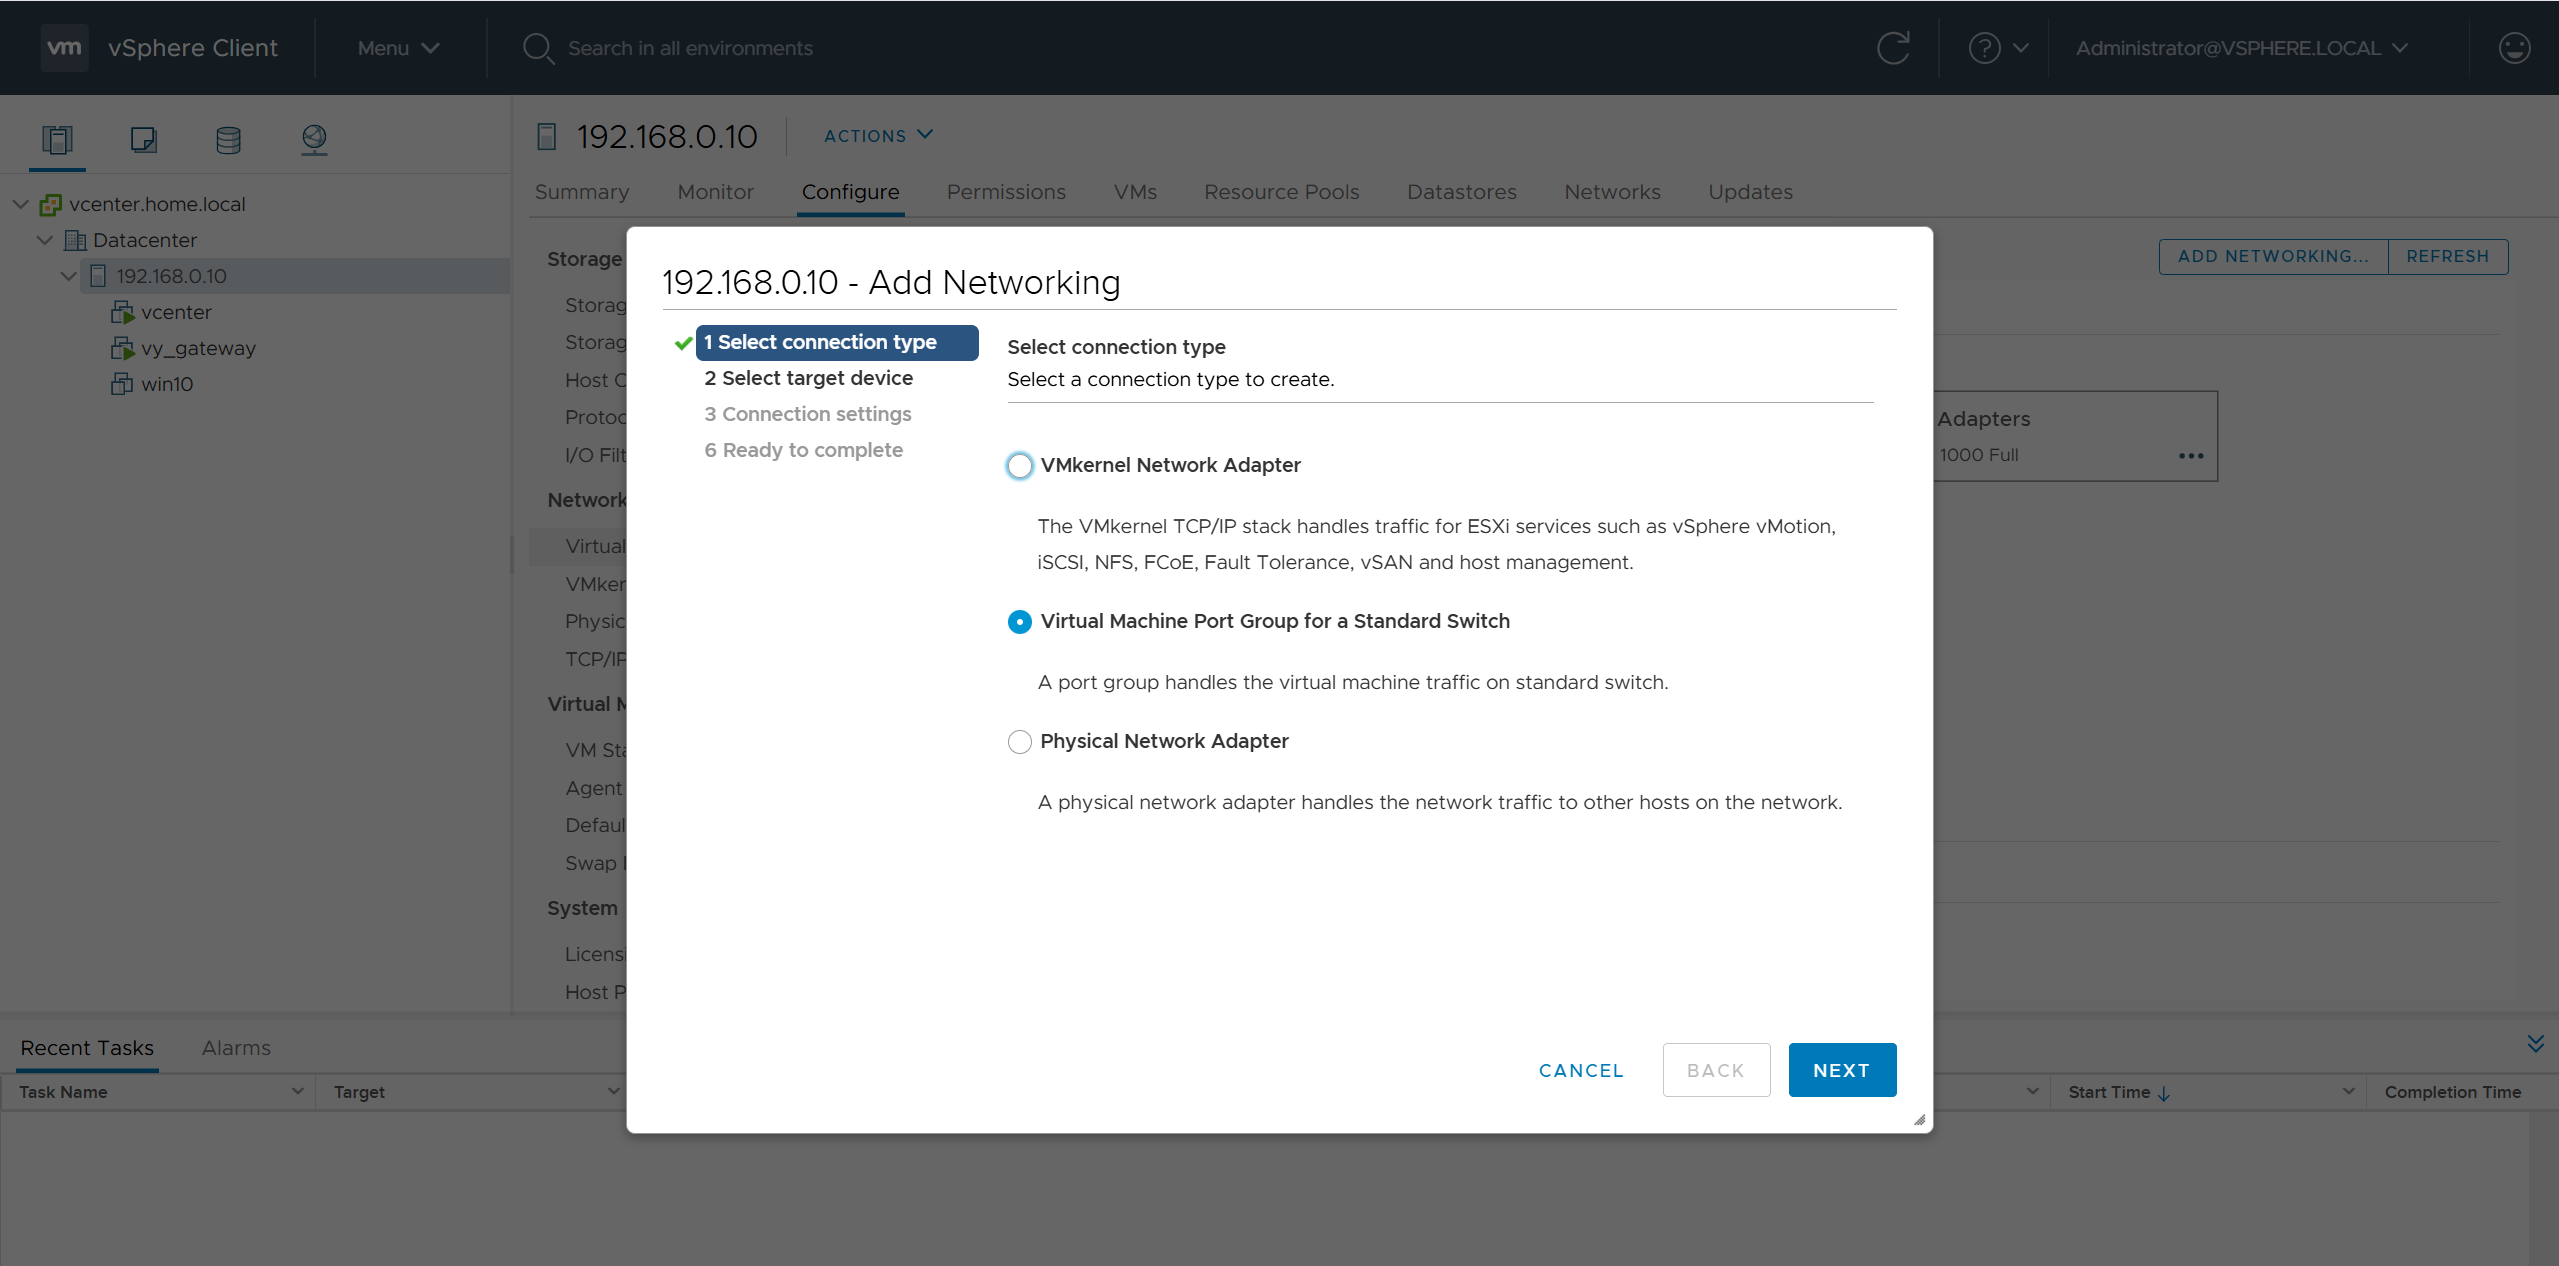
edit host and create a new standard switch and call it mgmt
edit host and create a new standard switch and call it data
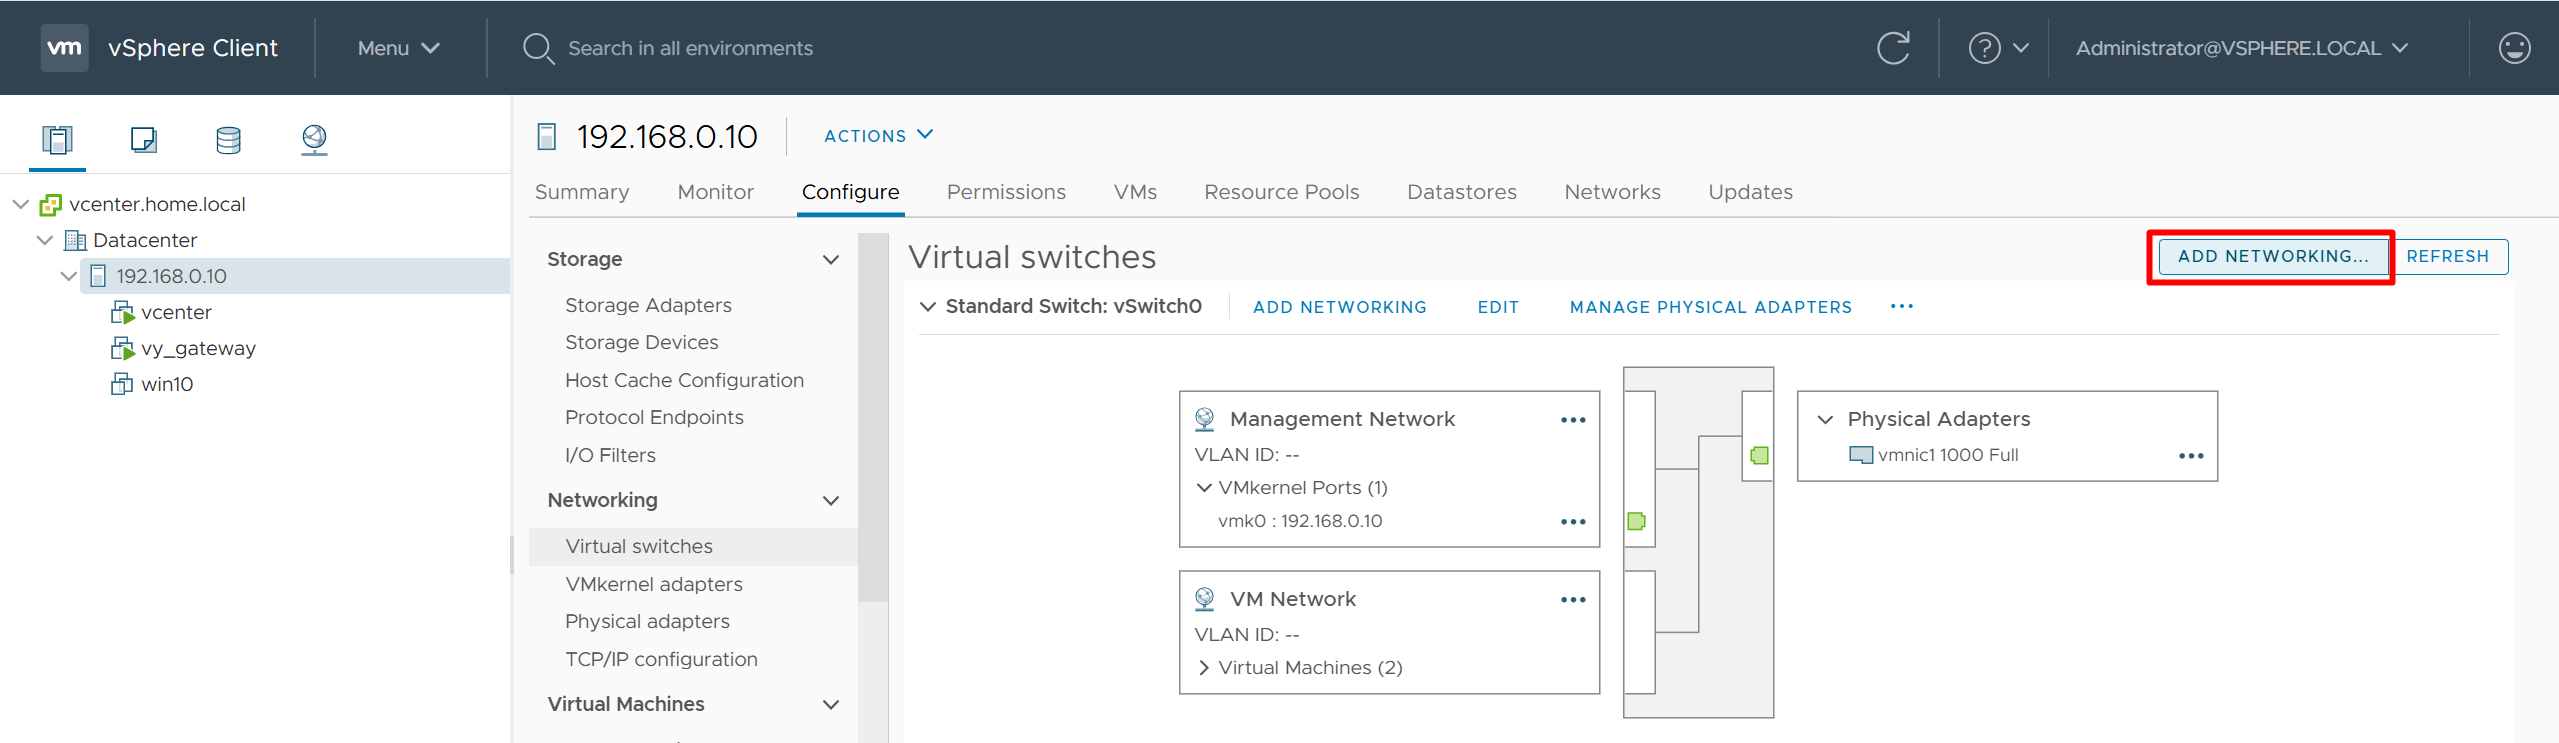
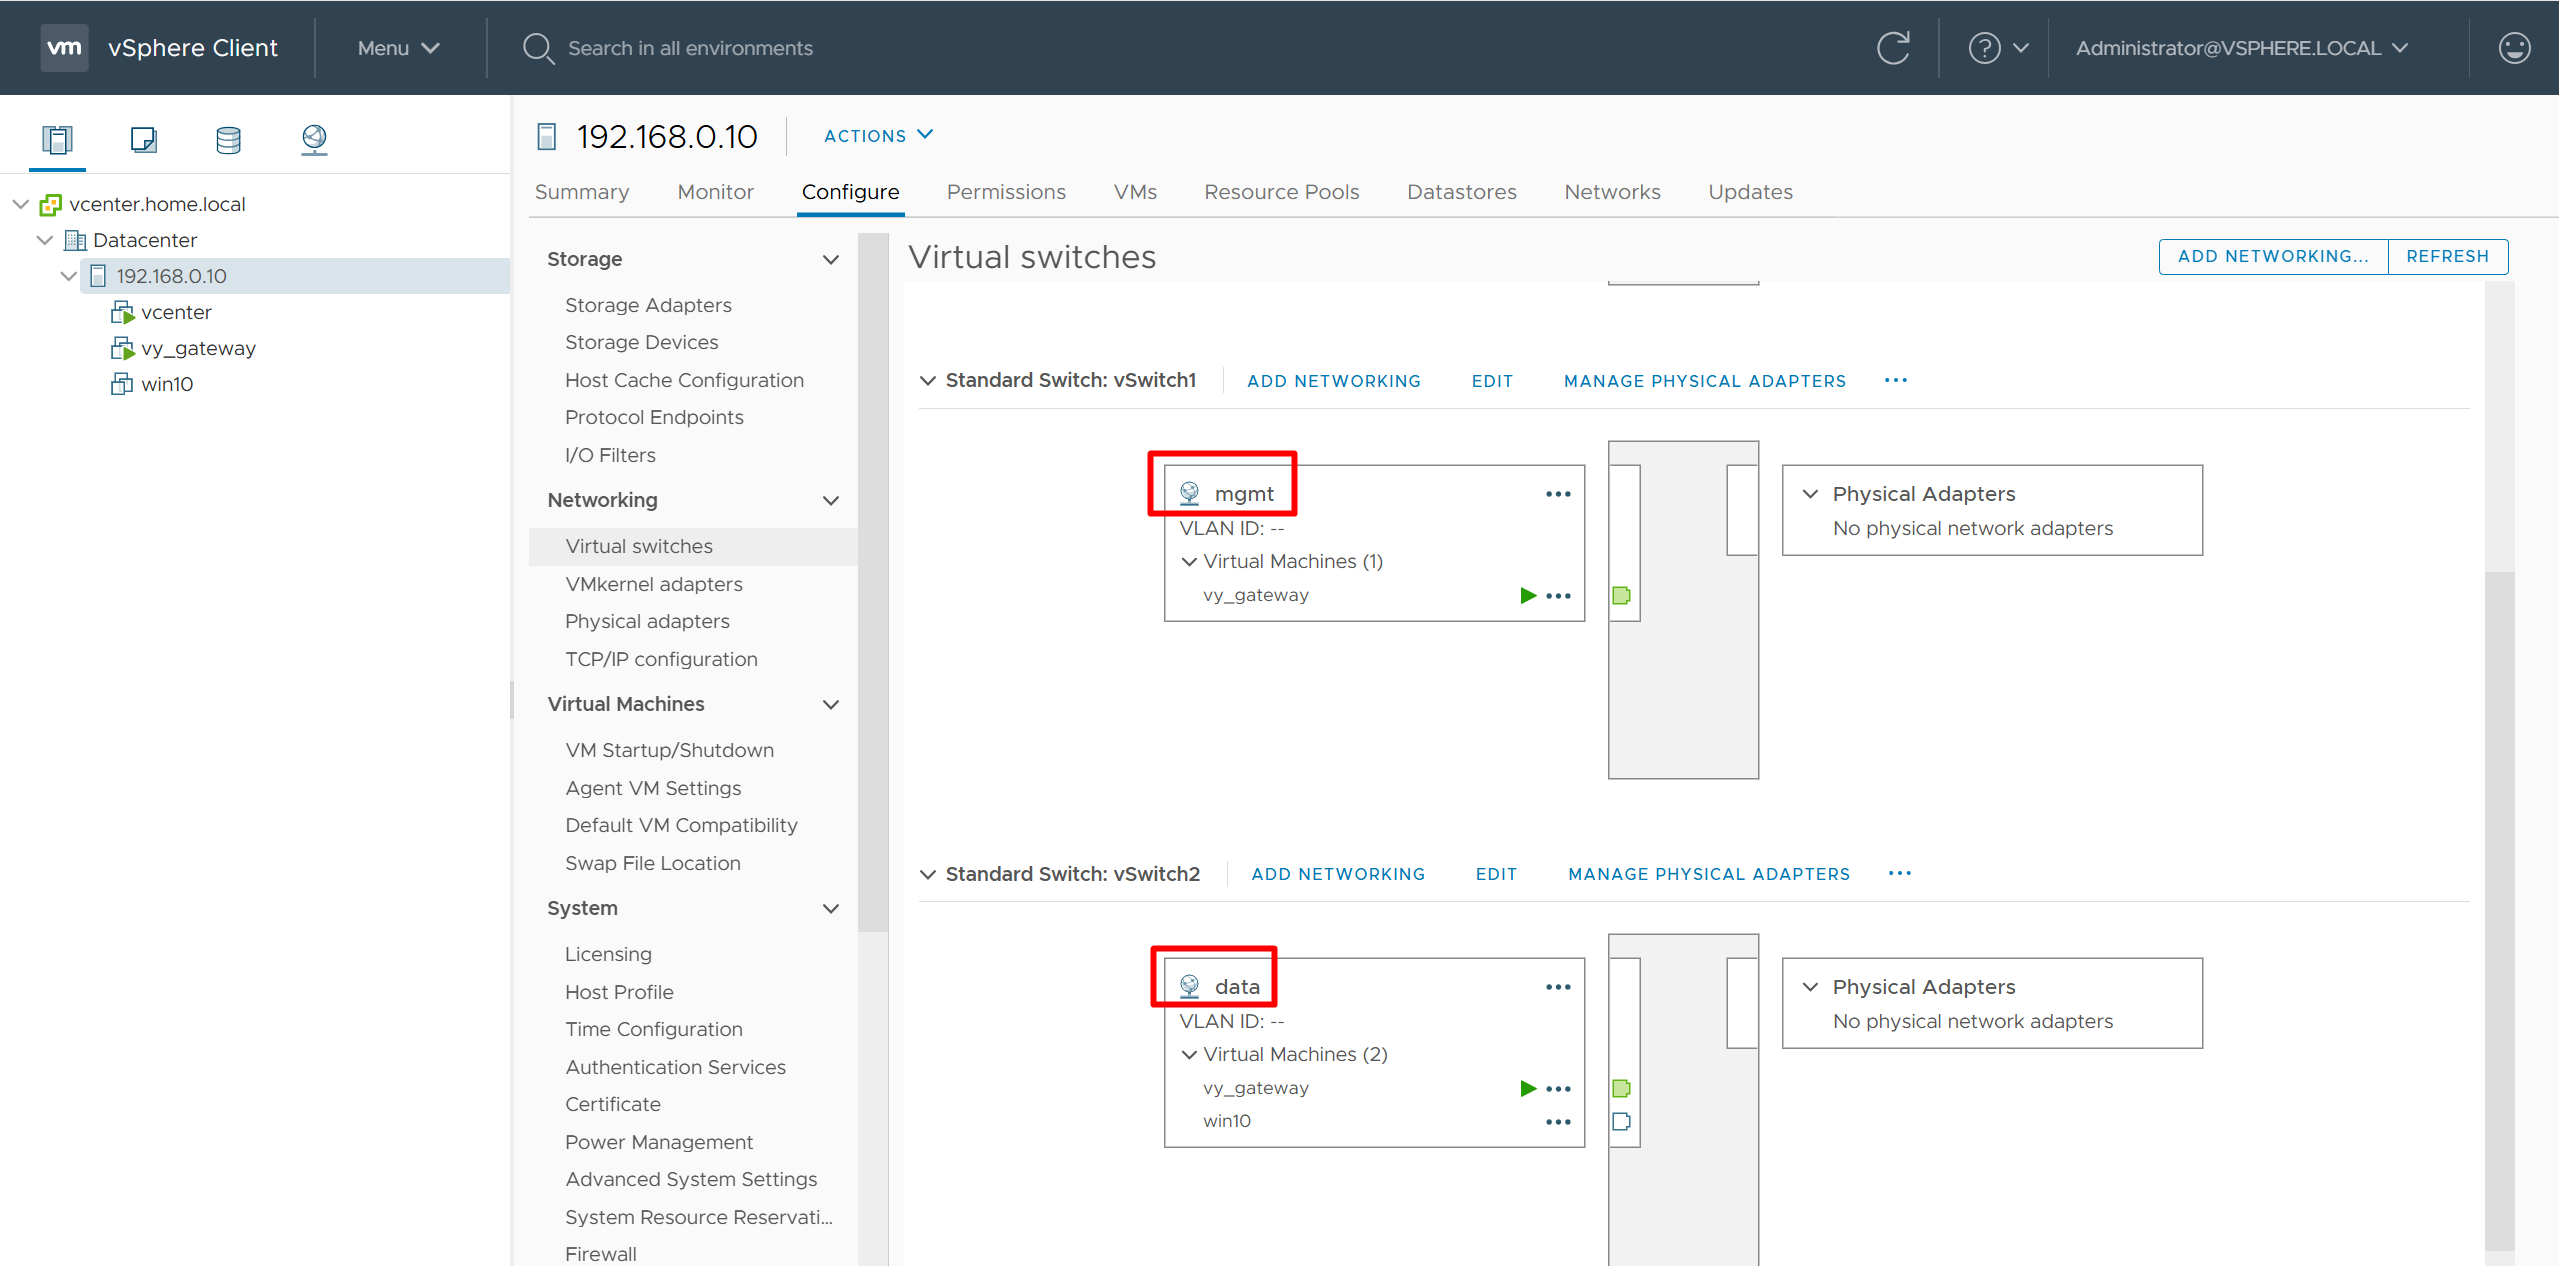
add 2nd interface for vy-gateway into mgmt
add 3rd interface for vy-gateway into data

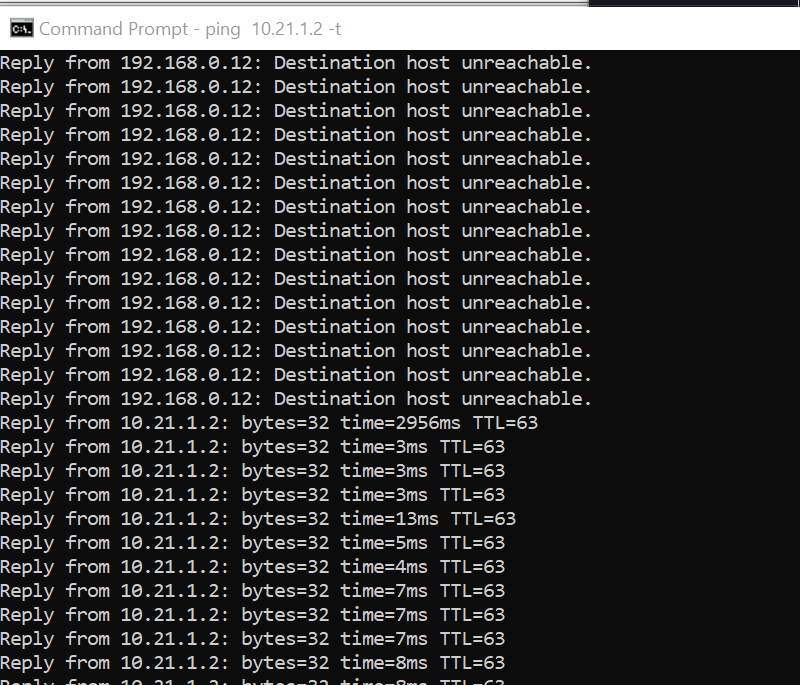
home router
Add routes for networks 10.21.1.0/24 and 172.16.25.0/24

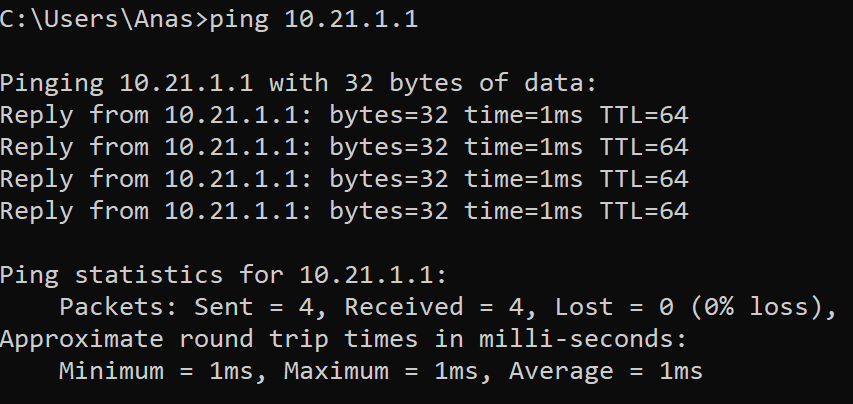
vyos routing is reachable
Cisco Catalyst Center 2.3.7.x on ESXi Deployment – Part 1
Virtual Machine Minimum Requirements
| Feature | Description |
|---|---|
| Virtualization platform and hypervisor | VMware vSphere (which includes ESXi and vCenter Server) 7.0.x or later, including all patches. |
| Processors | Intel Xeon Scalable server processor (Cascade Lake or newer) or AMD EPYC Gen2 with 2.1 GHz or better clock speed.32 vCPUs with 64-GHz reservation must be dedicated to the VM. |
| Memory | 256-GB DRAM with 256-GB reservation must be dedicated to the VM. |
| Storage | 3-TB solid-state drive (SSD).If you plan to create backups of your virtual appliance, also reserve additional datastore space. For information, see “Backup Server Requirements” in the Cisco Catalyst Center on ESXi Administrator Guide. |
| I/O Bandwidth | 180 MB/sec. |
| Input/output operations per second (IOPS) rate | 2000-2500, with less than 5 ms of I/O completion latency. |
| Latency | Catalyst Center on ESXi to network device connectivity: 200 ms. |
Scale numbers are different
for example maximum number of devices supported in non-fabric deployment is 1000 and maximum number of devices in fabric deployment is 2000, for more info
https://www.cisco.com/c/en/us/td/docs/cloud-systems-management/network-automation-and-management/catalyst-center/catalyst-center-va/esxi/2-3-7/deployment-guide/b_cisco_catalyst_center_237x_on_esxi_deployment_guide.html
Cisco Catalyst Assurance uses near real-time streaming analytics, which requires heavy resource usage. When operating Catalyst Center on ESXi close to maximum scale, this functionality may be impacted by uncontrolled external events, such as host resource oversubscriptions and edge use cases that result in a resource usage spike. A number of things can indicate that these events are taking place, such as slow performance, data processing gaps, high I/O latency, and a CPU readiness percentage that’s higher than normal.
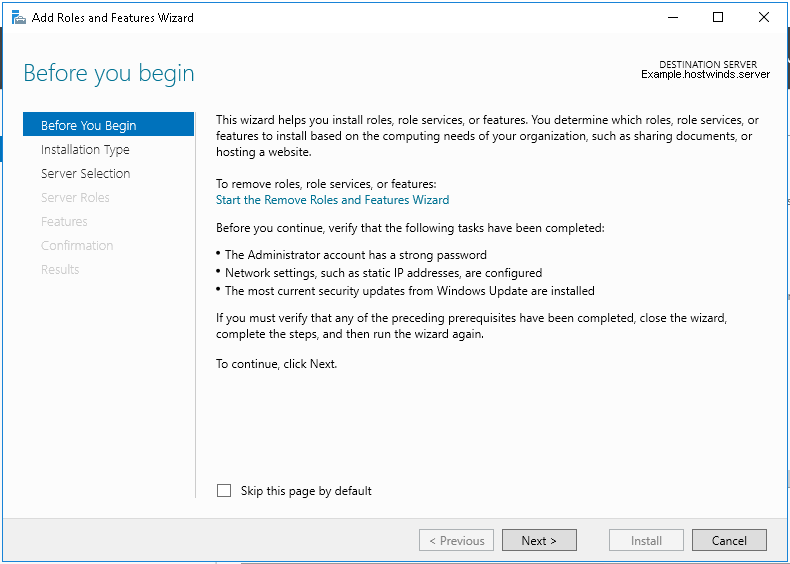
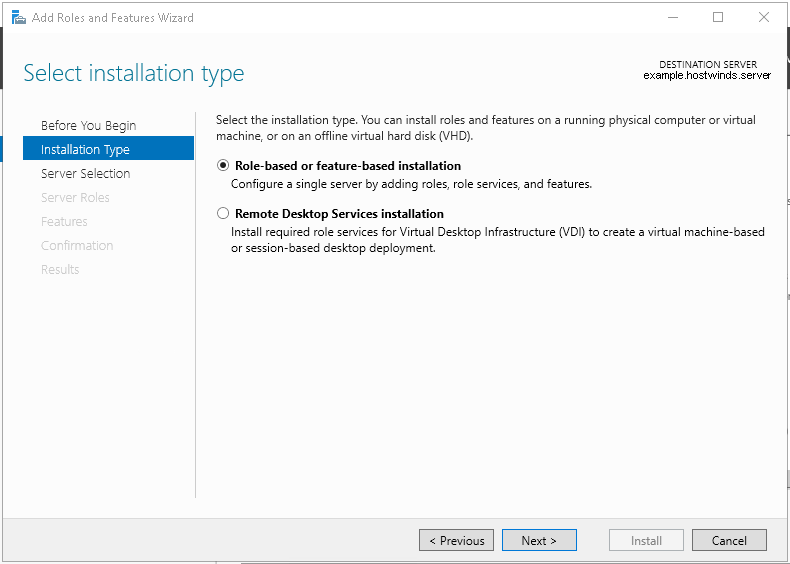
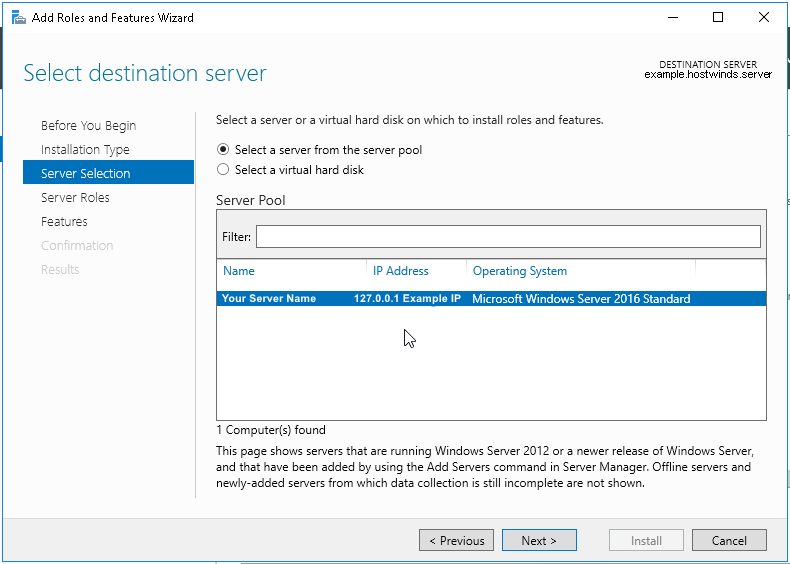
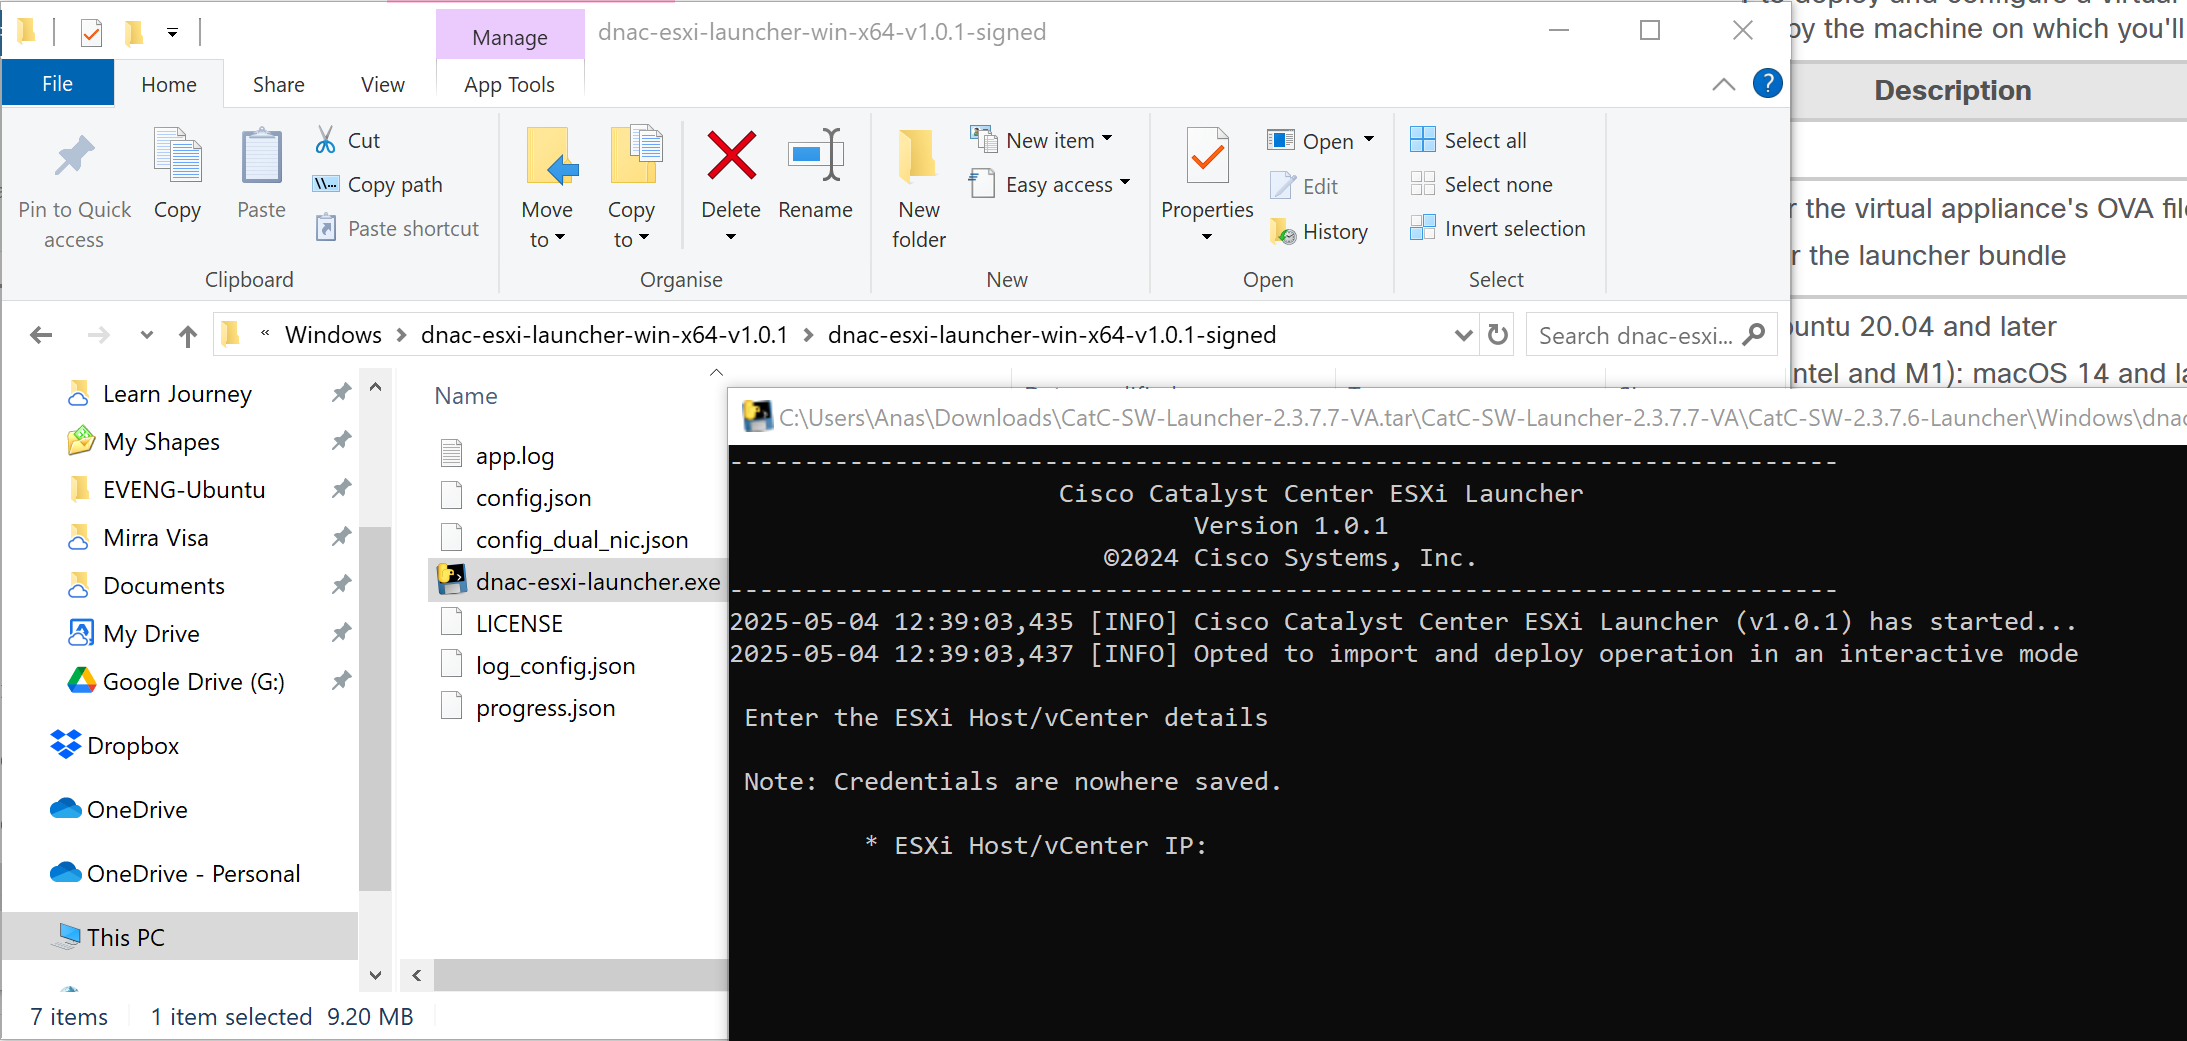
Catalyst Center VM can be deployed using Catalyst Center VA Launcher
Import the IdenTrust Certificate Chain
The Catalyst Center on ESXi OVA file is signed with an IdenTrust CA certificate, which is not included in VMware’s default truststore. As a result, the Deploy OVF Template wizard’s Review details page will indicate that you are using an invalid certificate while completing the wizard. You can prevent this by importing the IdenTrust certificate chain to the host or cluster on which you want to deploy the OVA file.


Cat center requires access to following URLs during install
| In order to… | …Catalyst Center on ESXi must access these URLs and FQDNs |
|---|---|
| Download updates to the system and application package software; submit user feedback to the product team. | Recommended: *.ciscoconnectdna.com:4431Customers who want to avoid wildcards can specify these URLs instead:https://www.ciscoconnectdna.comhttps://cdn.ciscoconnectdna.comhttps://registry.ciscoconnectdna.comhttps://registry-cdn.ciscoconnectdna.com |
| Catalyst Center on ESXi update package. | https://*.ciscoconnectdna.com/**.cloudfront.net*.tesseractcloud.com |
| Smart Account and SWIM software downloads. | https://apx.cisco.comhttps://cloudsso.cisco.com/as/token.oauth2https://*.cisco.com/*https://download-ssc.cisco.com/ |
| Authenticate with the cloud domain. | https://dnaservices.cisco.com |
| Integrate with ThousandEyes. | *.awsglobalaccelerator.comapi.thousandeyes.com |
| Manage Cisco Enterprise Network Function Virtualization Infrastructure Software (NFVIS) devices. | *.amazonaws.com |
| Collect product telemetry. | https://data.pendo.io |
| Allow API calls to enable access to Cisco CX Cloud Success Tracks. Otherwise, the enhancements made to extended configuration-based scanning for the Security Advisories, Bug Identifier, and EOX features that Machine Reasoning Engine (MRE) supports will not operate as expected. | https://api-cx.cisco.com |
| Integrate with Webex. | http://analytics.webexapis.comhttps://webexapis.com |
| User feedback. | https://dnacenter.uservoice.com |
| Integrate with Cisco Meraki. | Recommended: *.meraki.com:443Customers who want to avoid wildcards can specify these URLs instead:dashboard.meraki.com:443api.meraki.com:443n63.meraki.com:443 |
| Check SSL/TLS certificate revocation status using OCSP/CRL. | http://validation.identrust.com/crl/hydrantidcao1.crlhttp://commercial.ocsp.identrust.comNote These URLs should be reachable both directly and through the proxy server that’s configured for Catalyst Center. |
| Allow Cisco authorized specialists to collect troubleshooting data when Catalyst Center on ESXi Remote Support functionality is enabled. | wss://prod.radkit-cloud.cisco.com:443 |
| Integrate with cisco.com and Cisco Smart Licensing. | *.cisco.com:443Customers who want to avoid wildcards can specify these URLs instead:software.cisco.comcloudsso.cisco.comcloudsso1.cisco.comcloudsso2.cisco.comapiconsole.cisco.comapi.cisco.comapx.cisco.comsso.cisco.comapmx-prod1-vip.cisco.comapmx-prod2-vip.cisco.comtools.cisco.comtools1.cisco.comtools2.cisco.comsmartreceiver.cisco.com |
| Connect to the Network-Based Application Recognition (NBAR) cloud. | prod.sdavc-cloud-api.com:443 |
| Render accurate information in site and location maps. | www.mapbox.com*.tiles.mapbox.com/* :443. For a proxy, the destination is *.tiles.mapbox.com/* |
| For Cisco AI Network Analytics data collection, configure your network or HTTP proxy to allow outbound HTTPS (TCP 443) access to the cloud hosts. | https://api.use1.prd.kairos.ciscolabs.com (US East Region)https://api.euc1.prd.kairos.ciscolabs.com (EU Central Region) |
| Access a menu of interactive help flows that let you complete specific tasks from the GUI. | https://ec.walkme.com |
| Access the licensing service. | https://swapi.cisco.com |
| Integrate with Cisco Spaces. | https://dnaspaces.iohttps://dnaspaces.euhttps://ciscospaces.sg |
ciscoconnectdna.com is a cisco domain
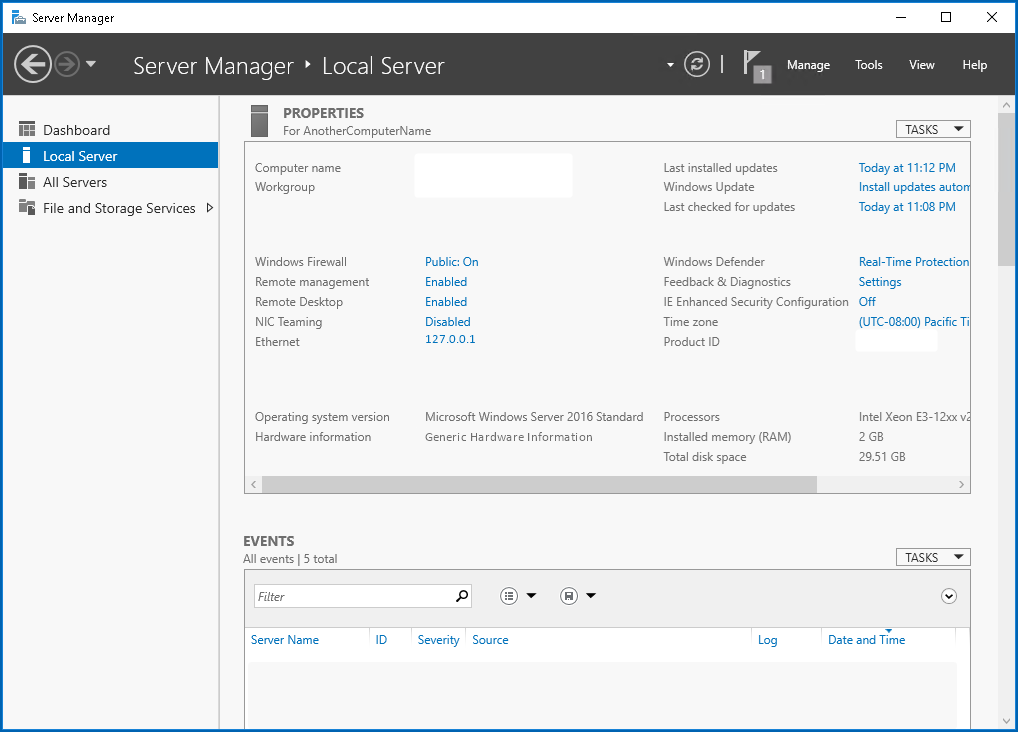
Windows server NTP server
https://www.domat-int.com/en/how-to-configure-a-local-ntp-server
https://docs.litmus.io/litmusedge/product-features/system/network/configure-dns-ntp-servers/configure-local-ntp-server
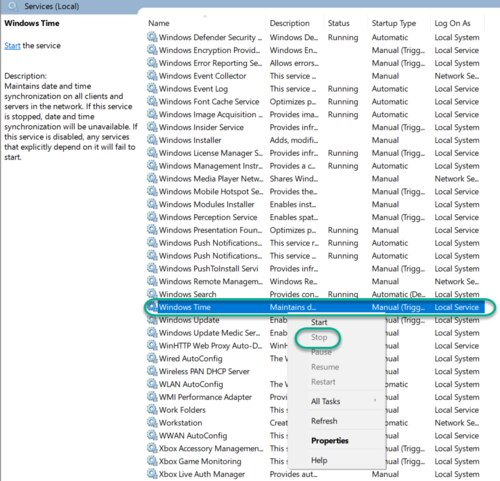
Configure the Windows Time Service
In the File Explorer, navigate to: Control Panel\System and Security\Administrative Tools
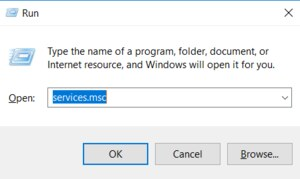
Double-click Services. This same task can be completed by entering services.msc in the Windows Run dialog (Windows Key + R).
In the Services list, right-click on Windows Time and click Stop.
Note: The Windows Time service may already be stopped. In this case, skip this step and go to the next step to Update the Windows Registry
Update the Windows Registry to Create a Local NTP Service
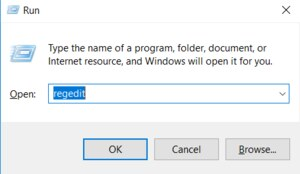
Launch Windows Run (Windows Key + R).
Enter regedit and click OK.
Navigate to the registry key: Computer\HKEY_LOCAL_MACHINE\SYSTEM\CurrentControlSet\Services\W32Time\Parameters
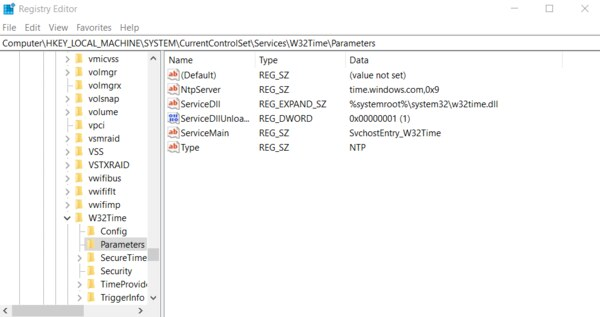
If you do not see LocalNTP REG_DWORD in the list, create it using the following steps.
Right-click in the Registry Editor, select New, select DWORD and enter LocalNTP (note that this name is case sensitive).
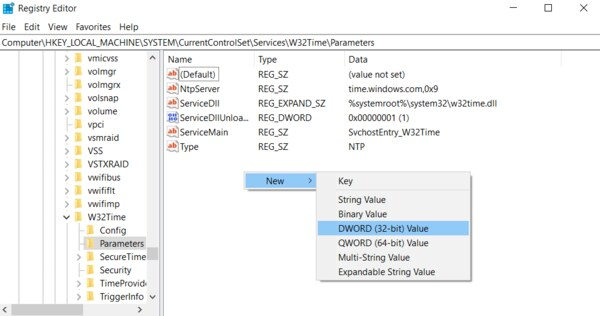
Double-click LocalNTP, change the Value data to 1, select a Base of Hexadecimal , and click OK.
Do not close the Registry Editor because it is used in the following steps.
Update the Windows Registry to Configure the Time Provider
Navigate to the registry key: Computer\HKEY_LOCAL_MACHINE\SYSTEM\CurrentControlSet\Services\W32Time\TimeProviders
Select NtpServer, double-click Enabled, change the Value Data to 1, select a Base of Hexadecimal and click OK.
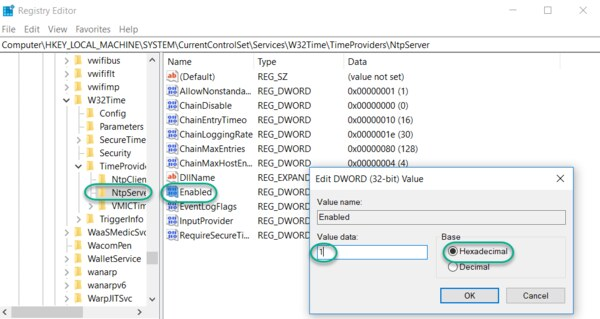
Do not close the Registry Editor because it is used in the following steps.
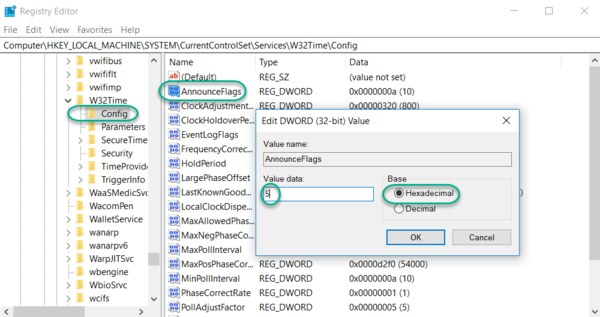
Update the Windows Registry to Configure the Announce Flags
Navigate to the registry key: Computer\HKEY_LOCAL_MACHINE\SYSTEM\CurrentControlSet\Services\W32Time\Config
Double-click AnnounceFlags, change the Value data to 5, select a Base of Hexadecimal, and click OK.
Close the Registry Editor.
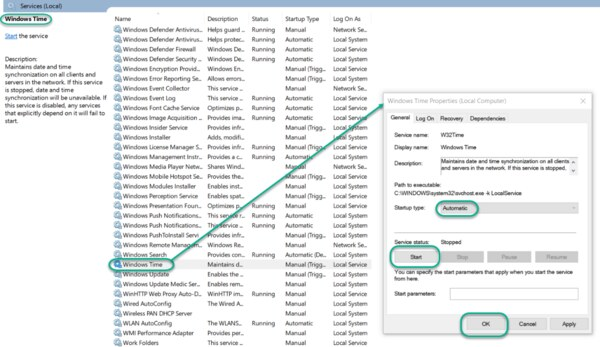
Start the Local Windows NTP Time Service
In the File Explorer, navigate to: Control Panel\System and Security\Administrative Tools
Double-click Services.
In the Services list, right-click on Windows Time and configure the following settings:
Startup type: Automatic
Service Status: Start
OK
Finally, enable UDP port 123 on the Windows firewall for incoming connections.
In Search find Firewall in Windows Defender…
Go to Incoming rules
In the right column, select New rule…
Select the rule Port
Enter UDP port 123 and click Next
Select Allow connection and click Next
Select all domains
Enter the rule name, e.g. Local NTP server, and click Finish.
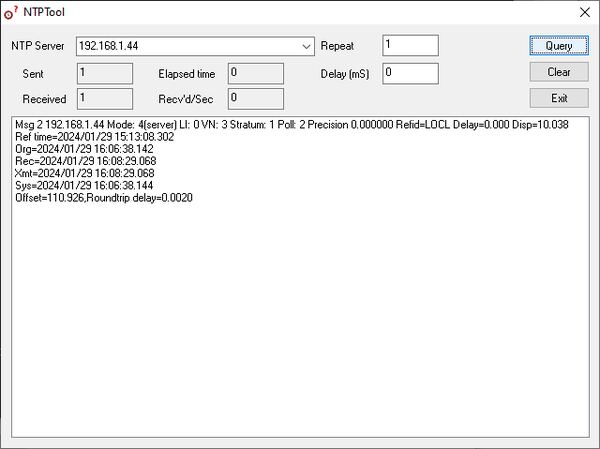
The local NTP Time Server configuration is now complete. You now can synchronize the time of other computers and devices on your local network.
To test the server functionality from another PC (e.g. a service notebook) use for example the NTP Server Test Tool:
https://www.ntp-time-server.com/ntp-software/ntp-server-tool.html
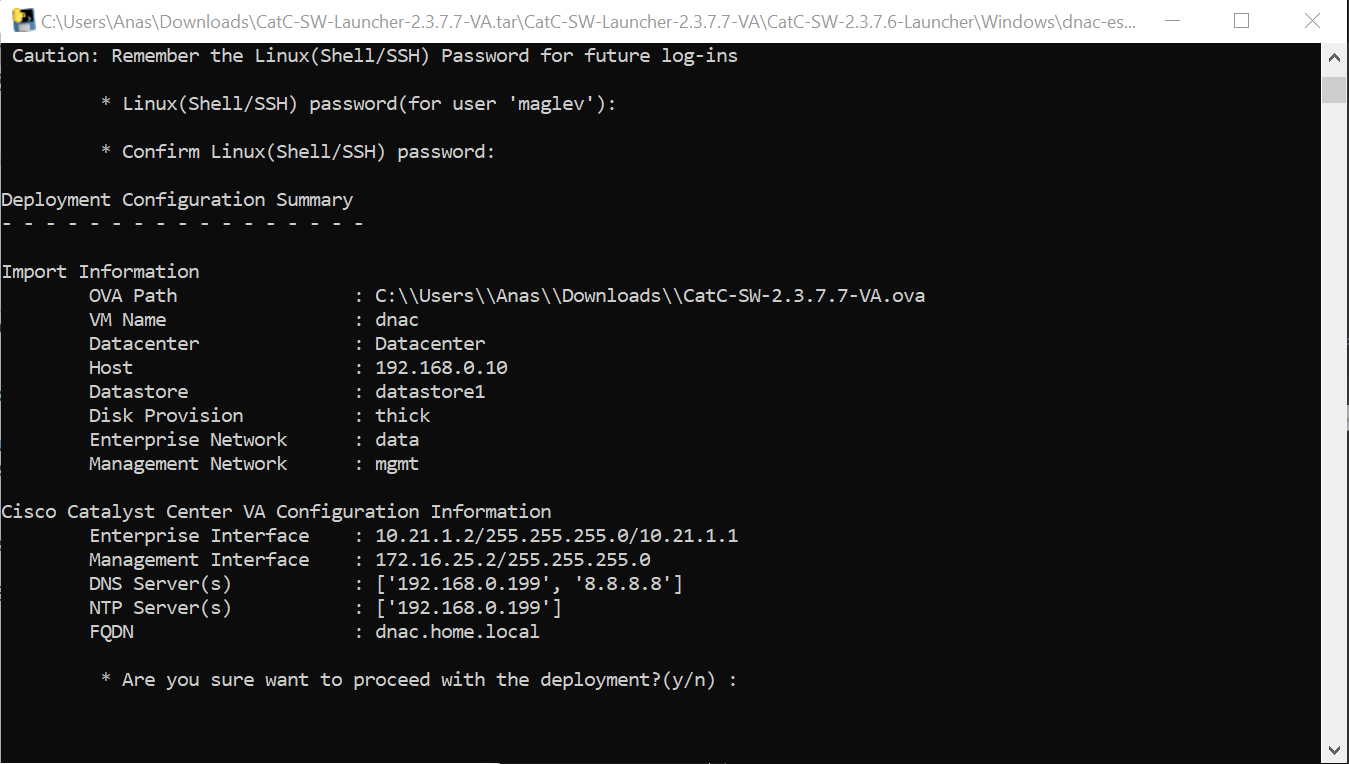
DNAC deployment

C:\\Users\\Anas\\Downloads\\CatC-SW-2.3.7.7-VA.ova
Add 2 backslashes for OVA path to escape it
vcenter.home.local
administrator@vsphere.local
C0mplex30-
C:\\Users\\Anas\\Desktop\\CatC-SW-2.3.7.7-VA.ova

dnac
thick
2

data
mgmt

10.21.1.2
255.255.255.0
10.21.1.1

Mgmt interface:
172.16.25.2
255.255.255.0

DNS
172.16.32.11

NTP
172.16.32.11

dnac.home.local
maglev
C0mplex30


maglev will load containers
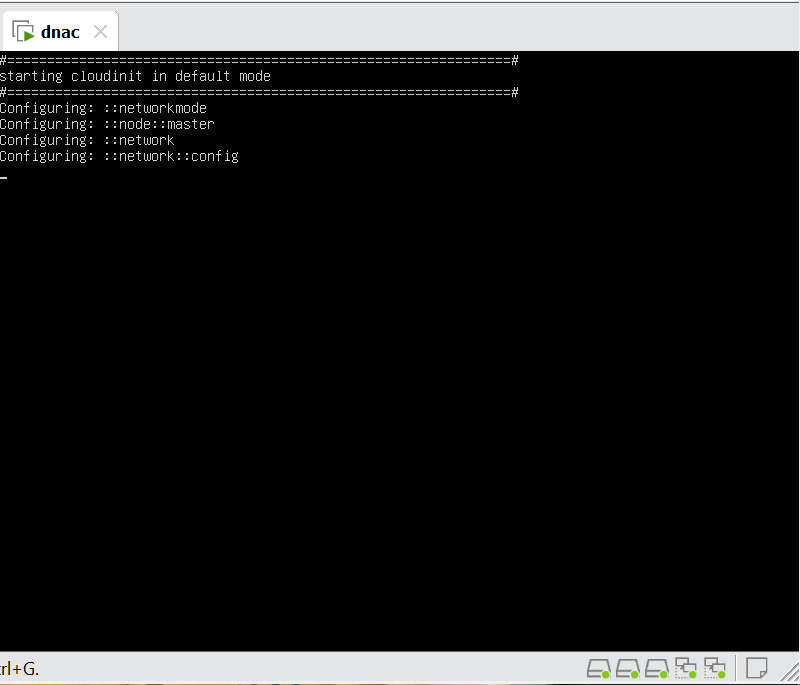
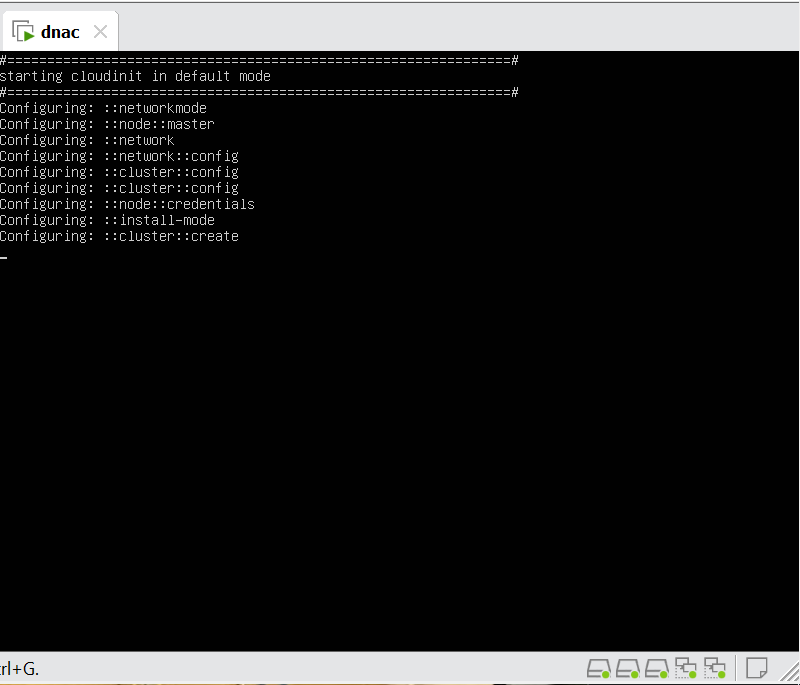
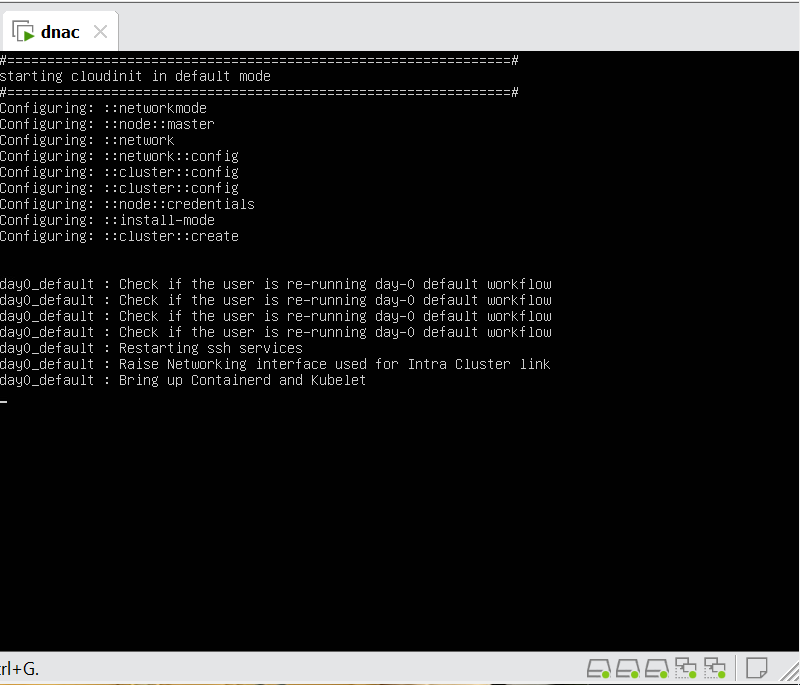

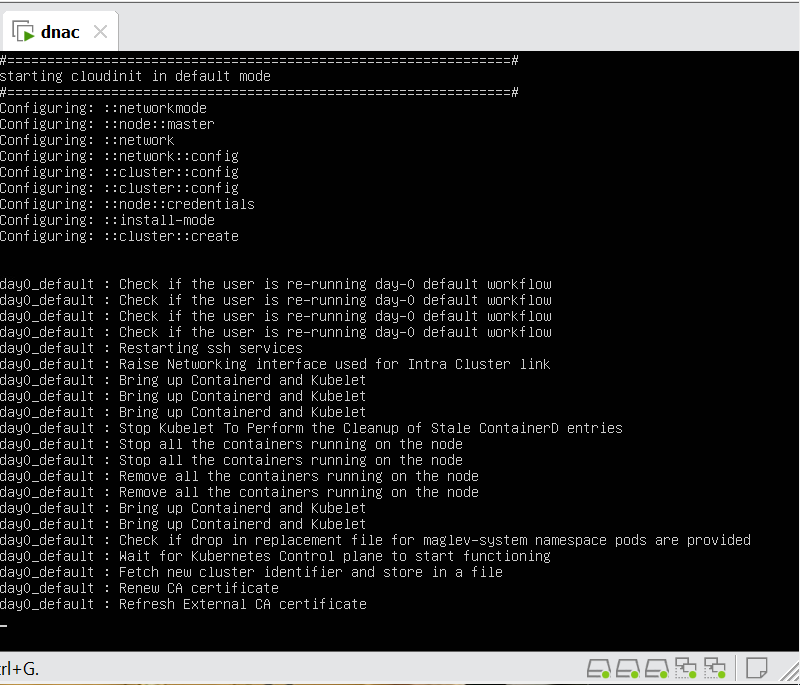
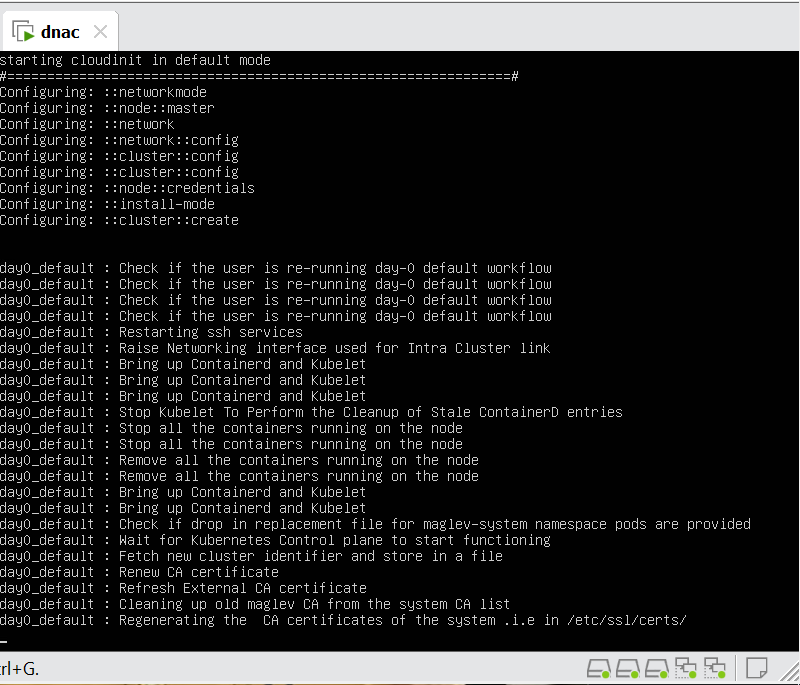
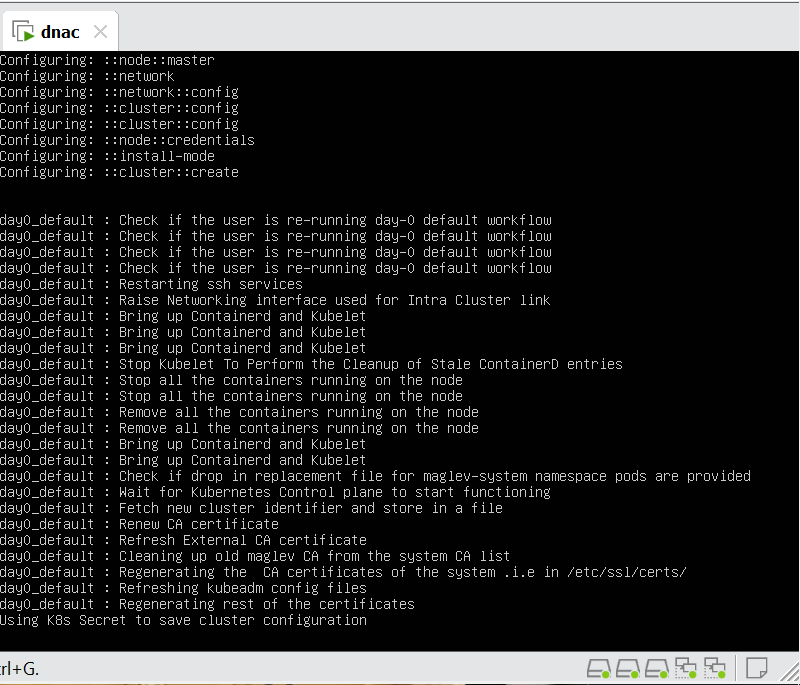

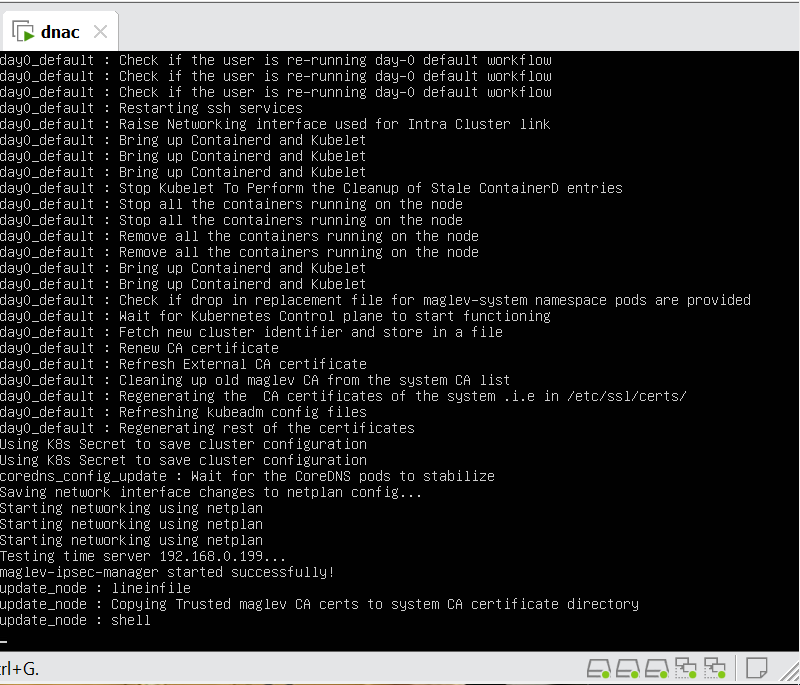
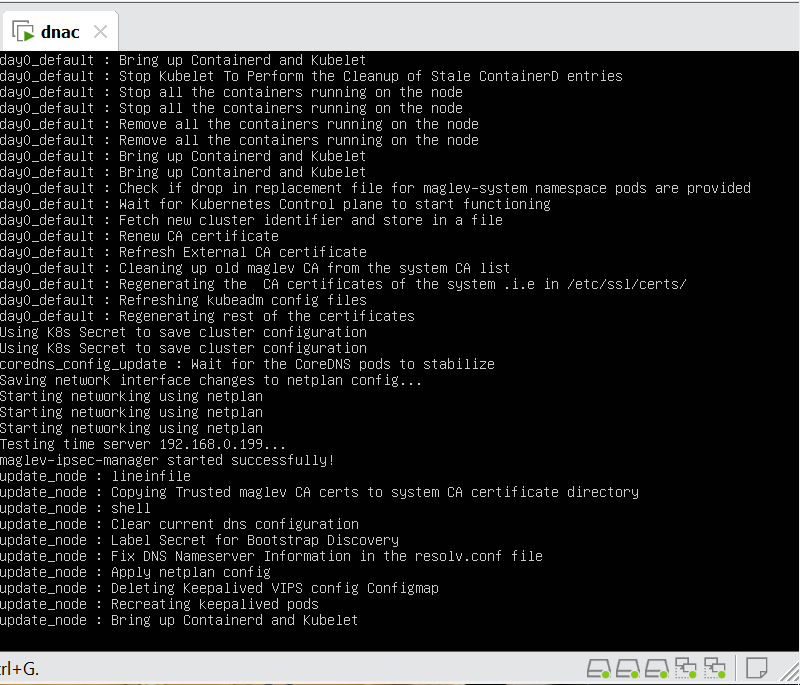
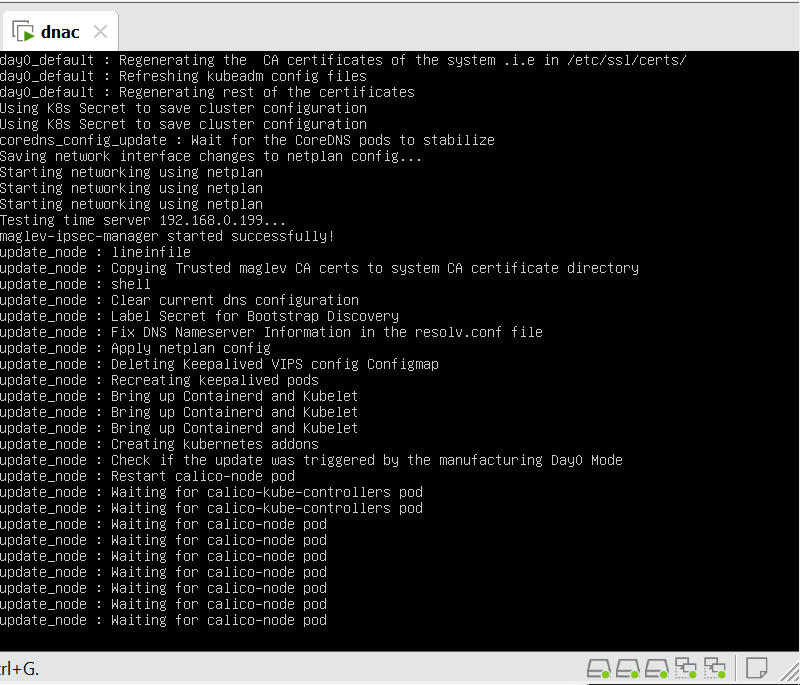
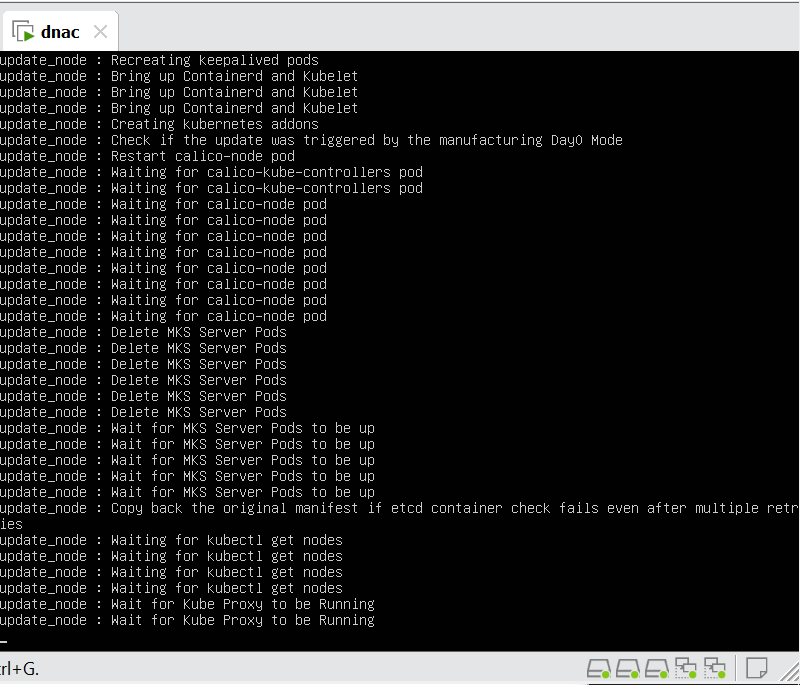
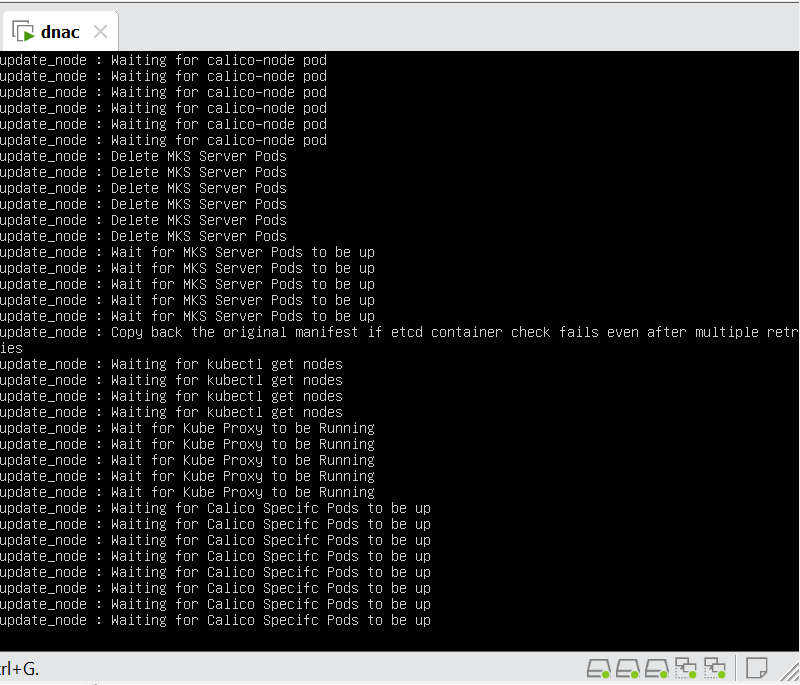
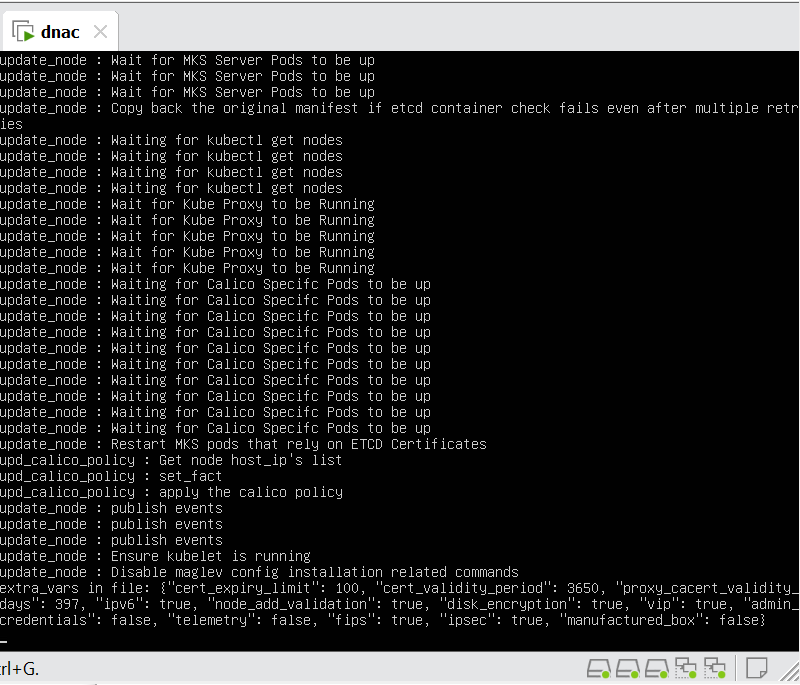

wait 30 mins before GUI shows up
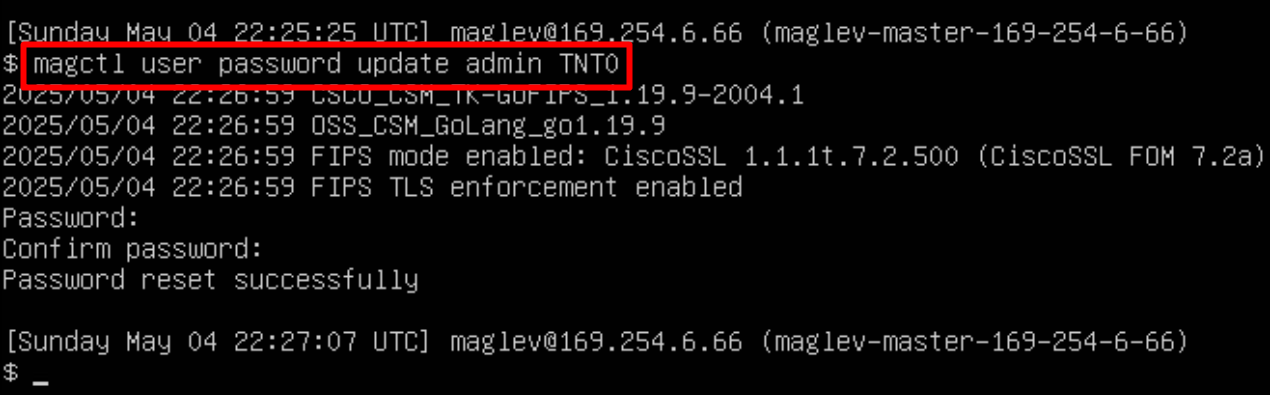
In case unable to login
Login to CLI as maglev on VM’s console and reset password for admin
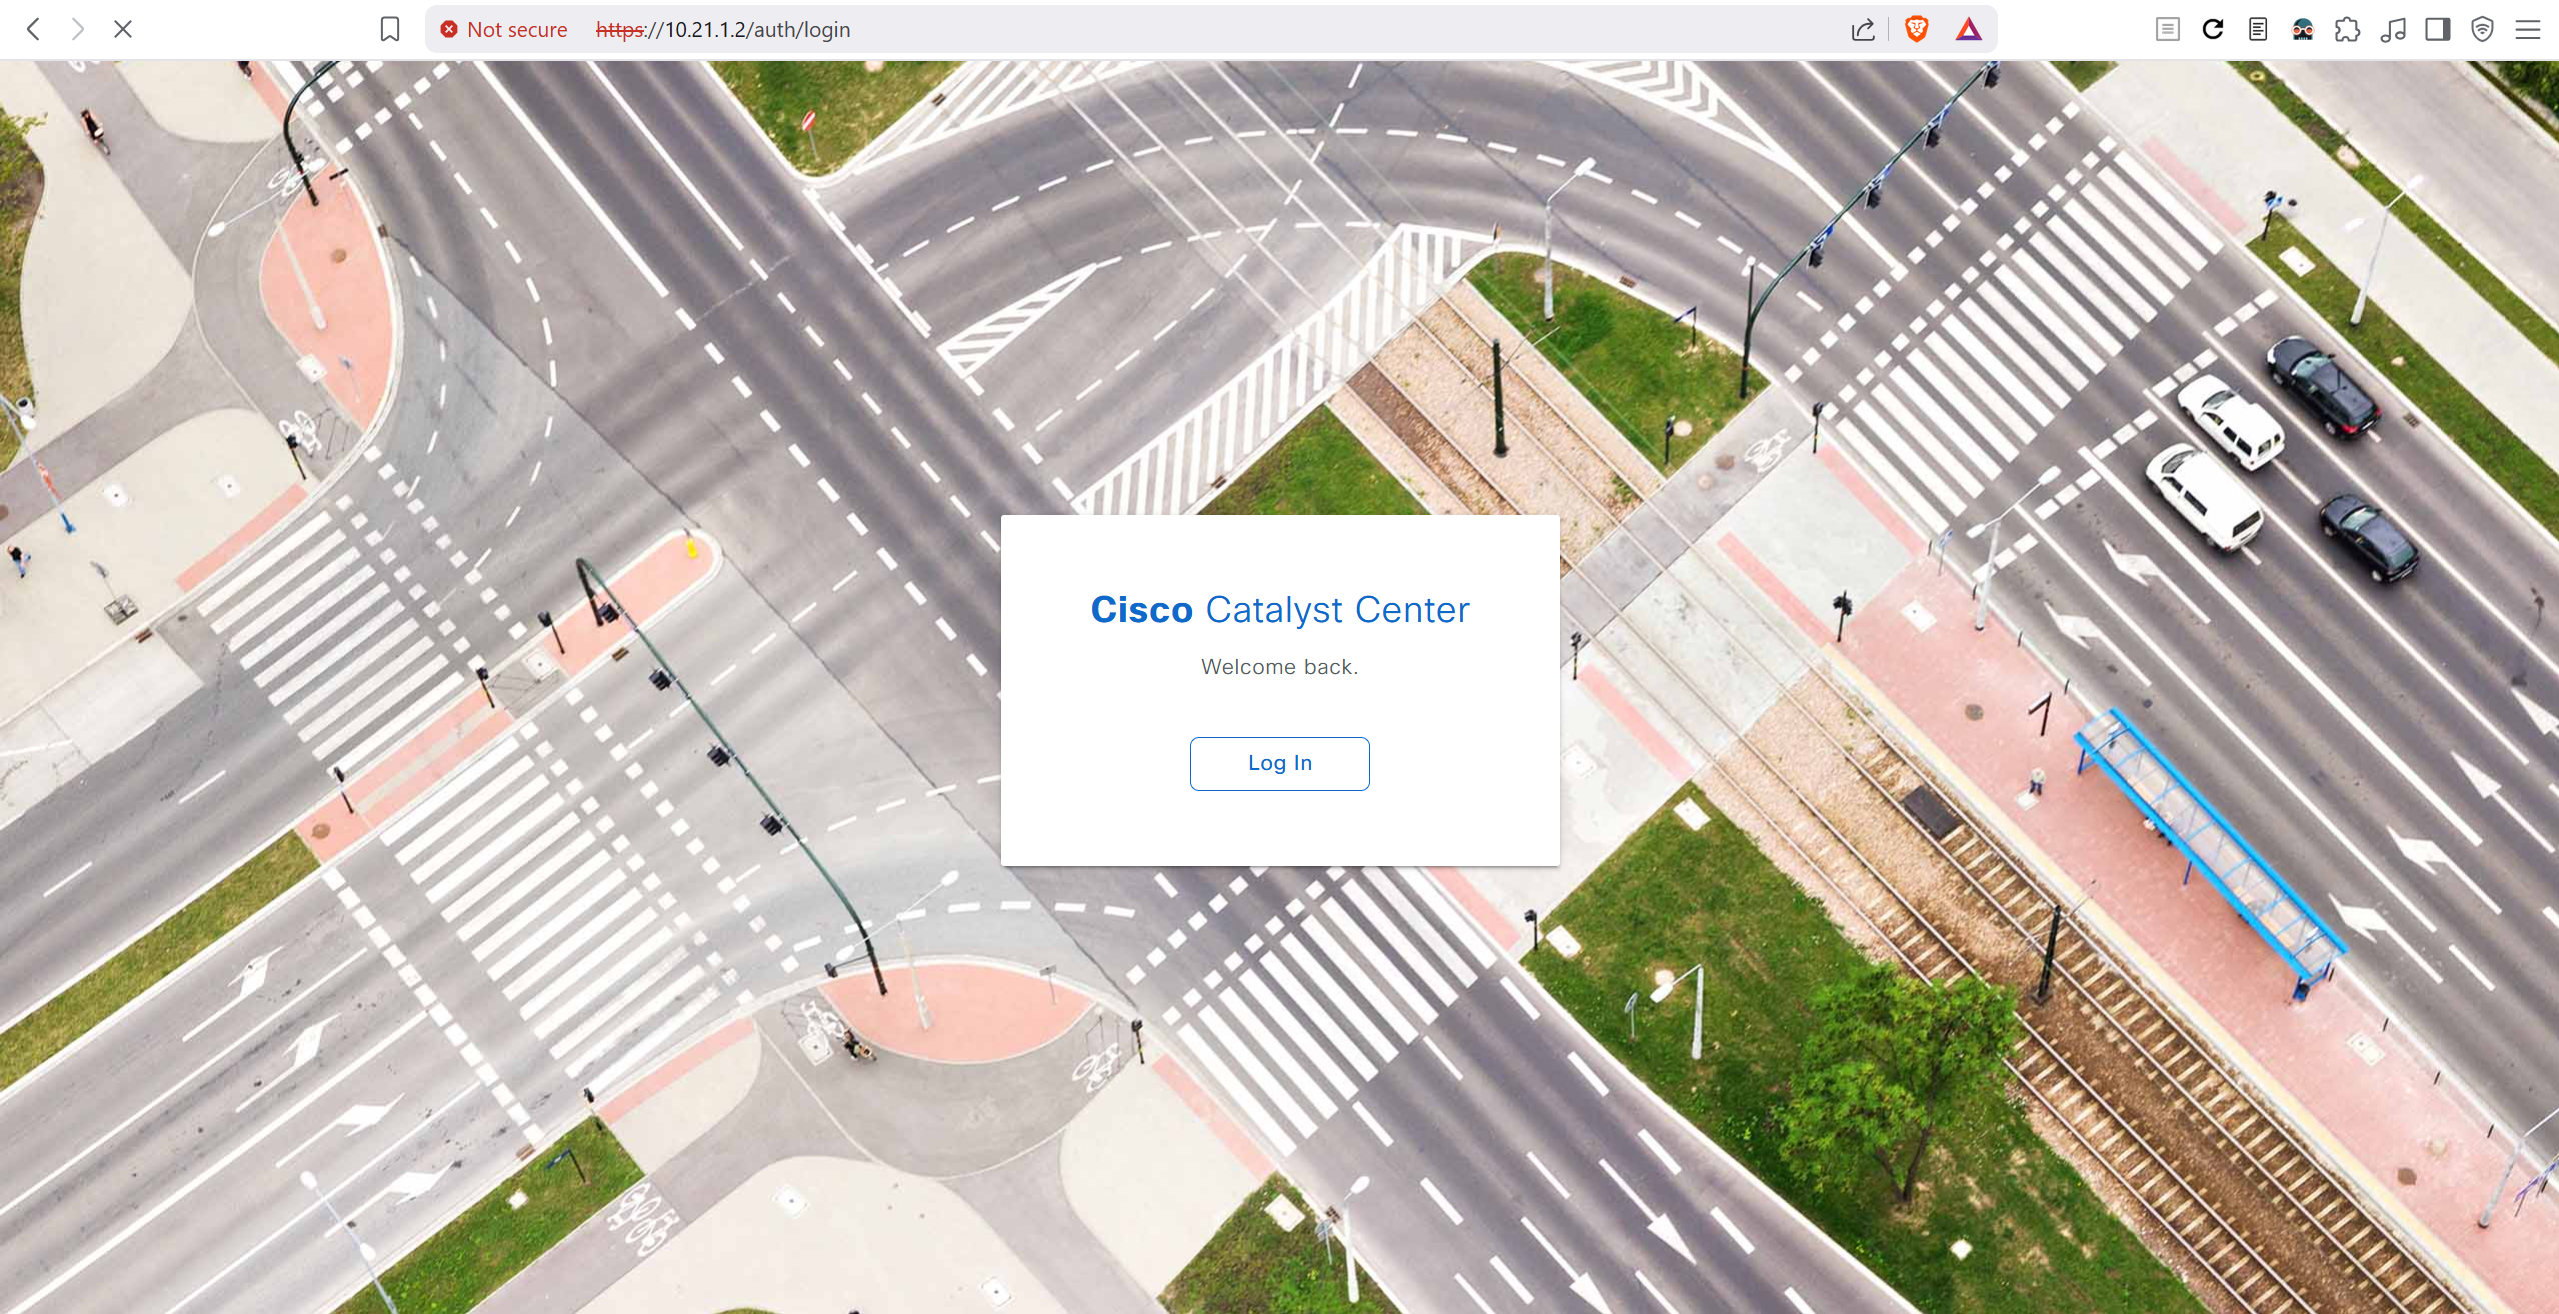
Logins
Default GUI login admin/maglev1@3
Login to create account admin_anas/C0mplex30
SSH login on port 2222 maglev/C0mplex30
DNAC VM Console login maglev/C0mplex30
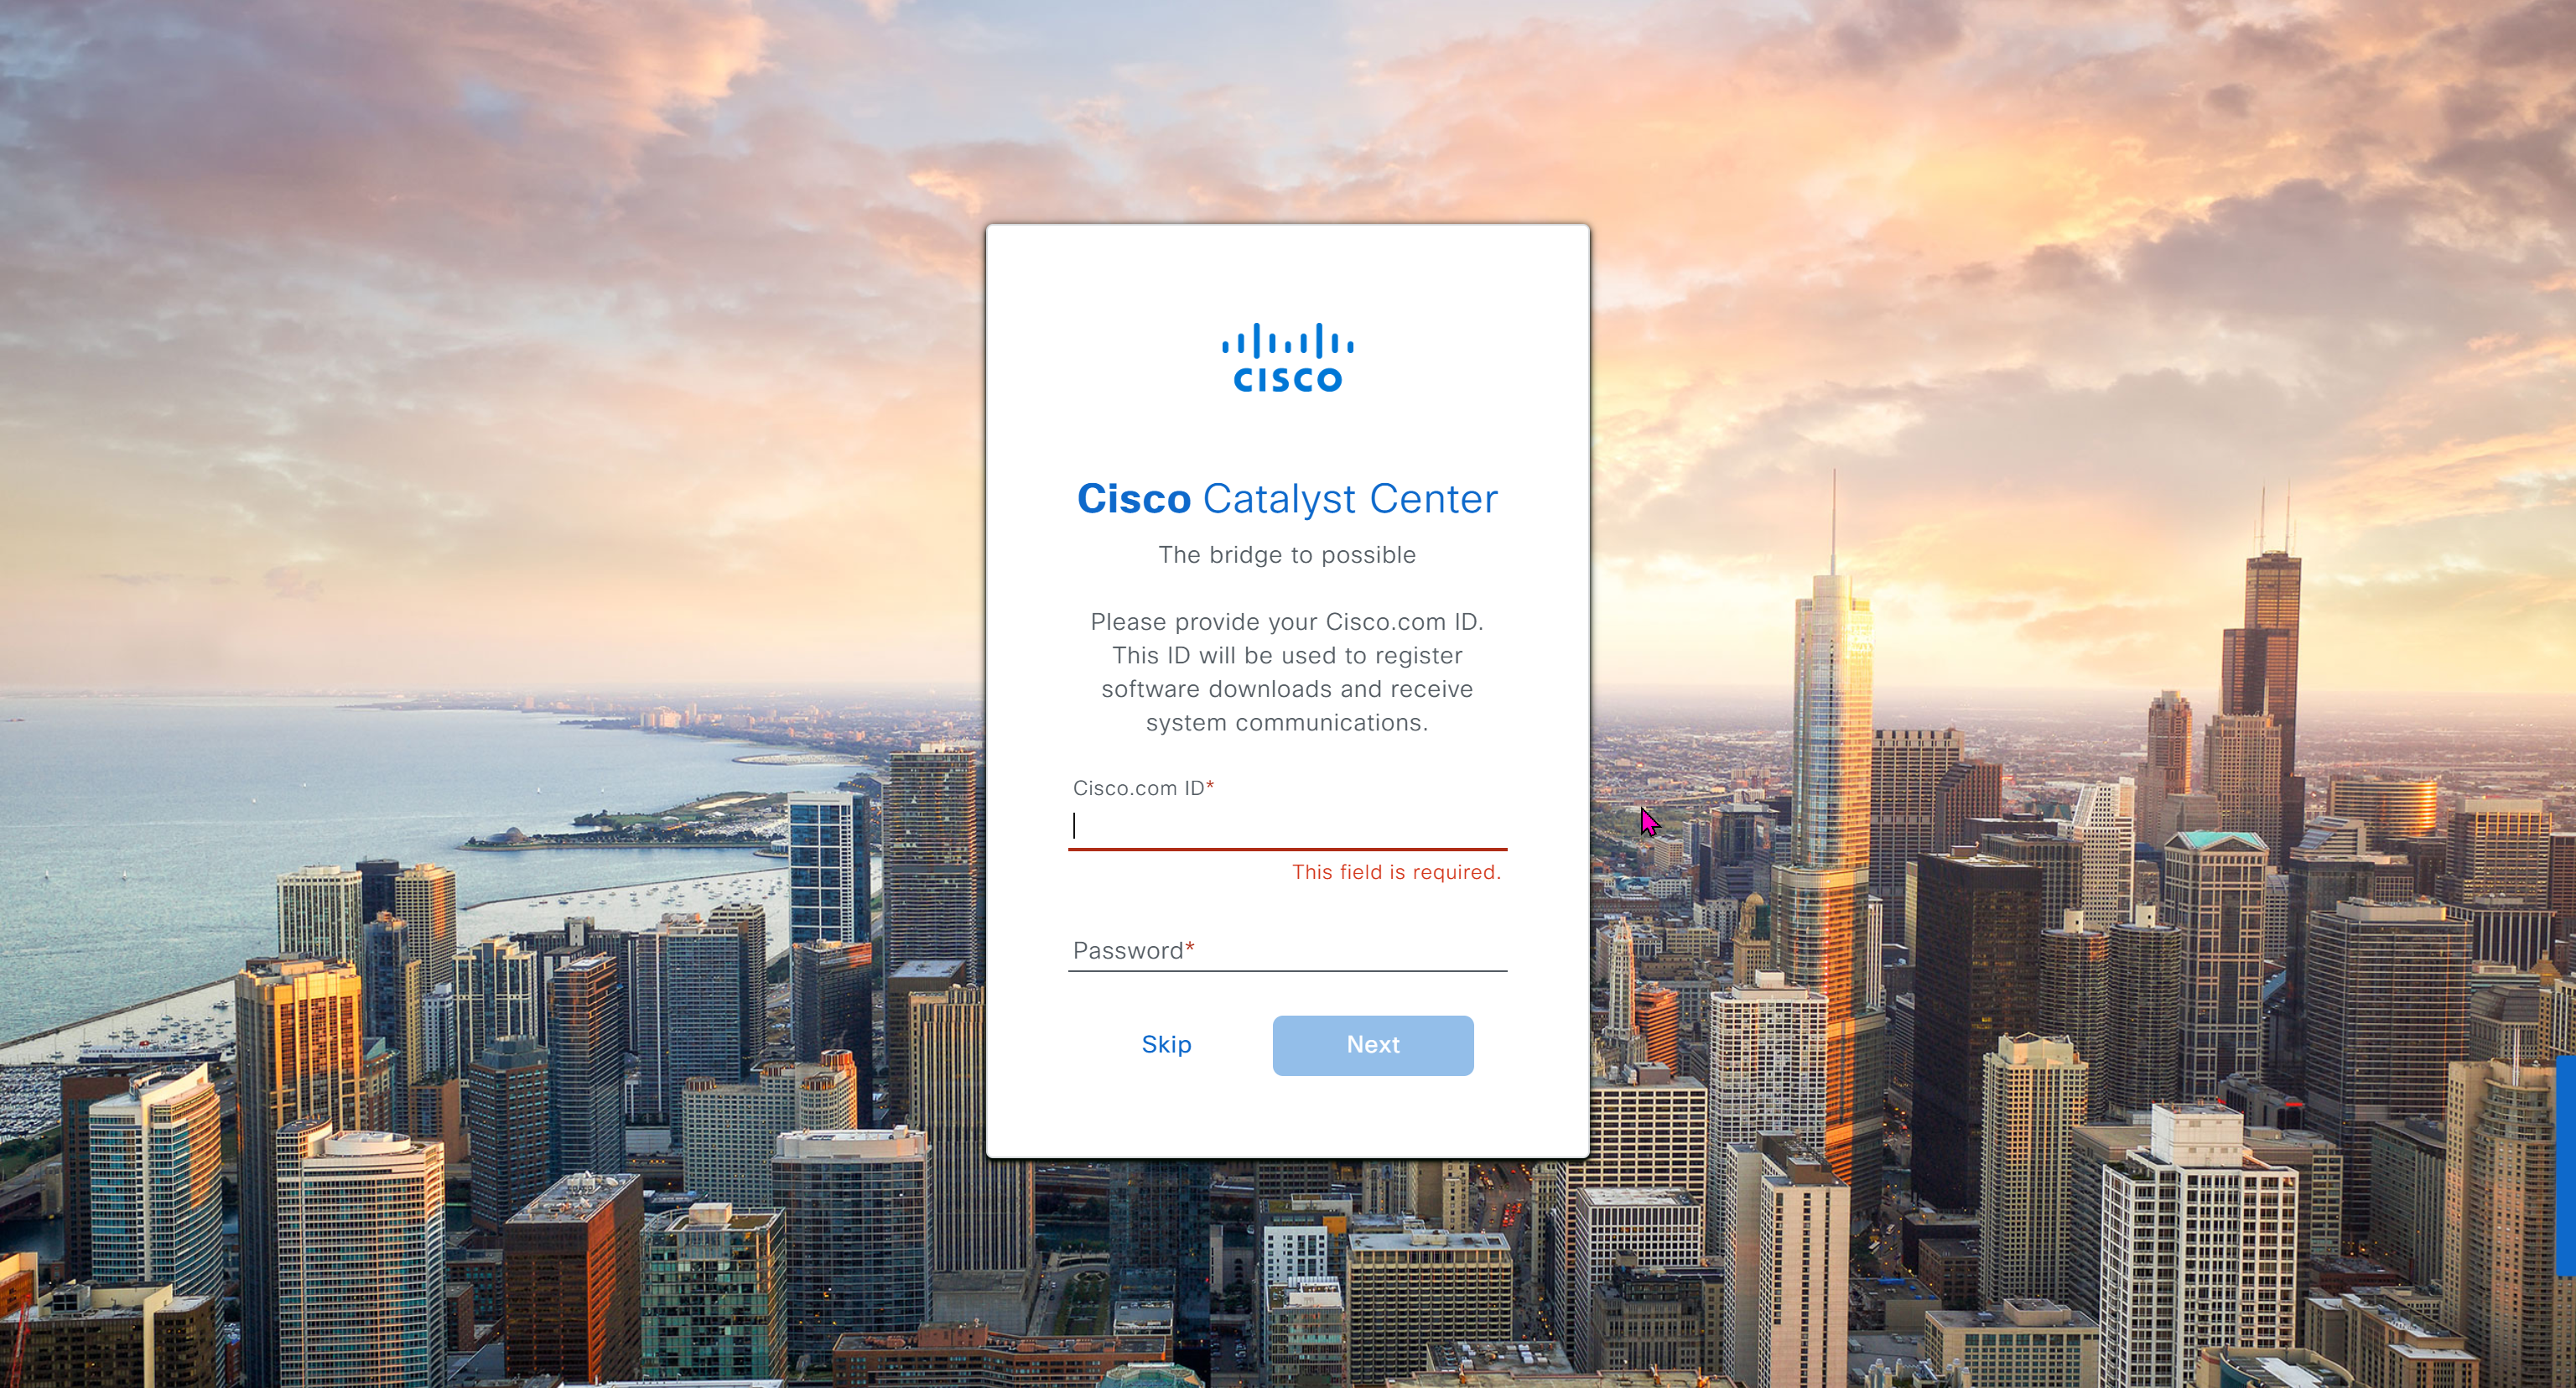
Initial Login

provide user here that will be super admin such as admin_anas
provide your cco in email and not personal email
admin_anas/C0mplex30
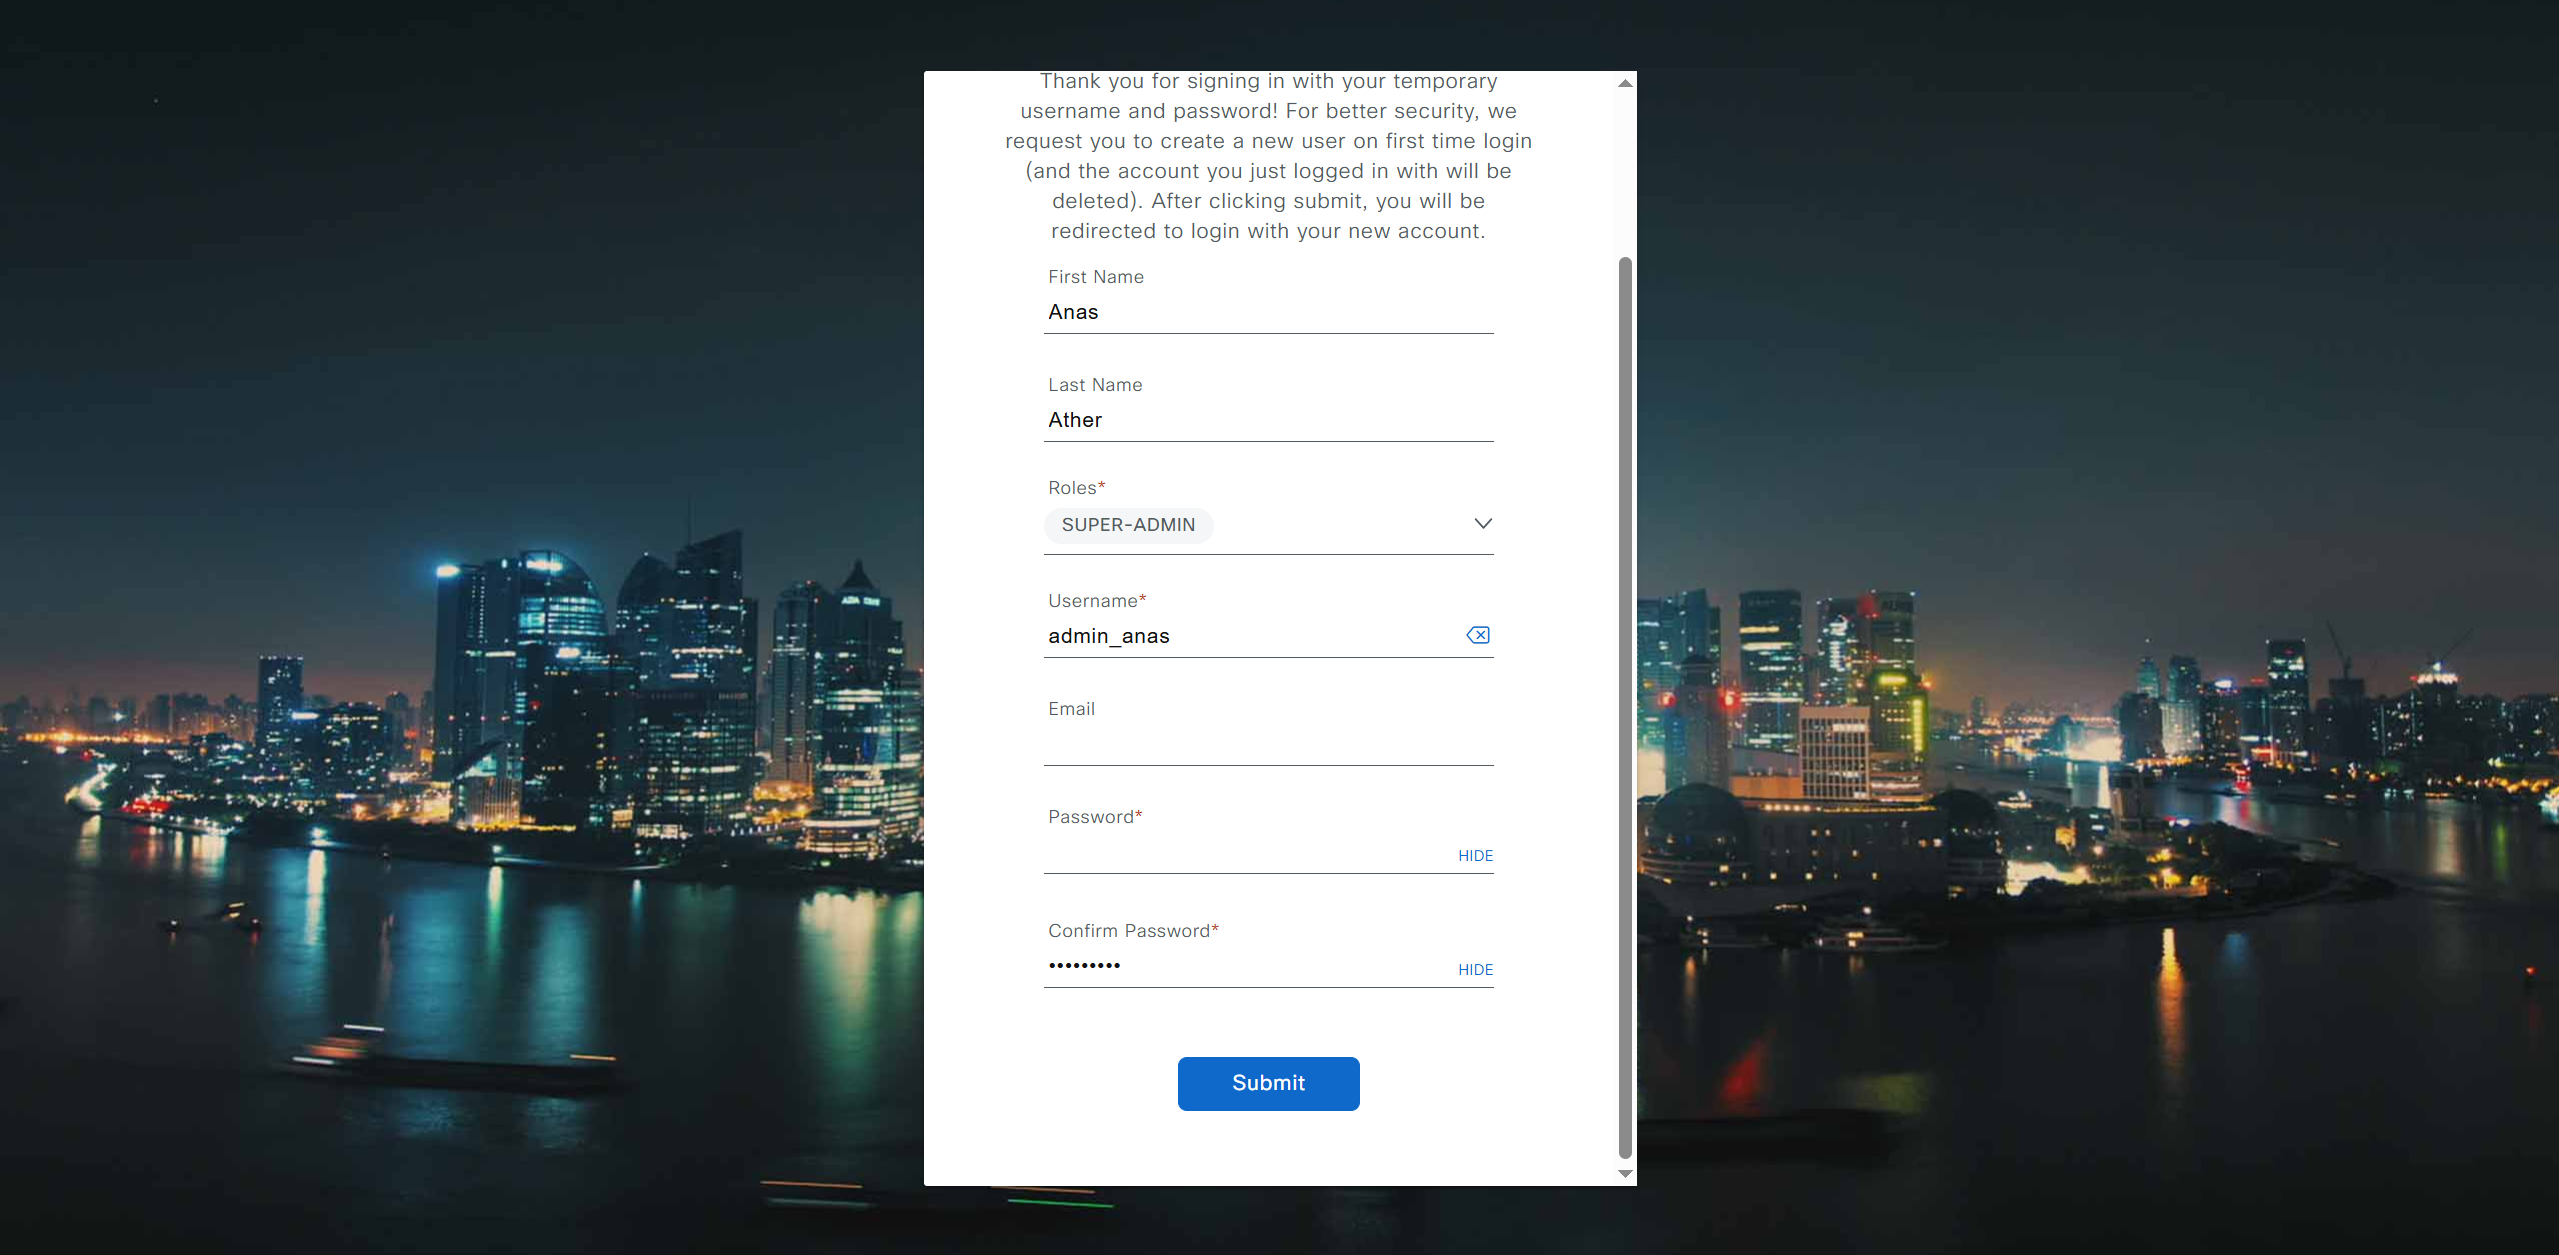
provide company’s CCO details here that has contract and active cco – this is very important otherwise packages will not work


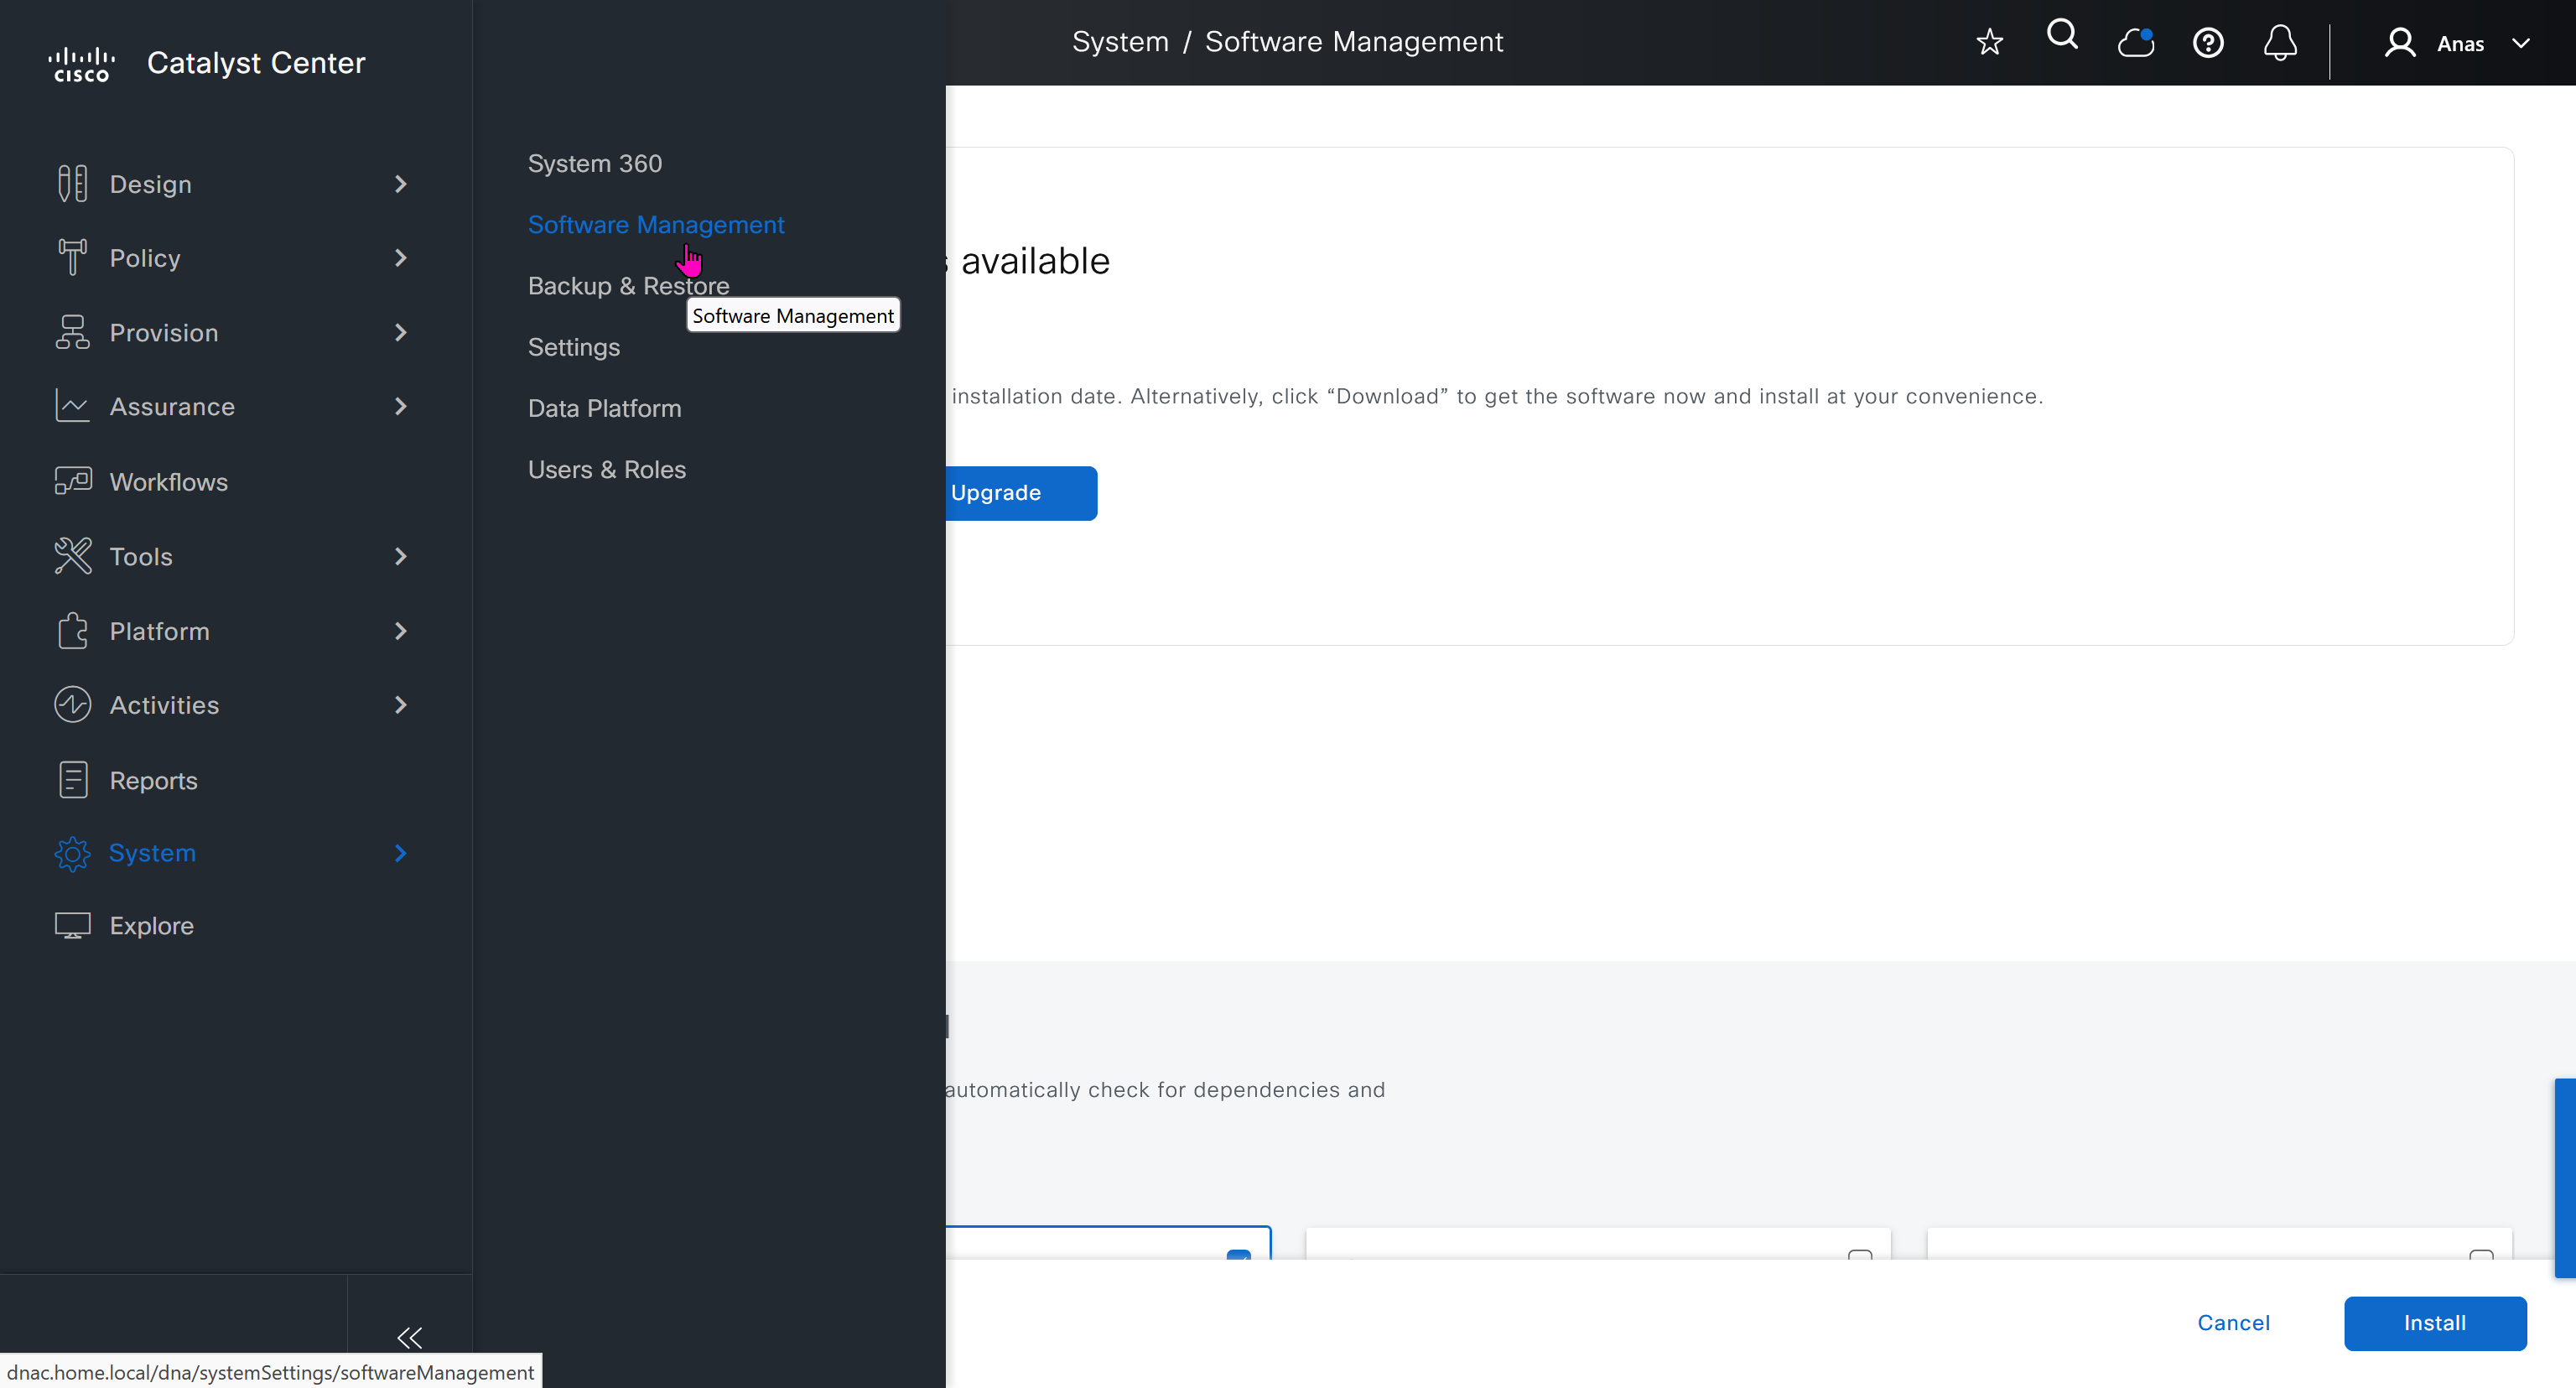
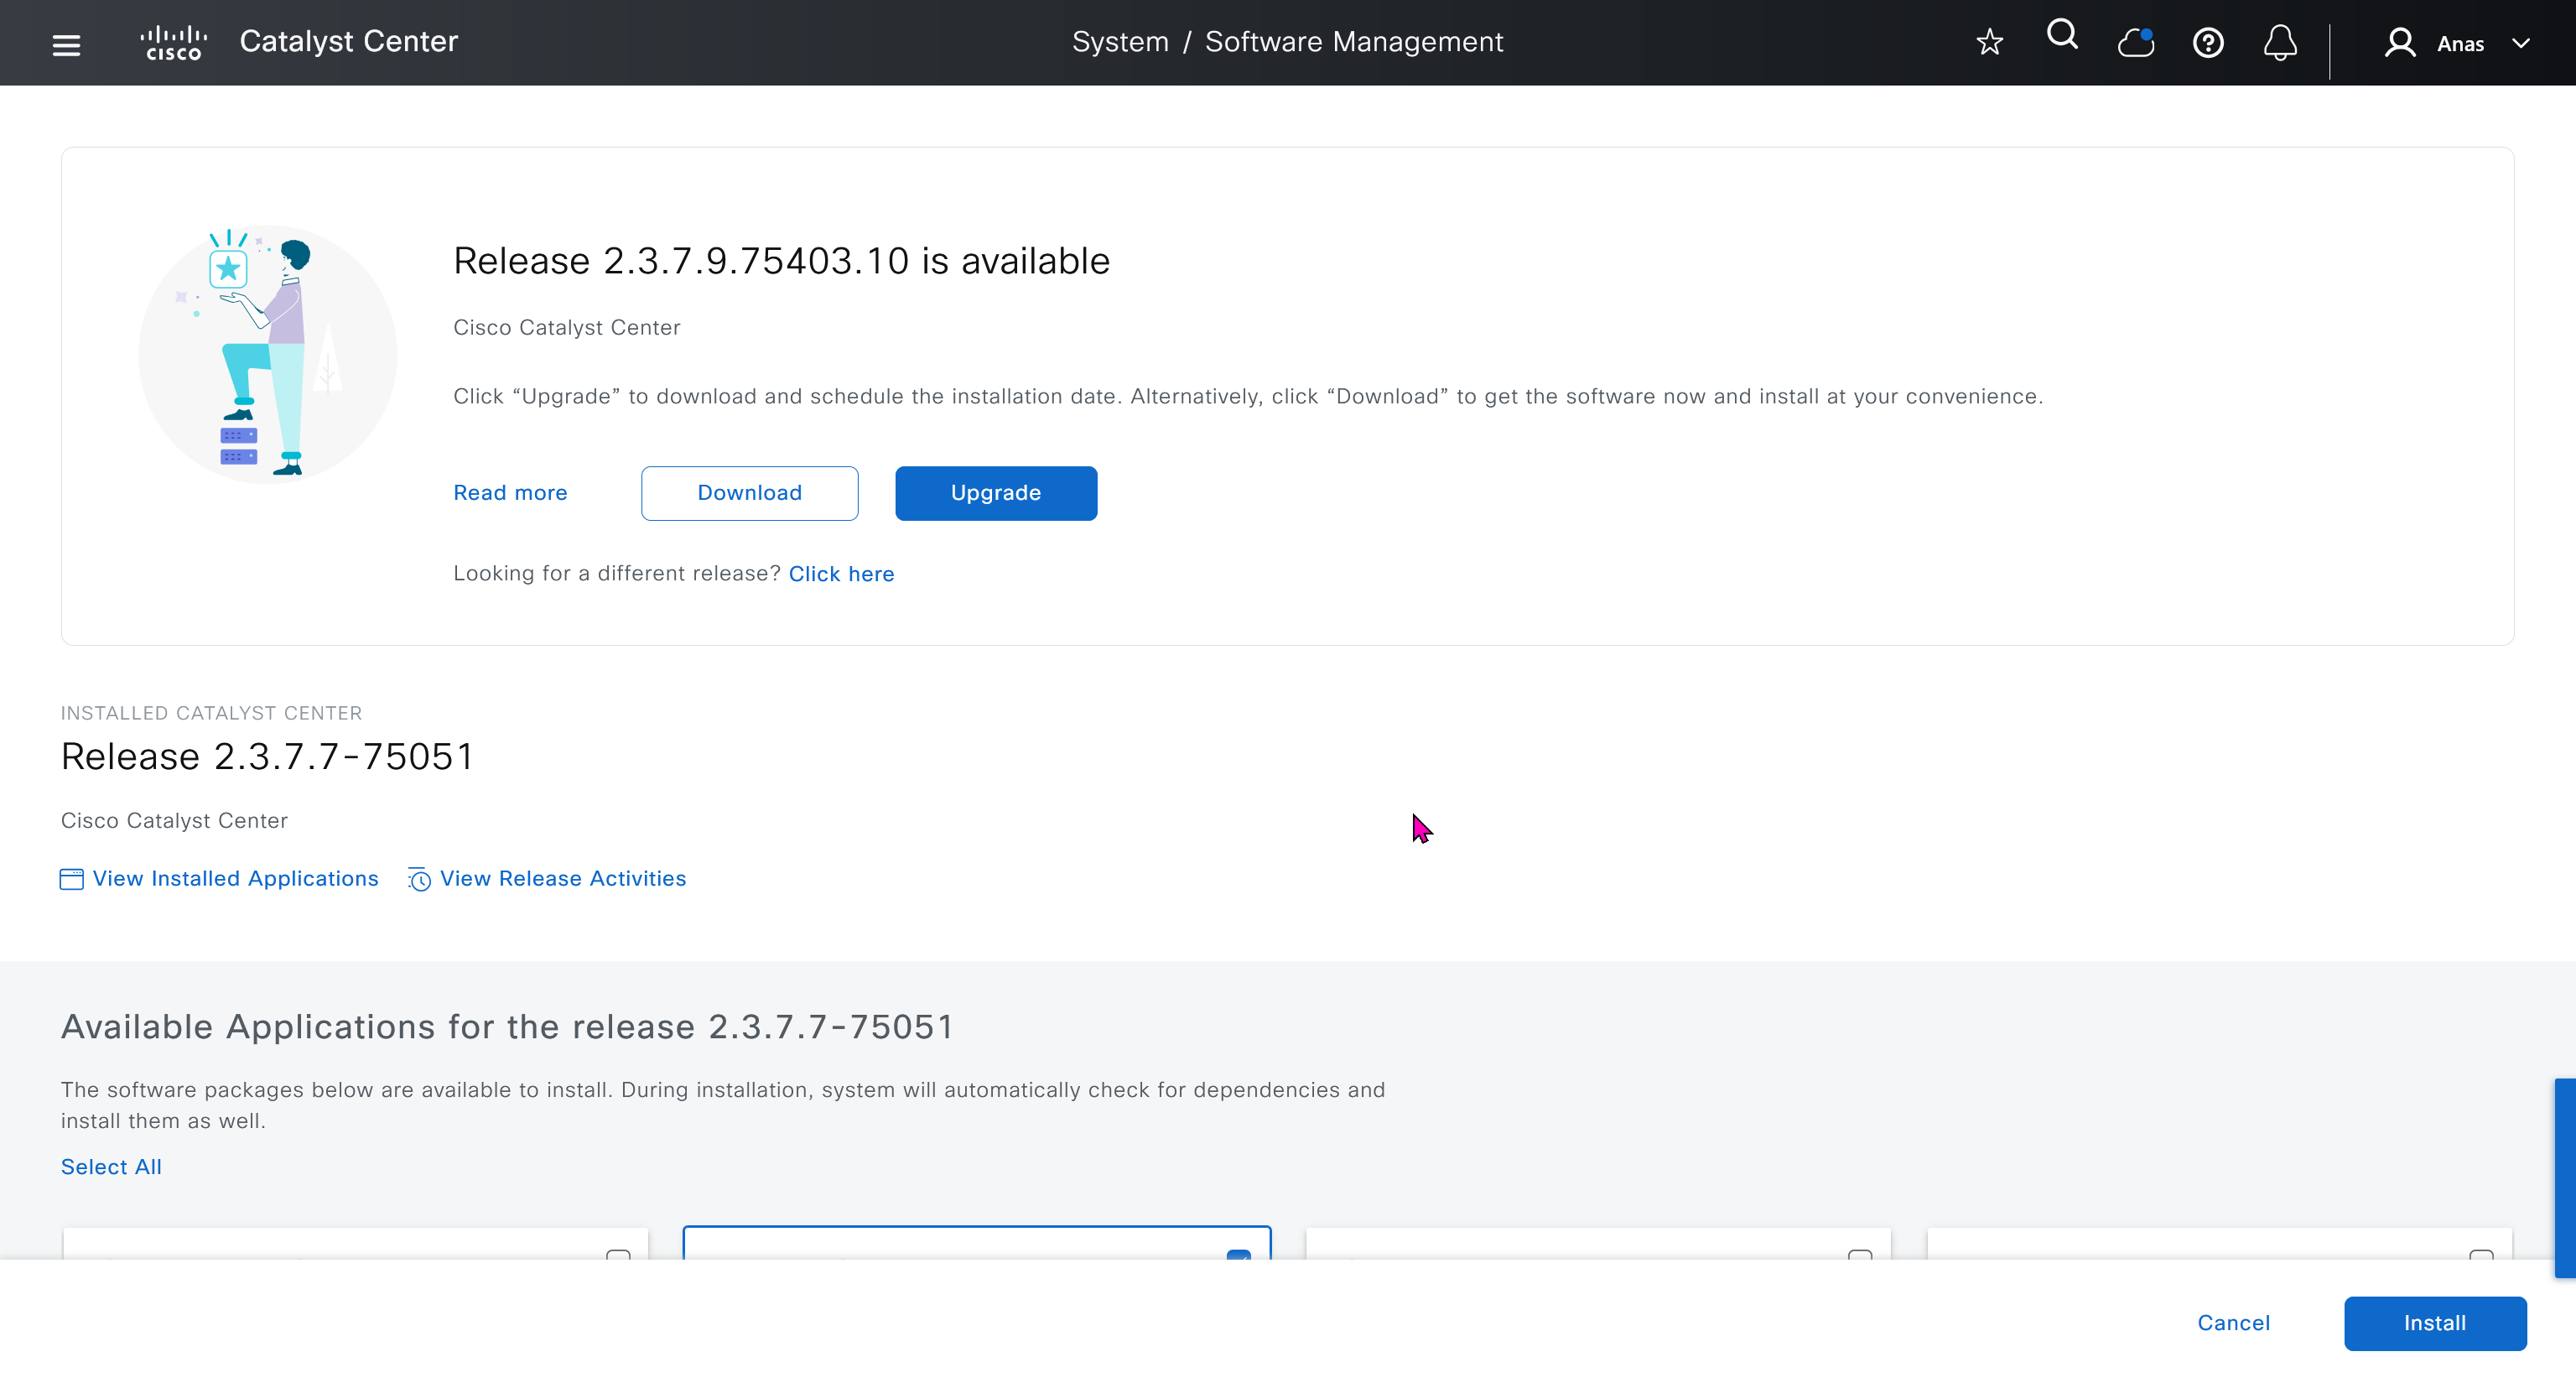
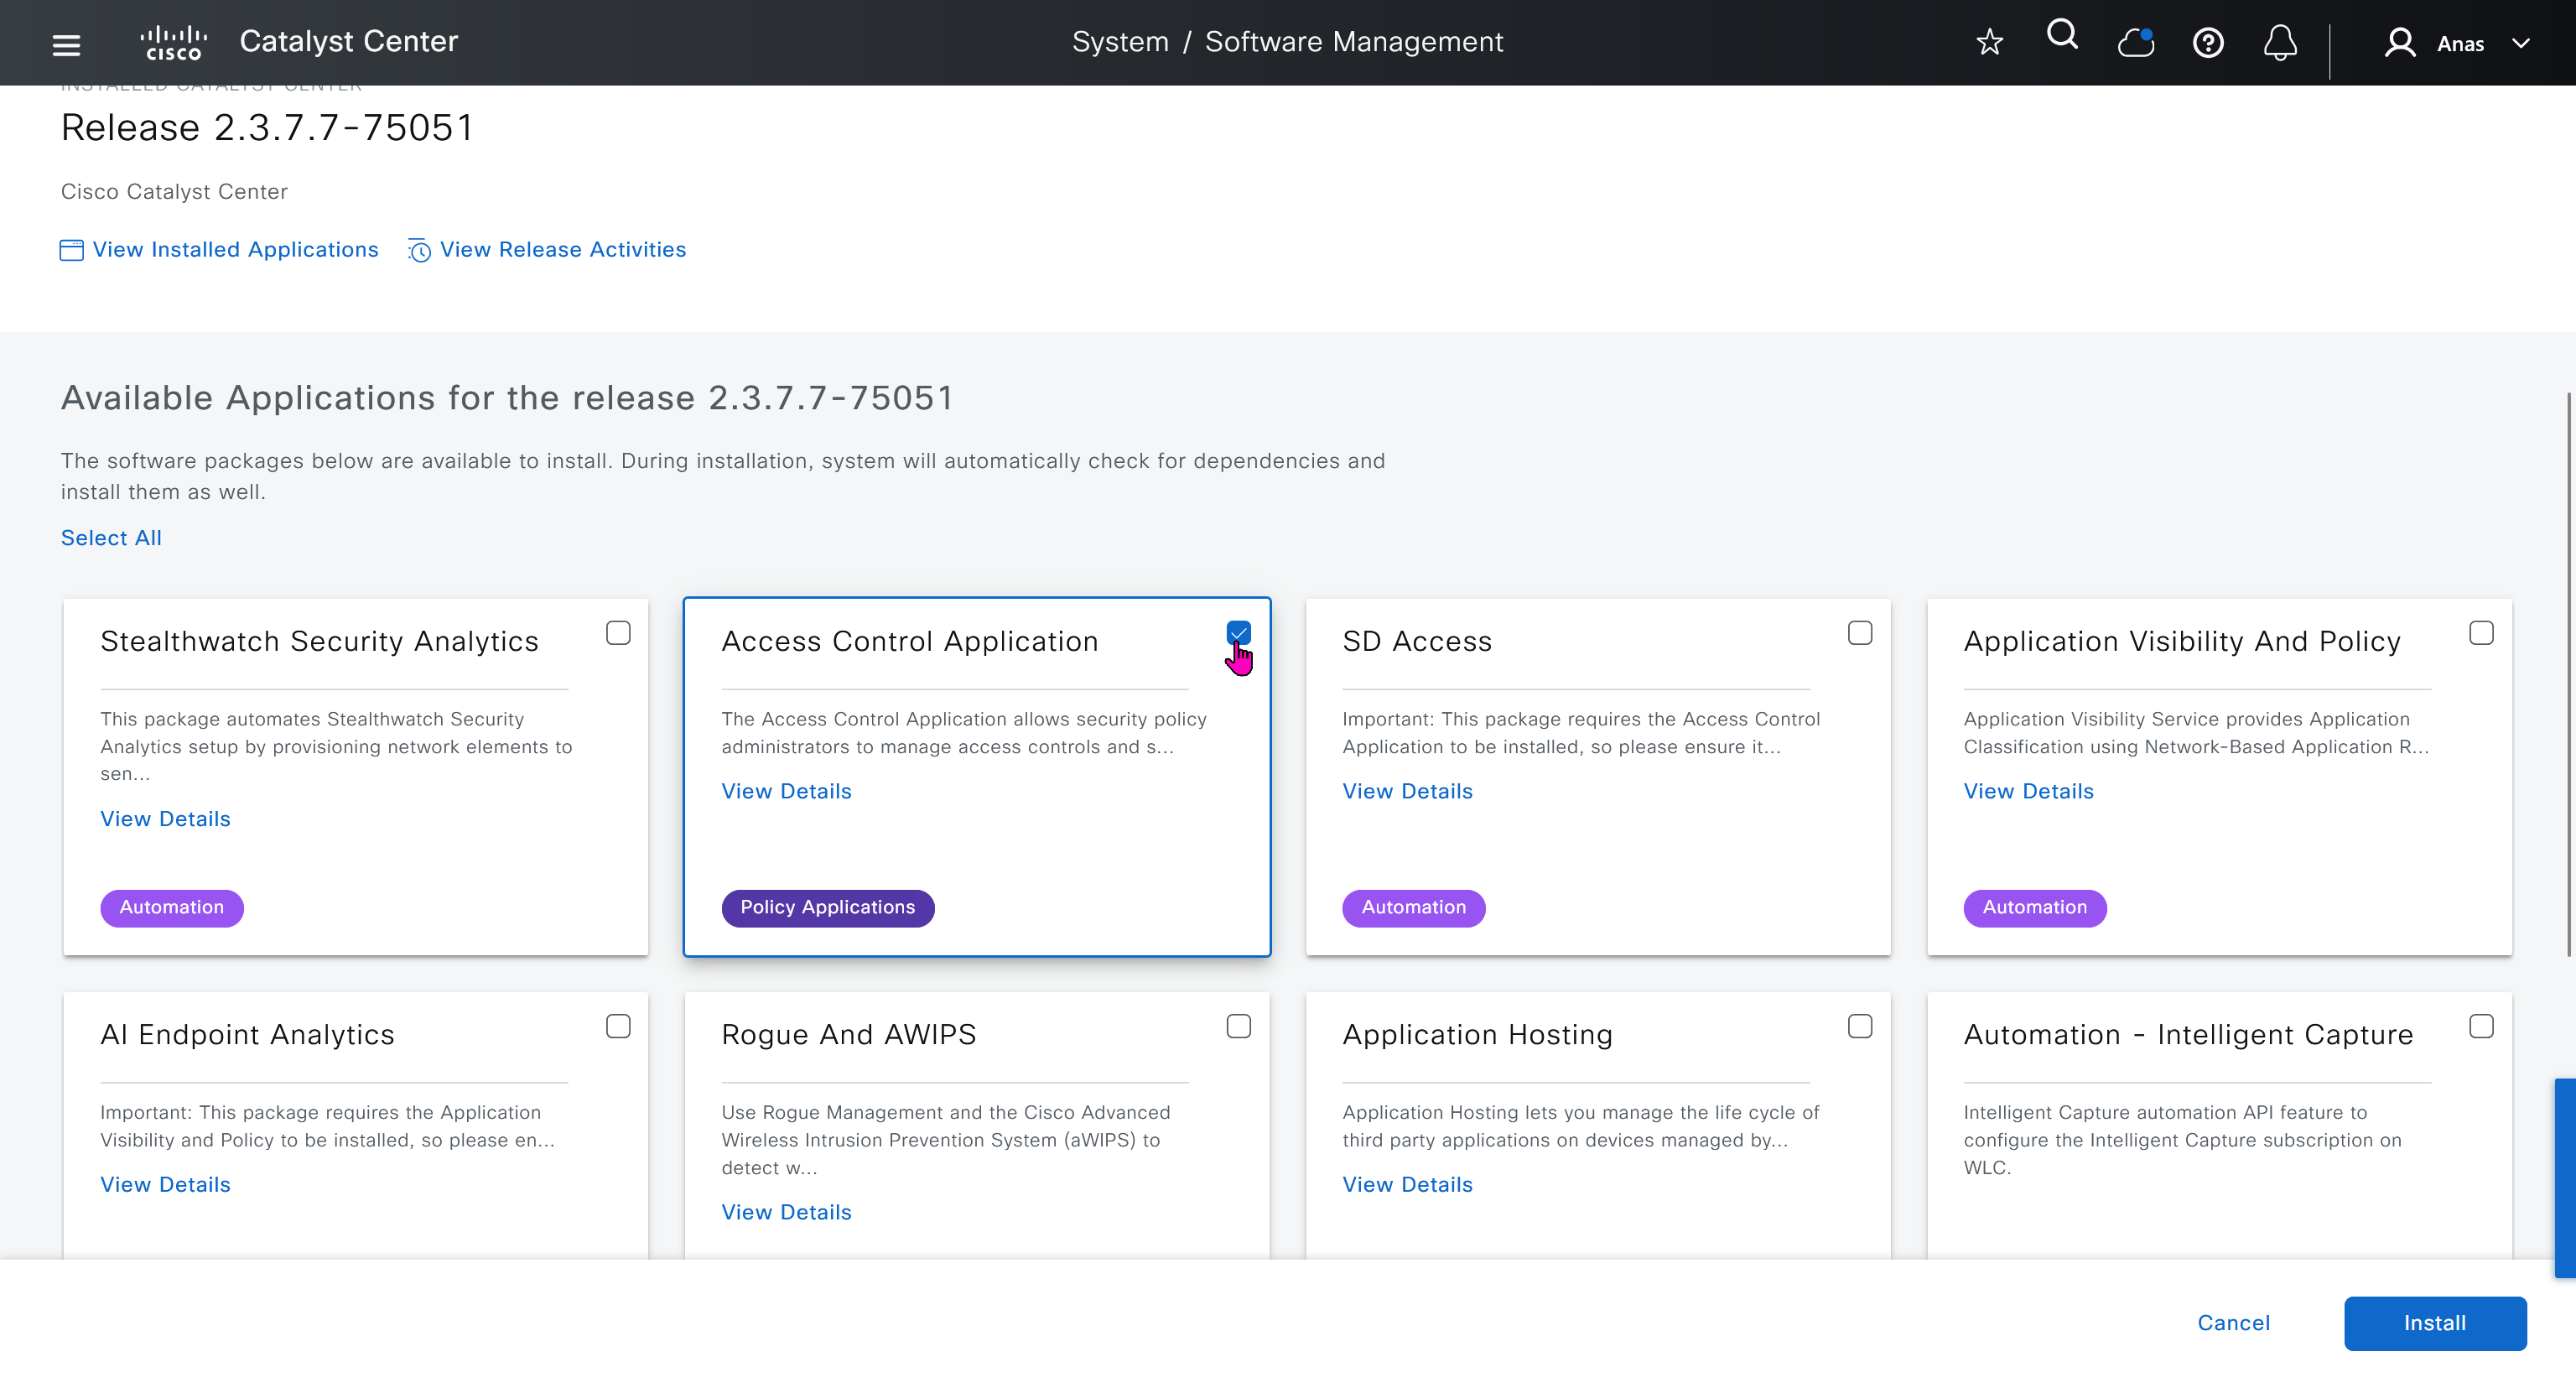
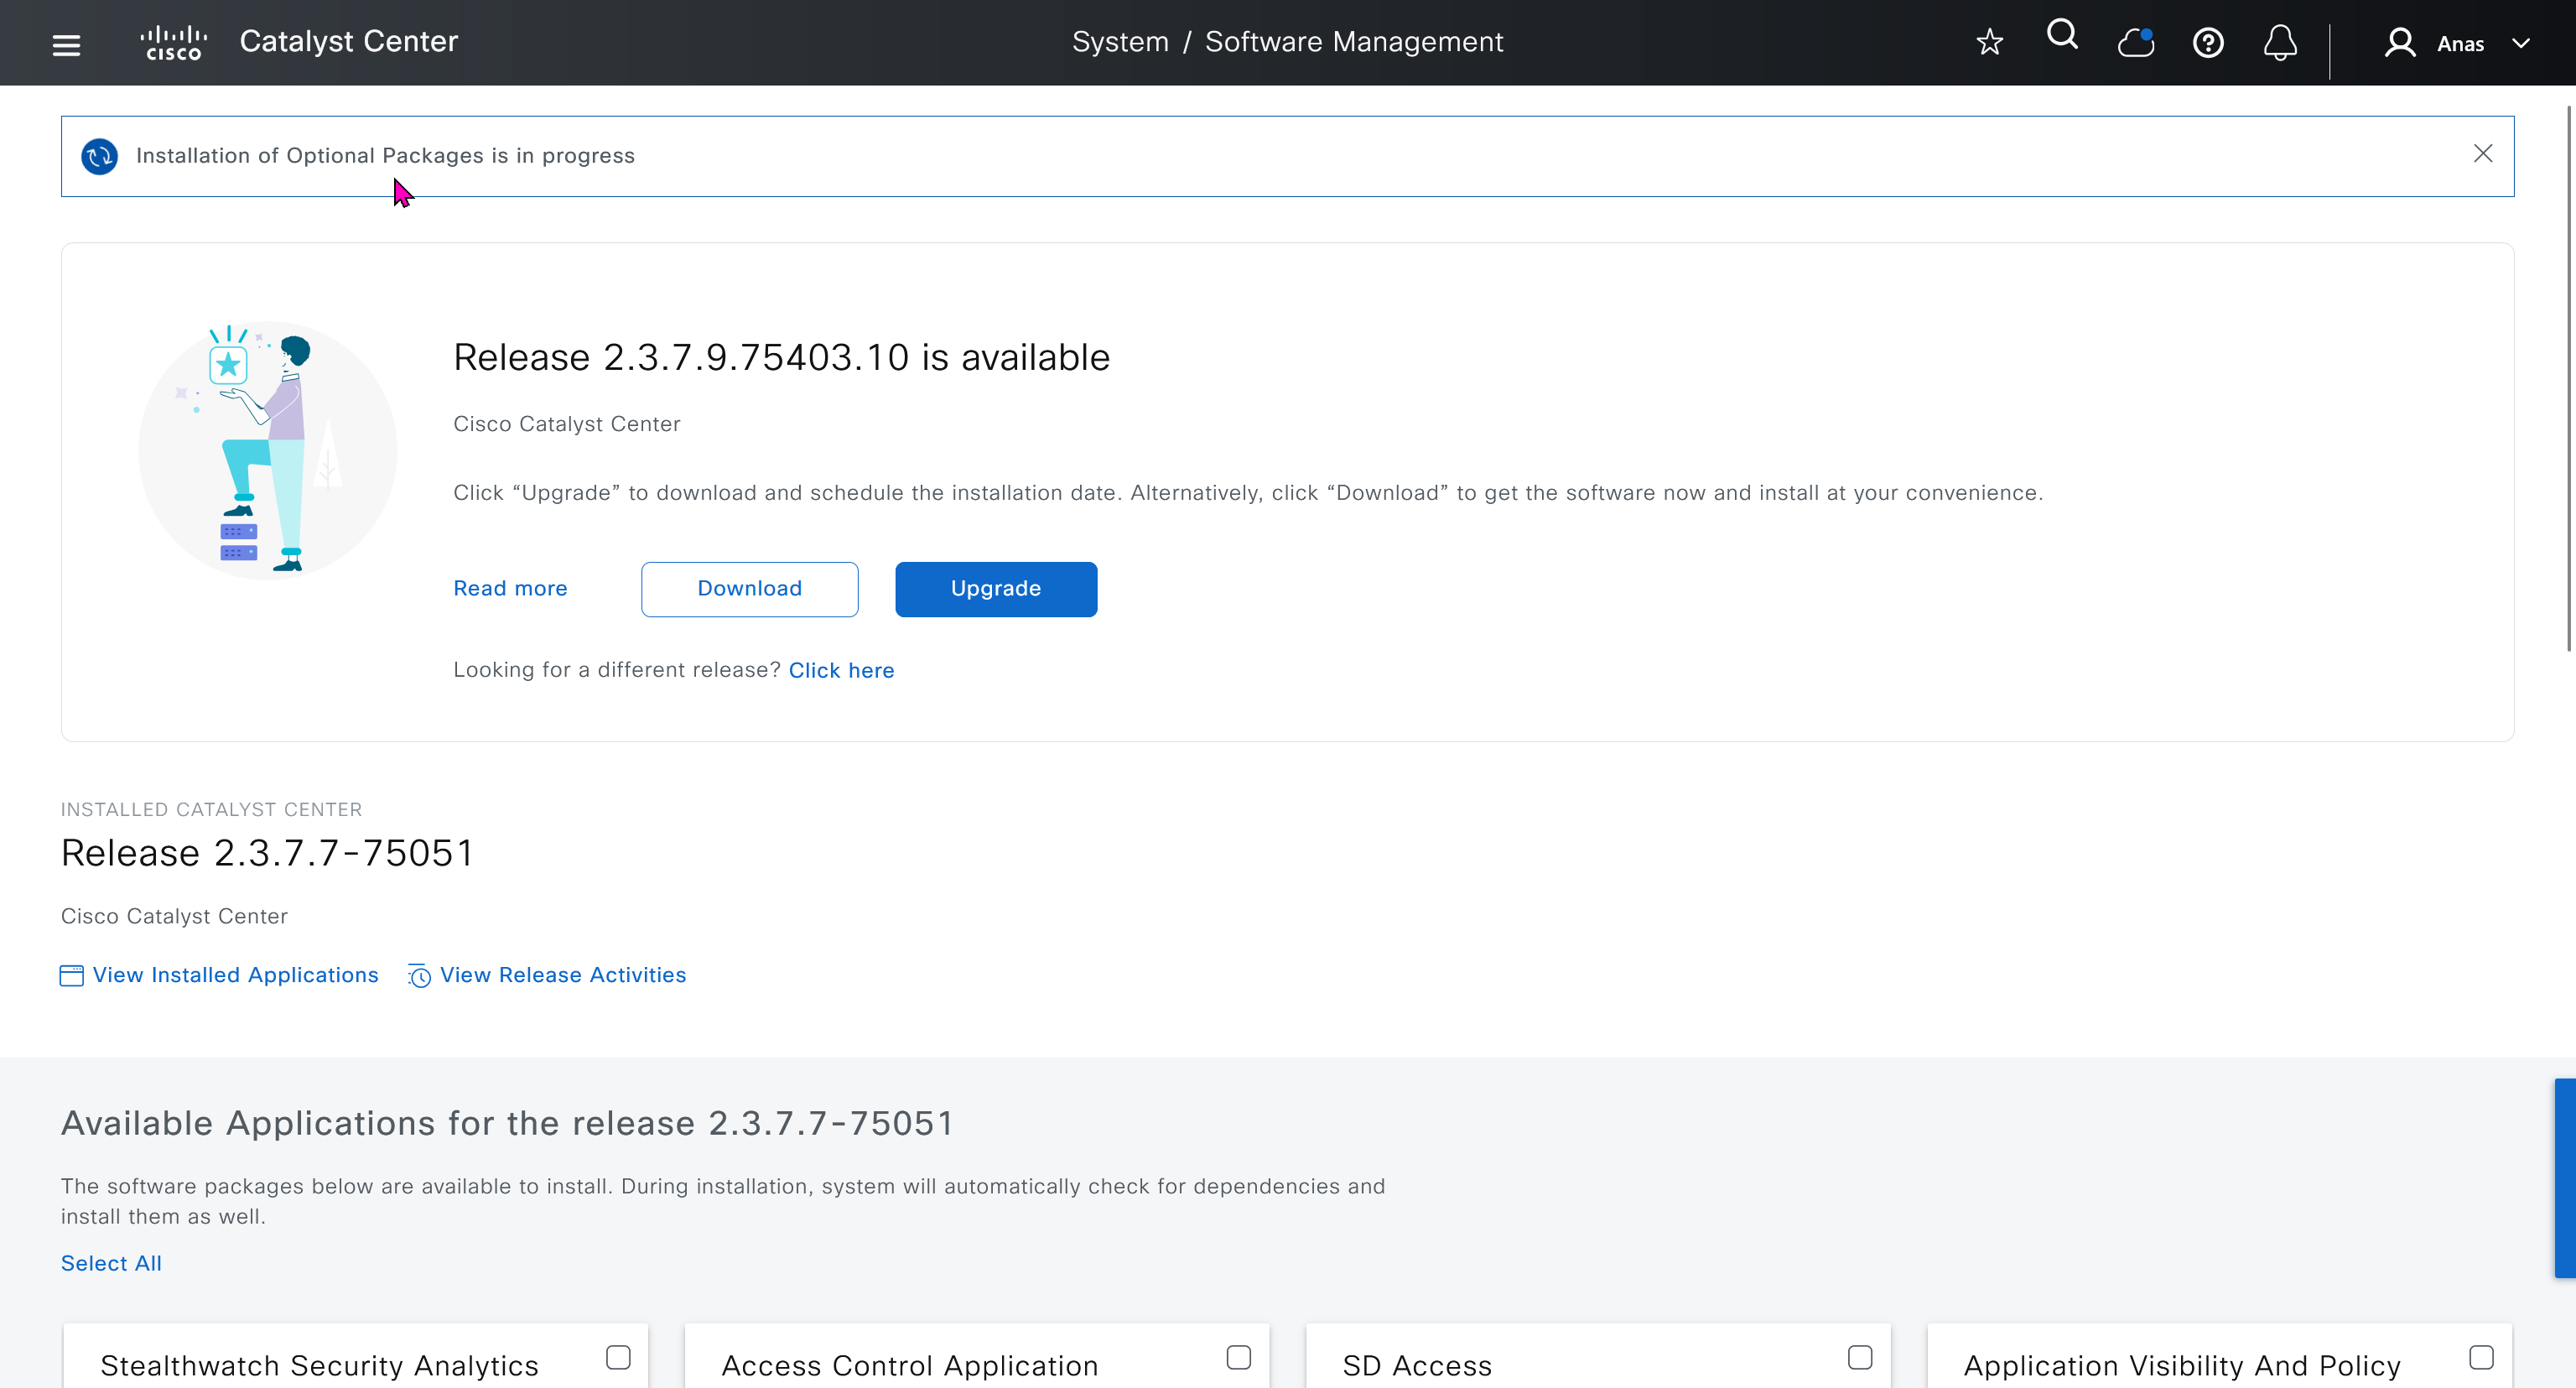
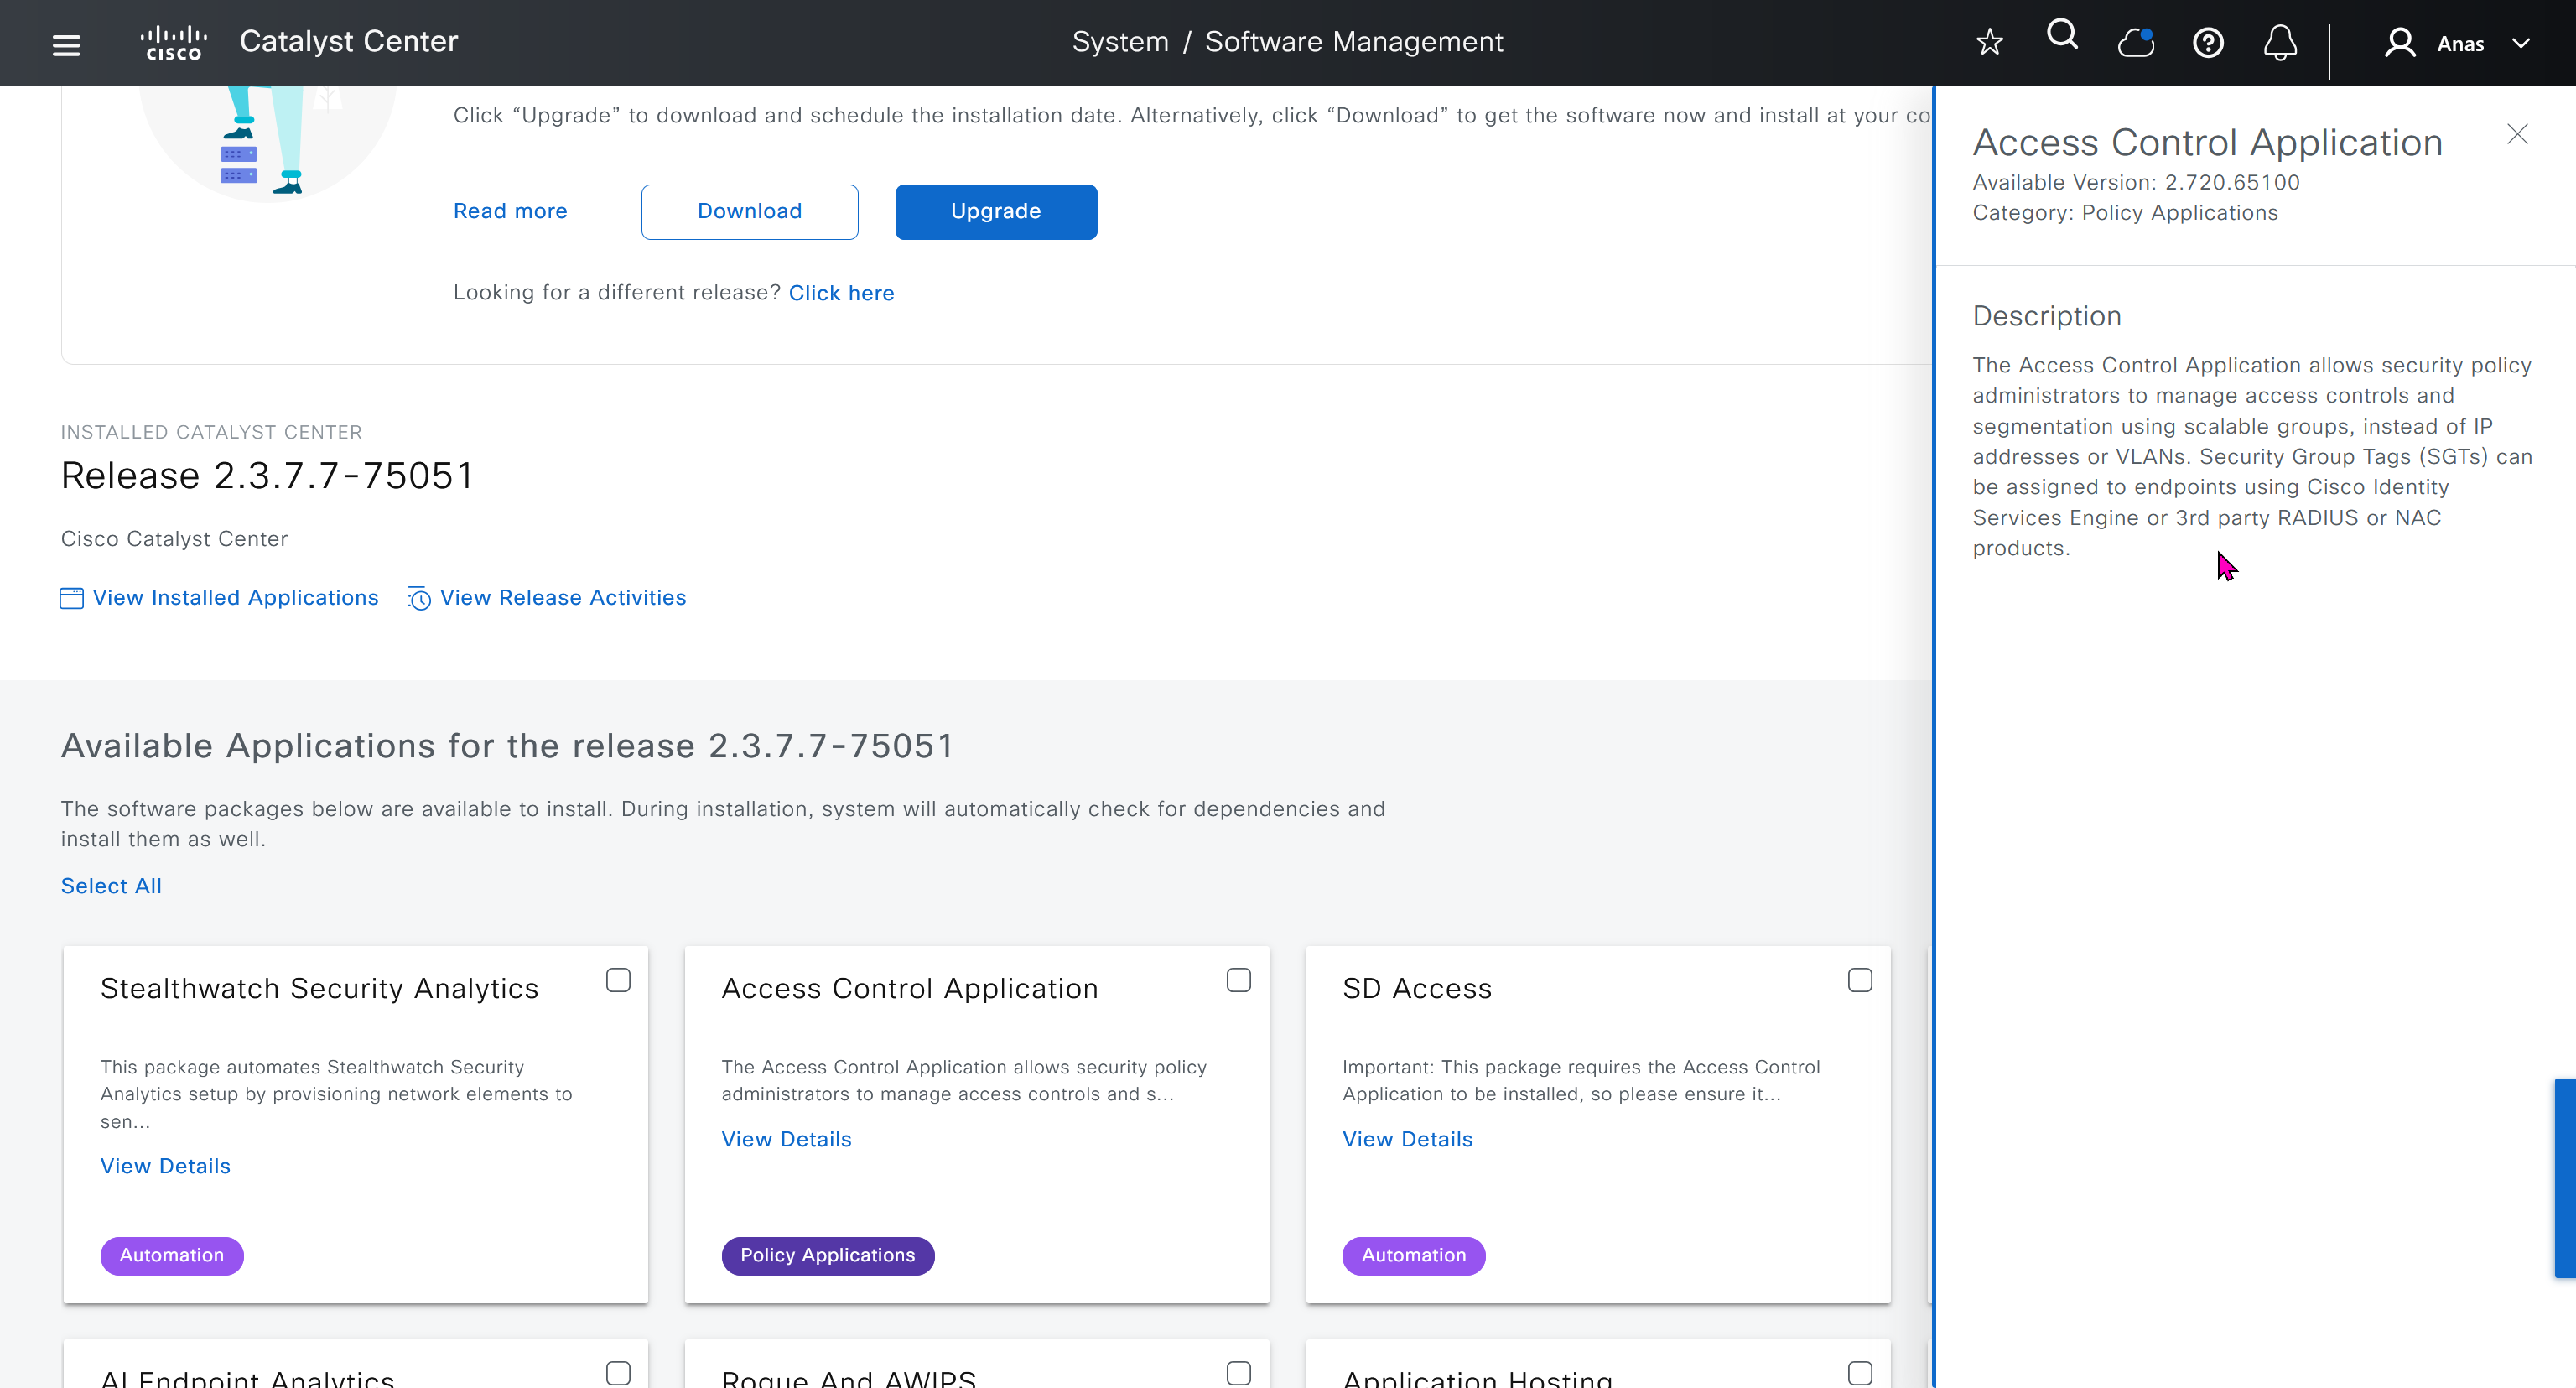
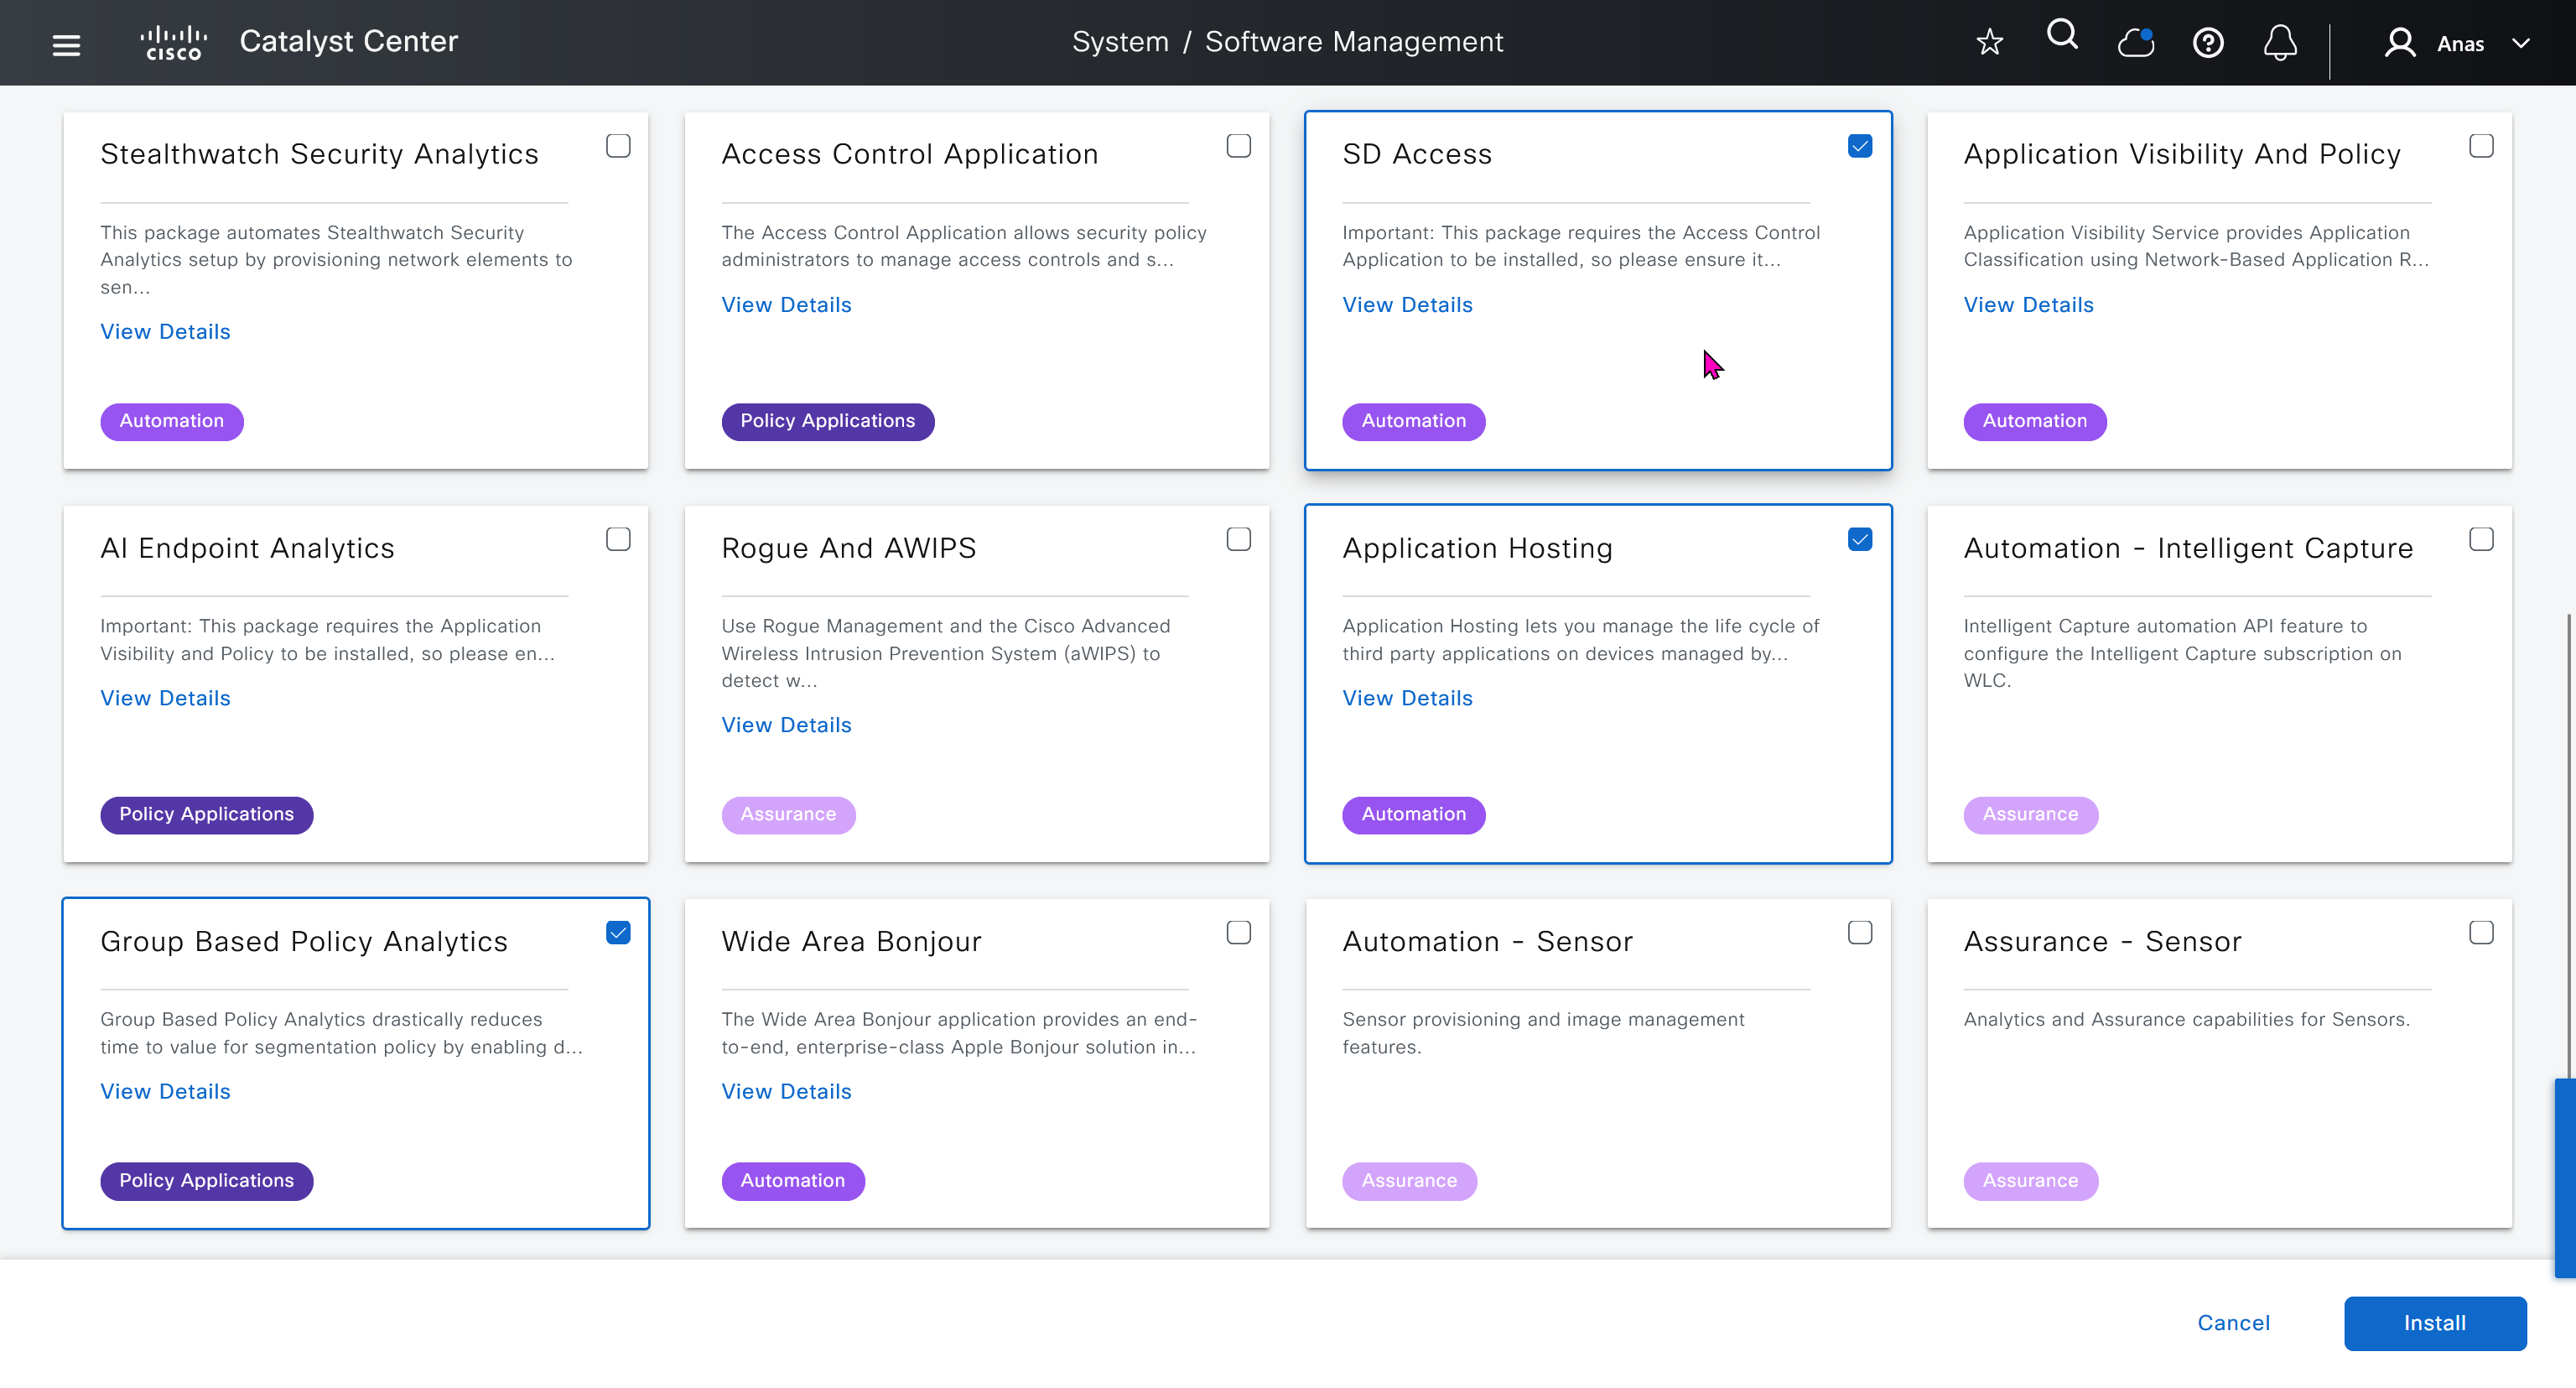
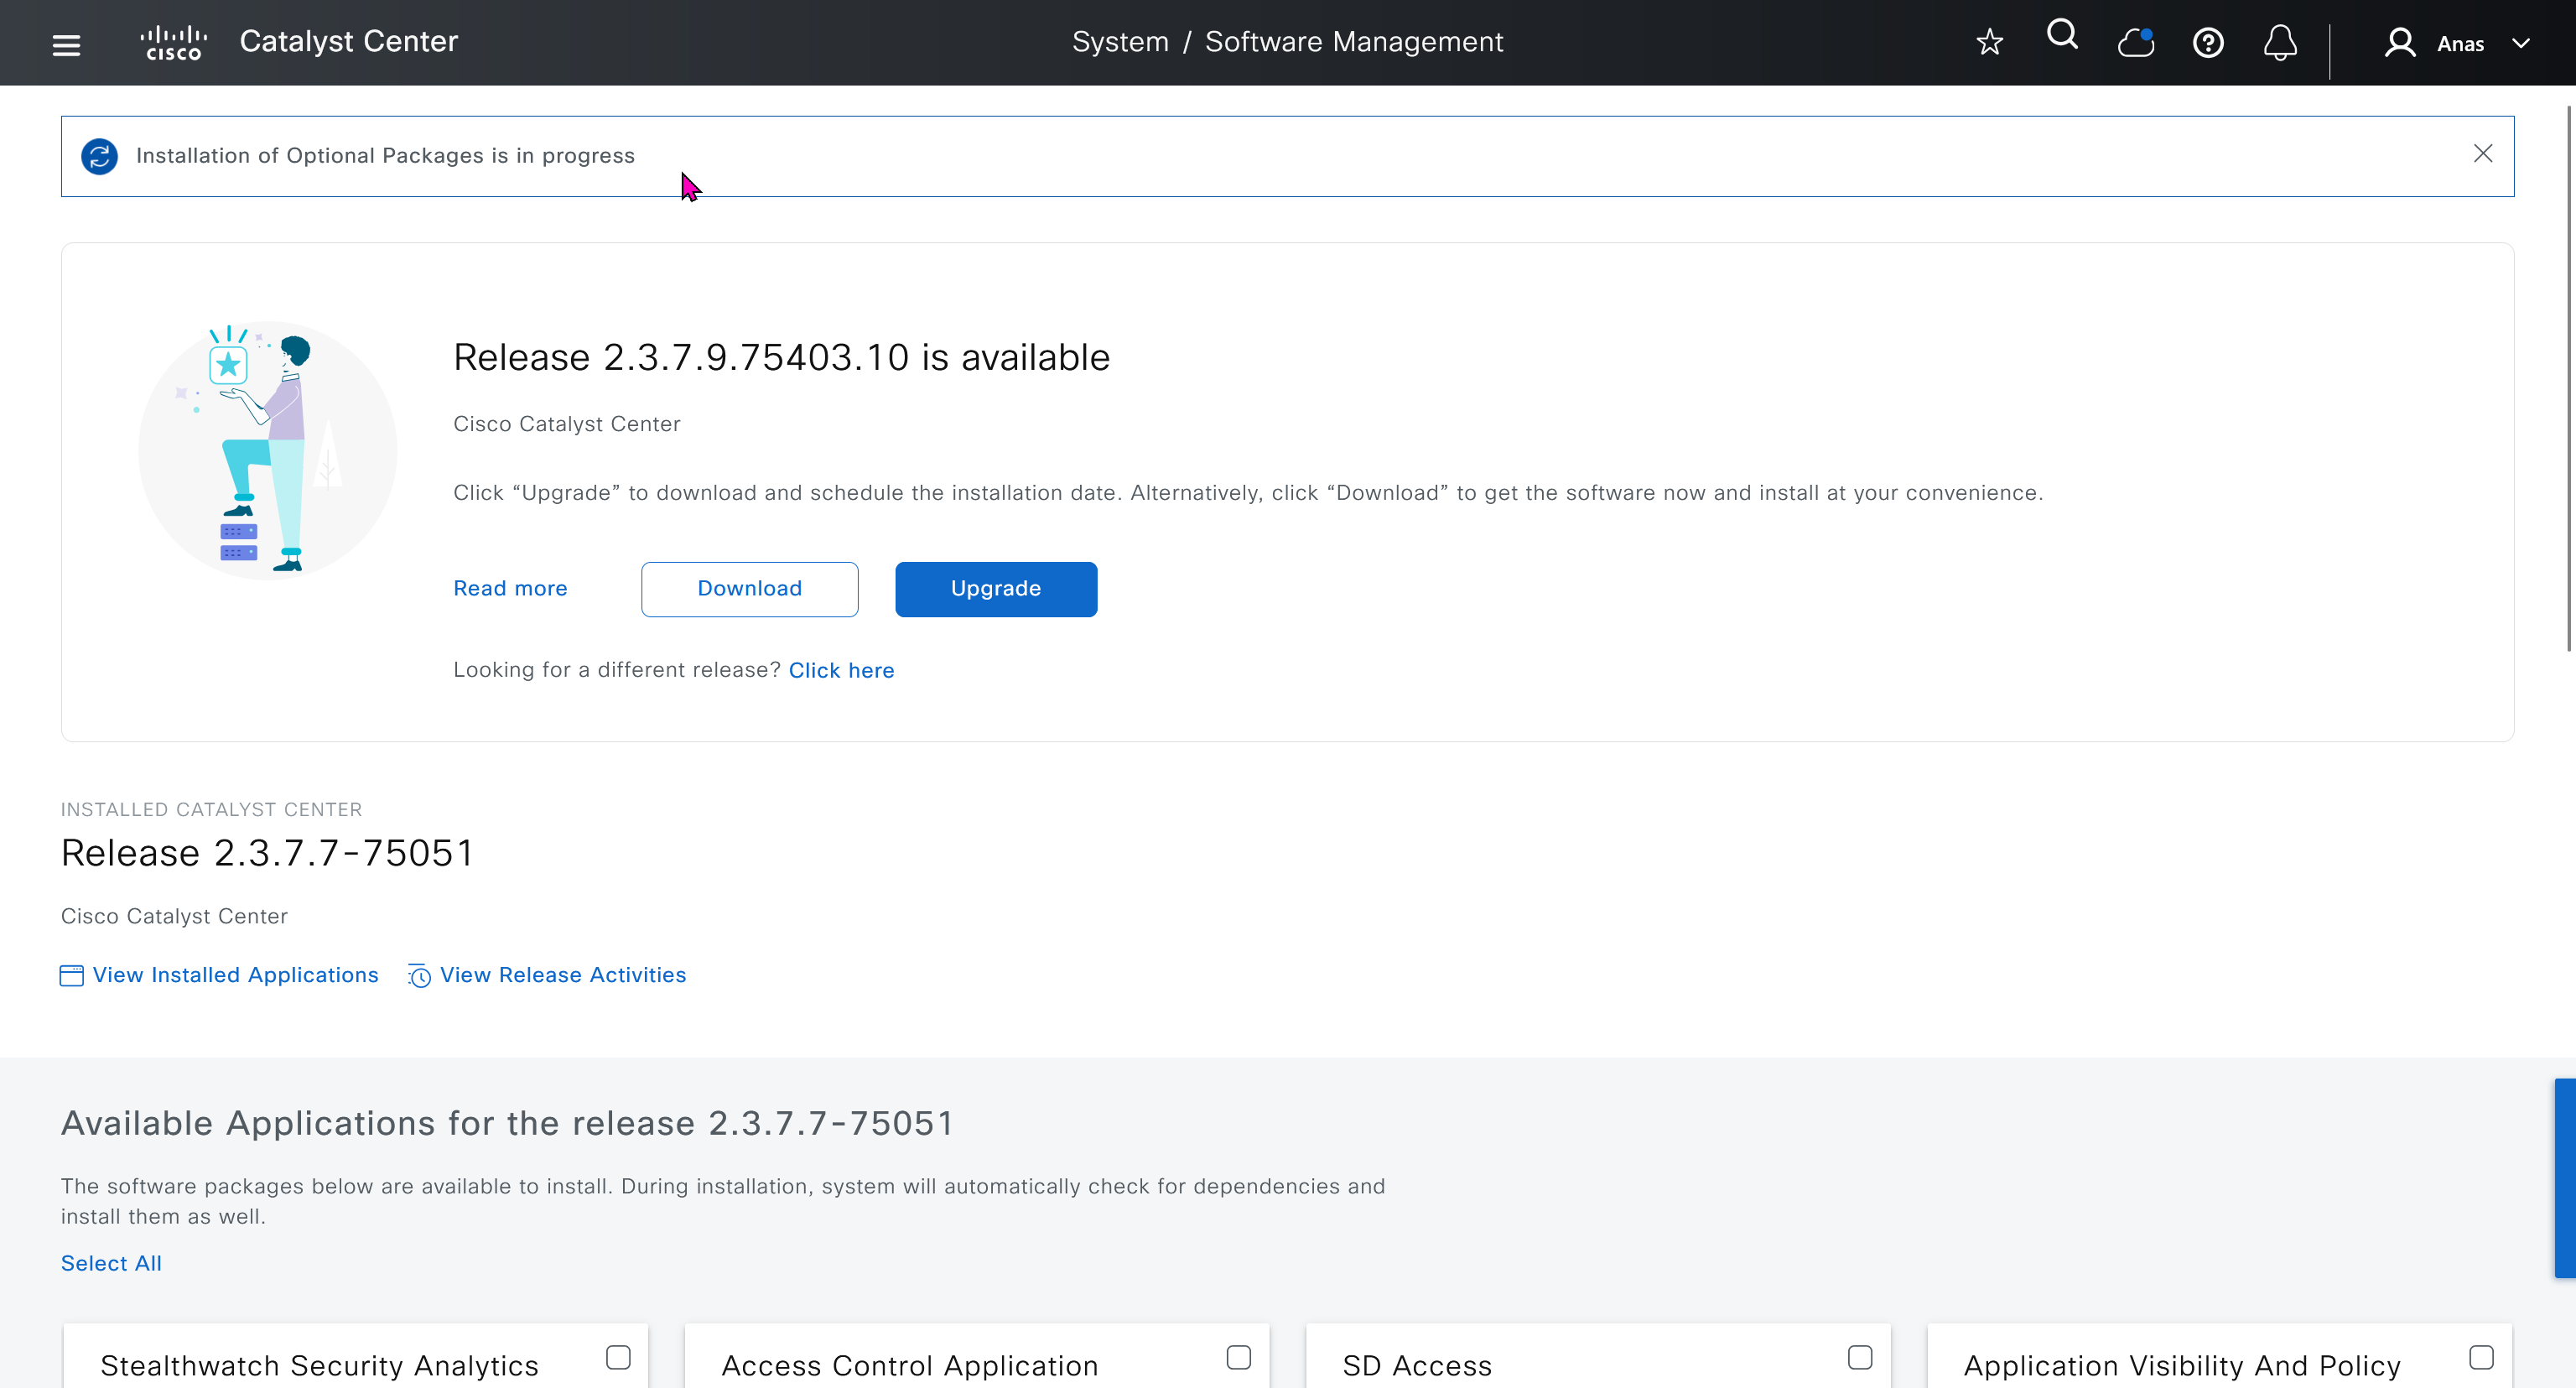
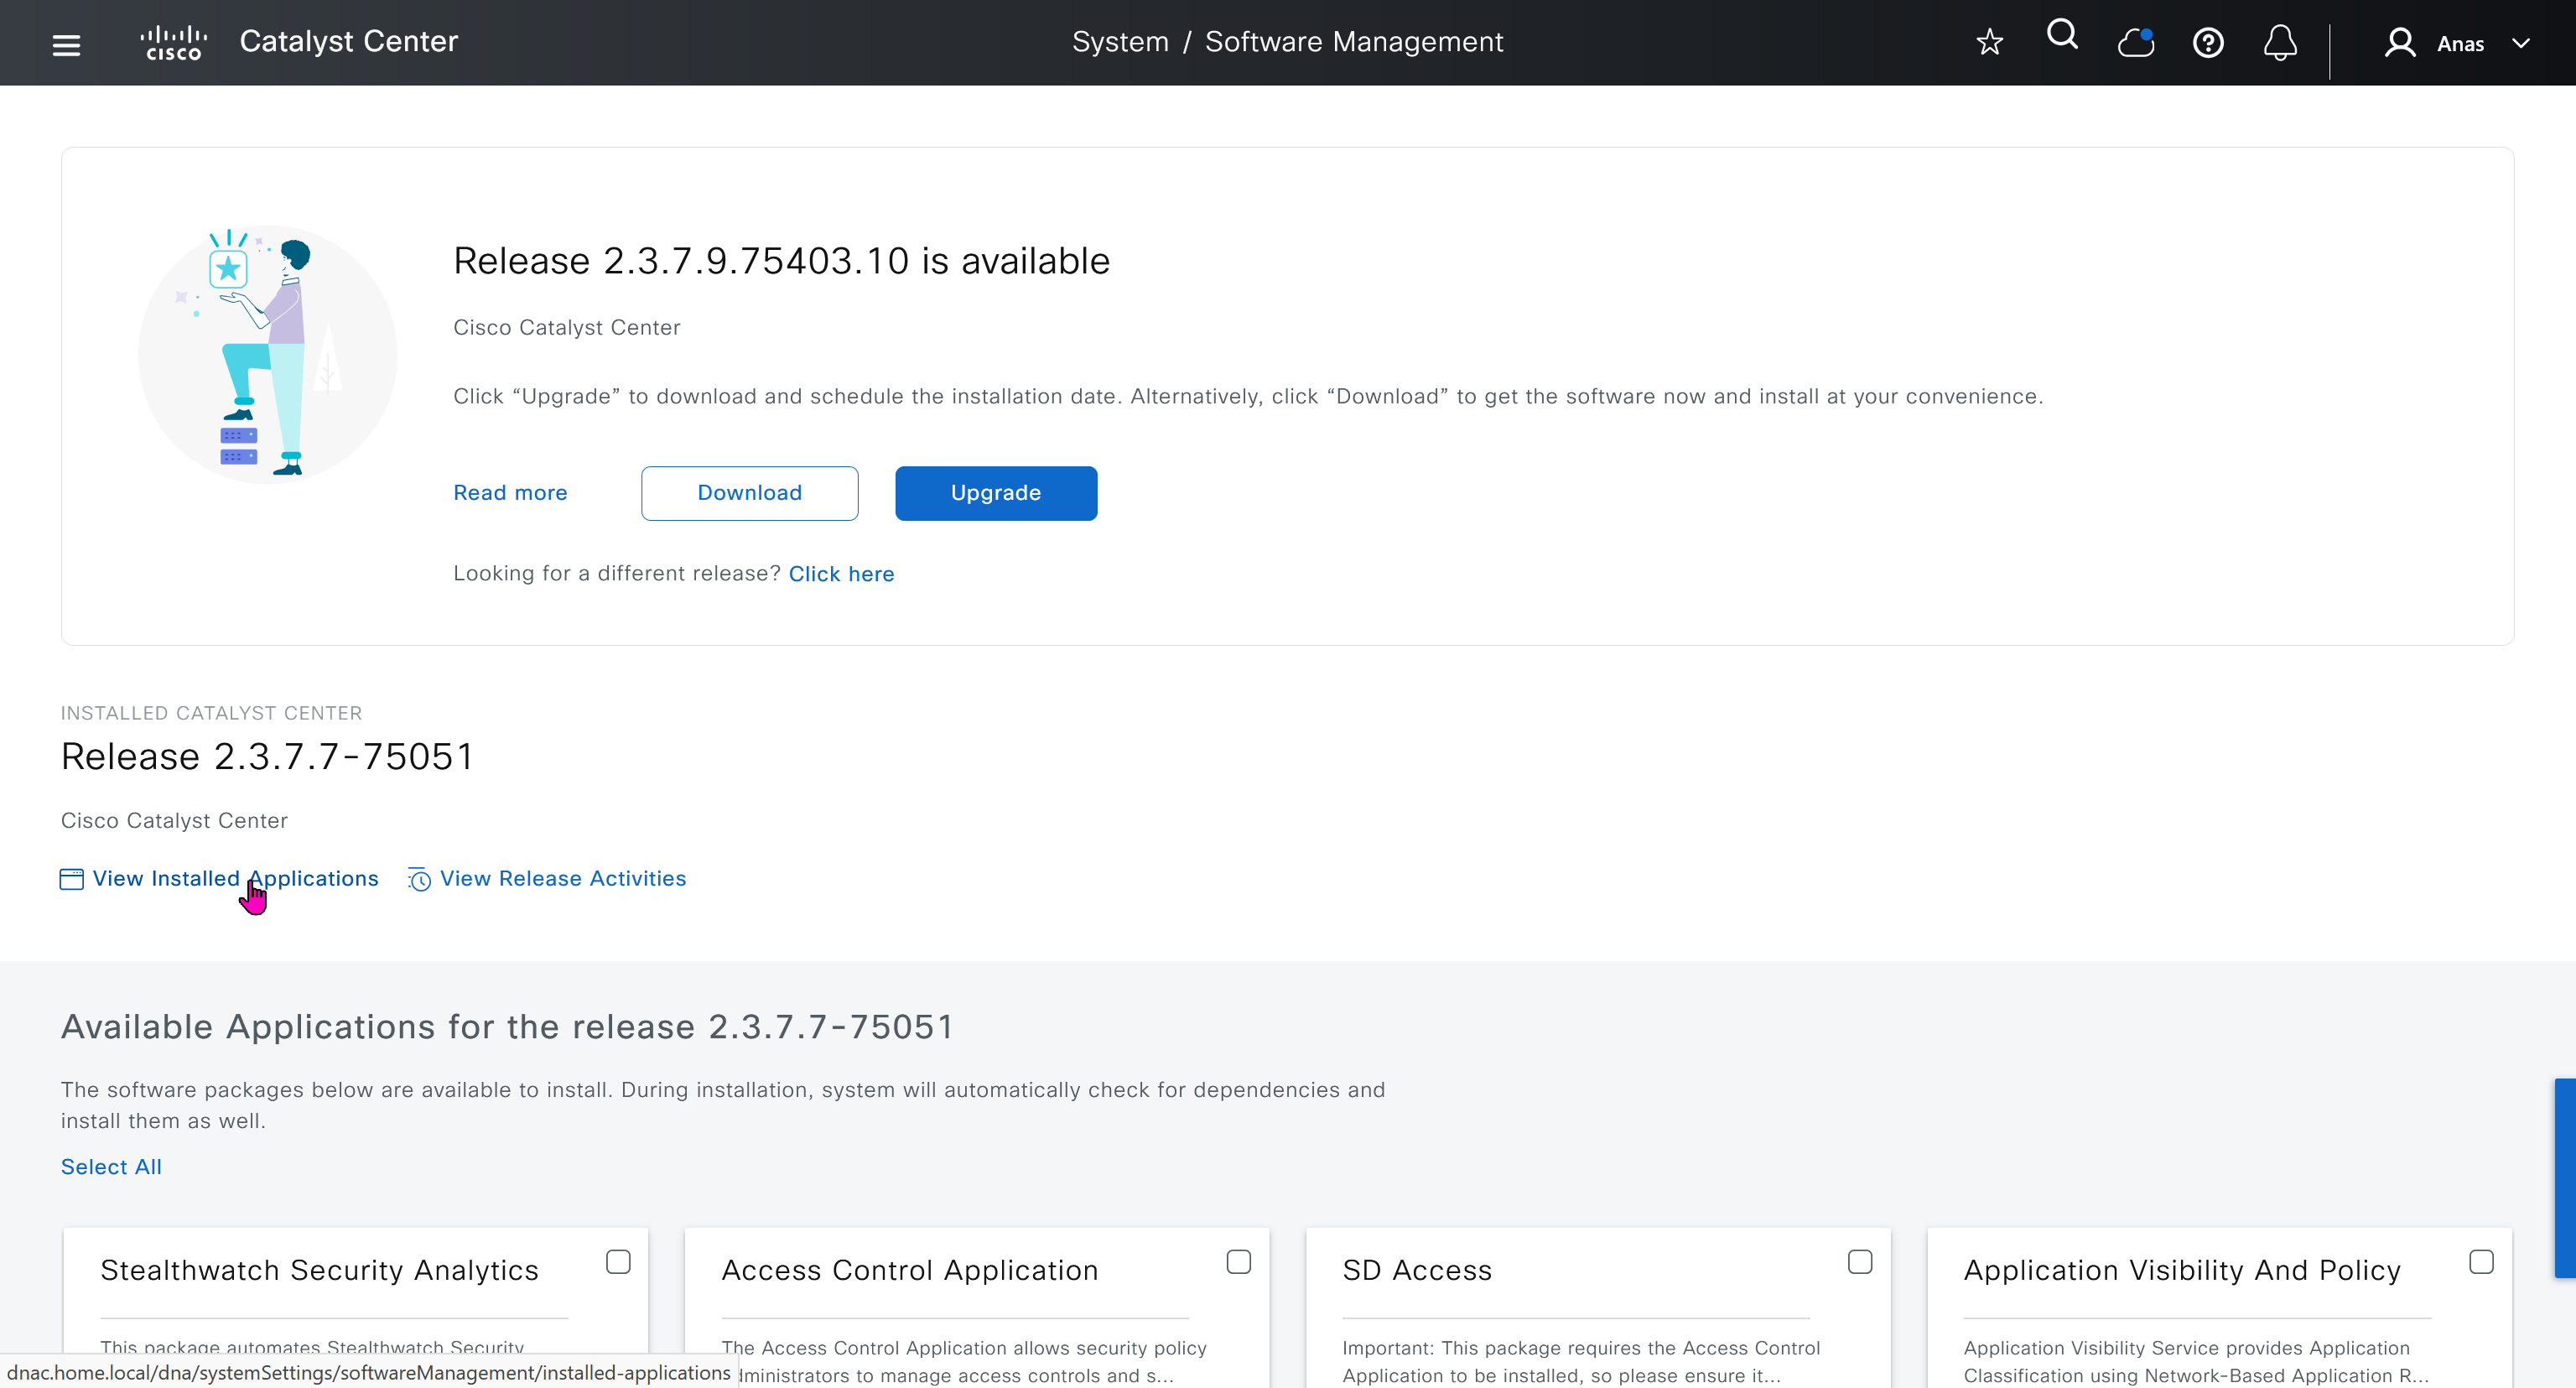
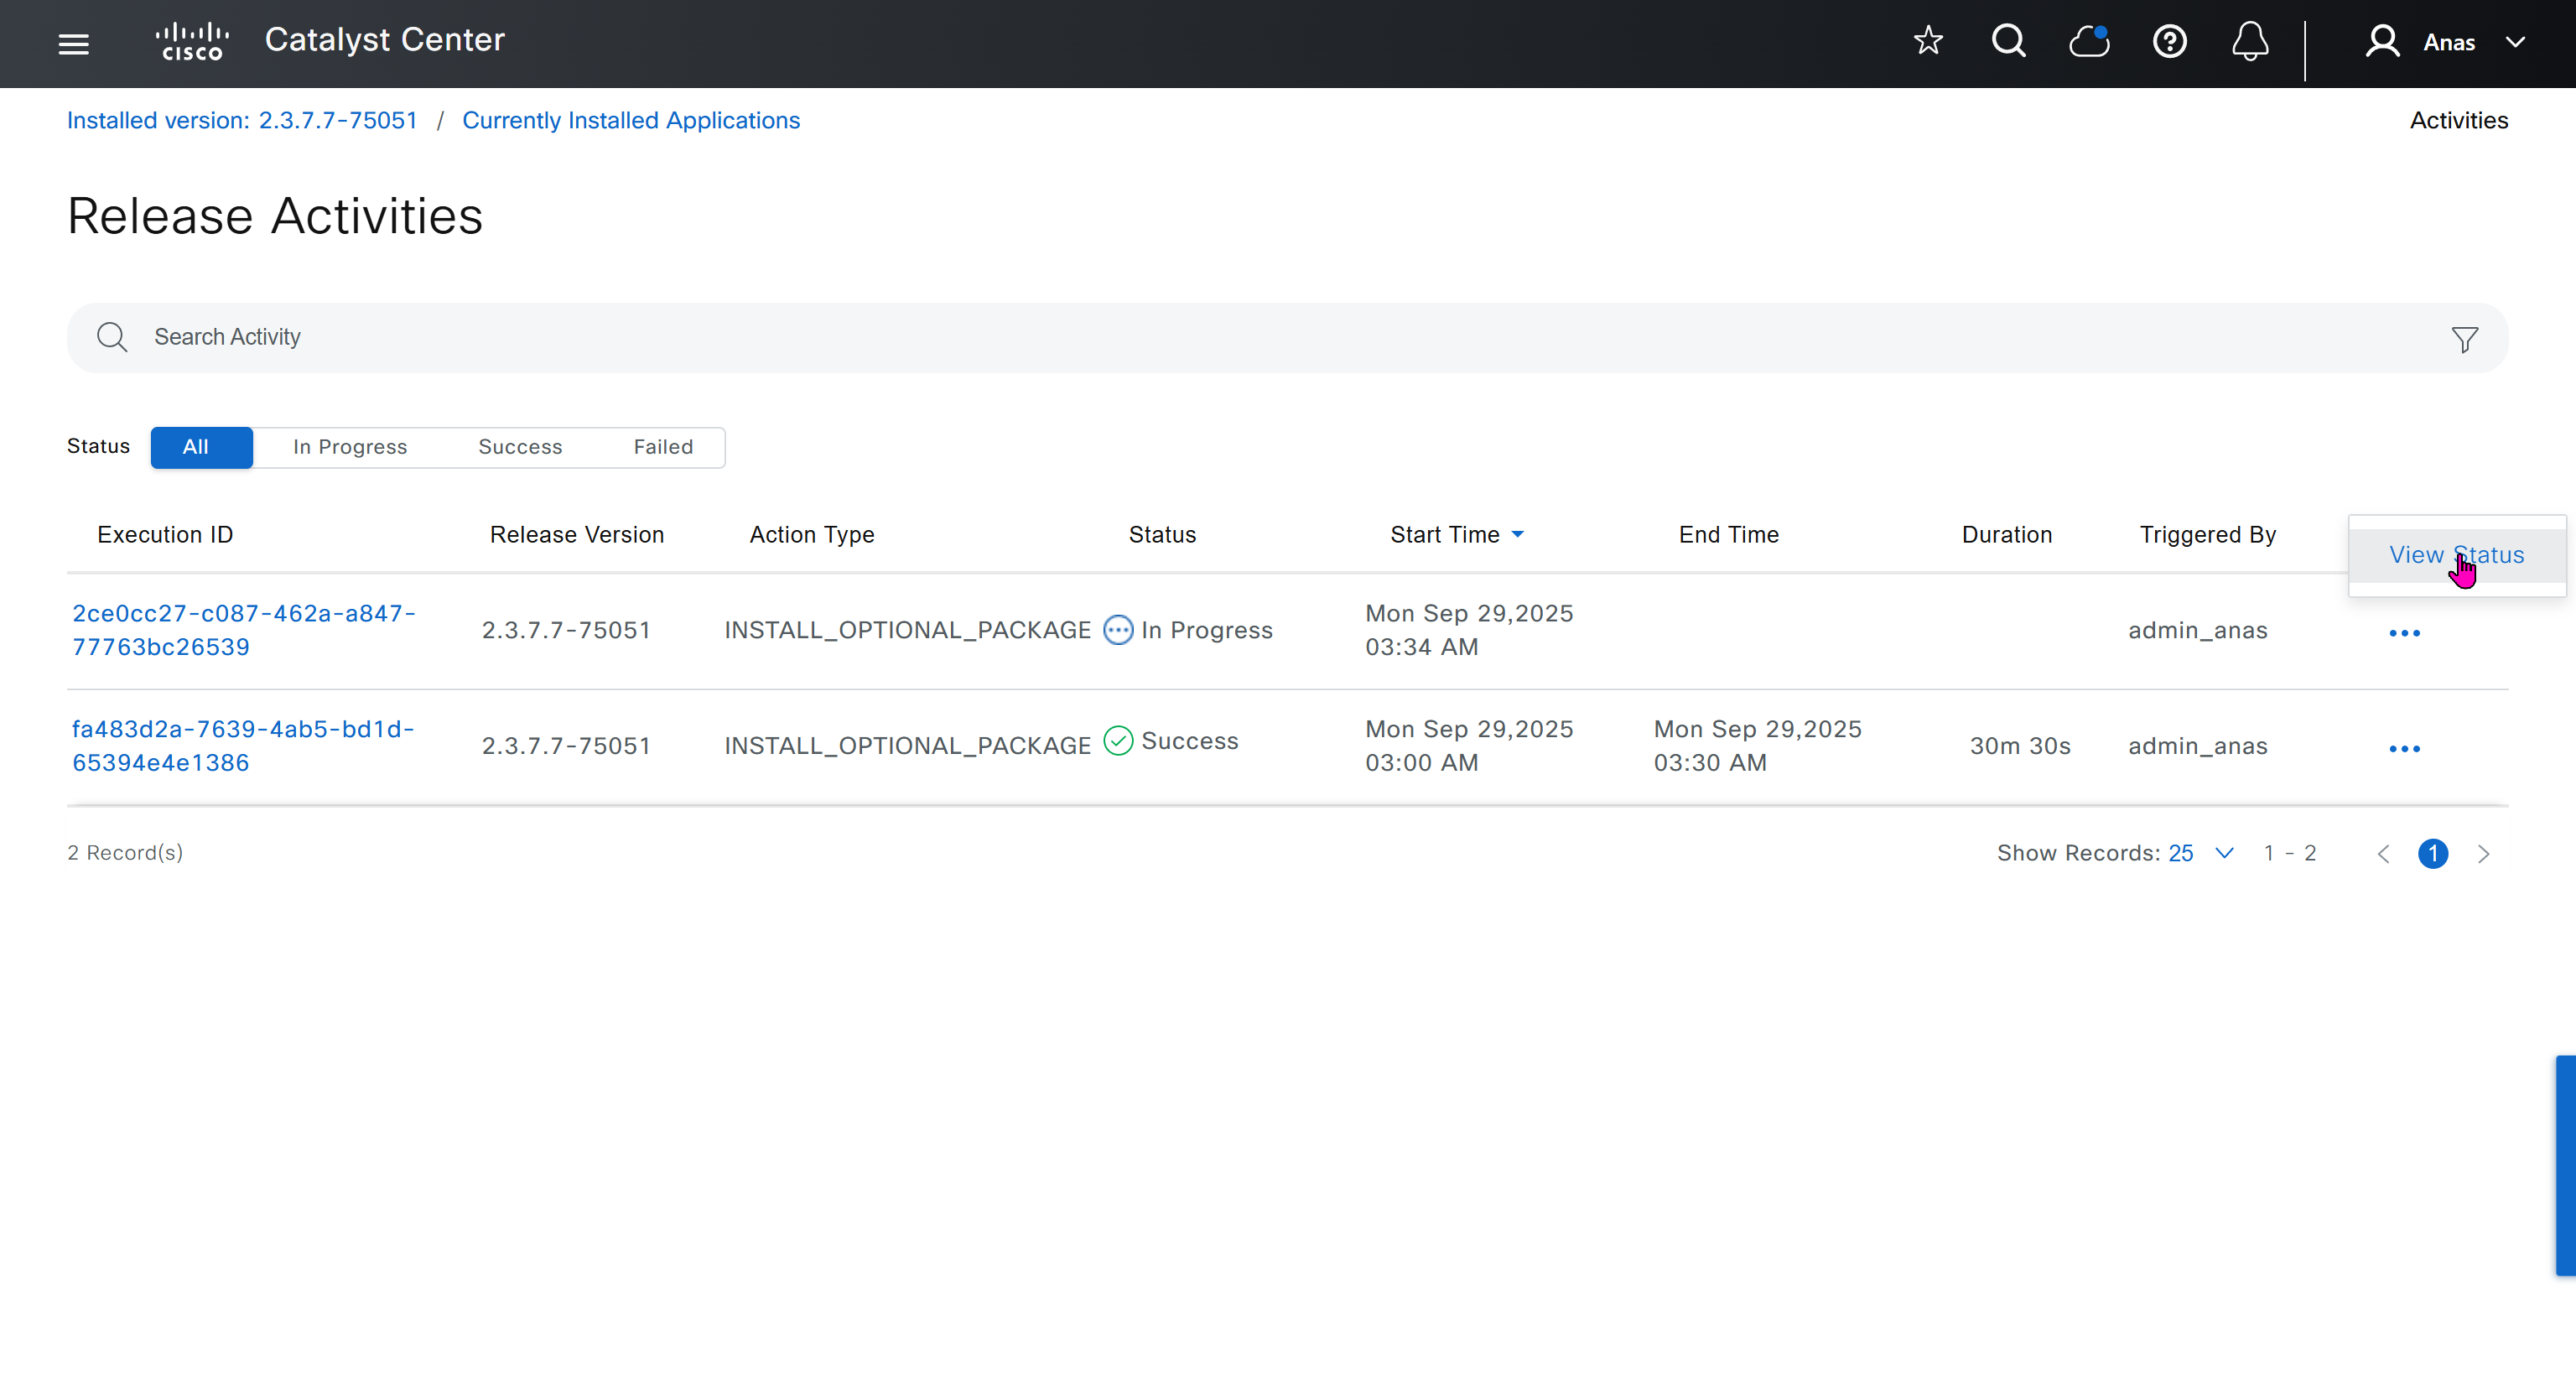
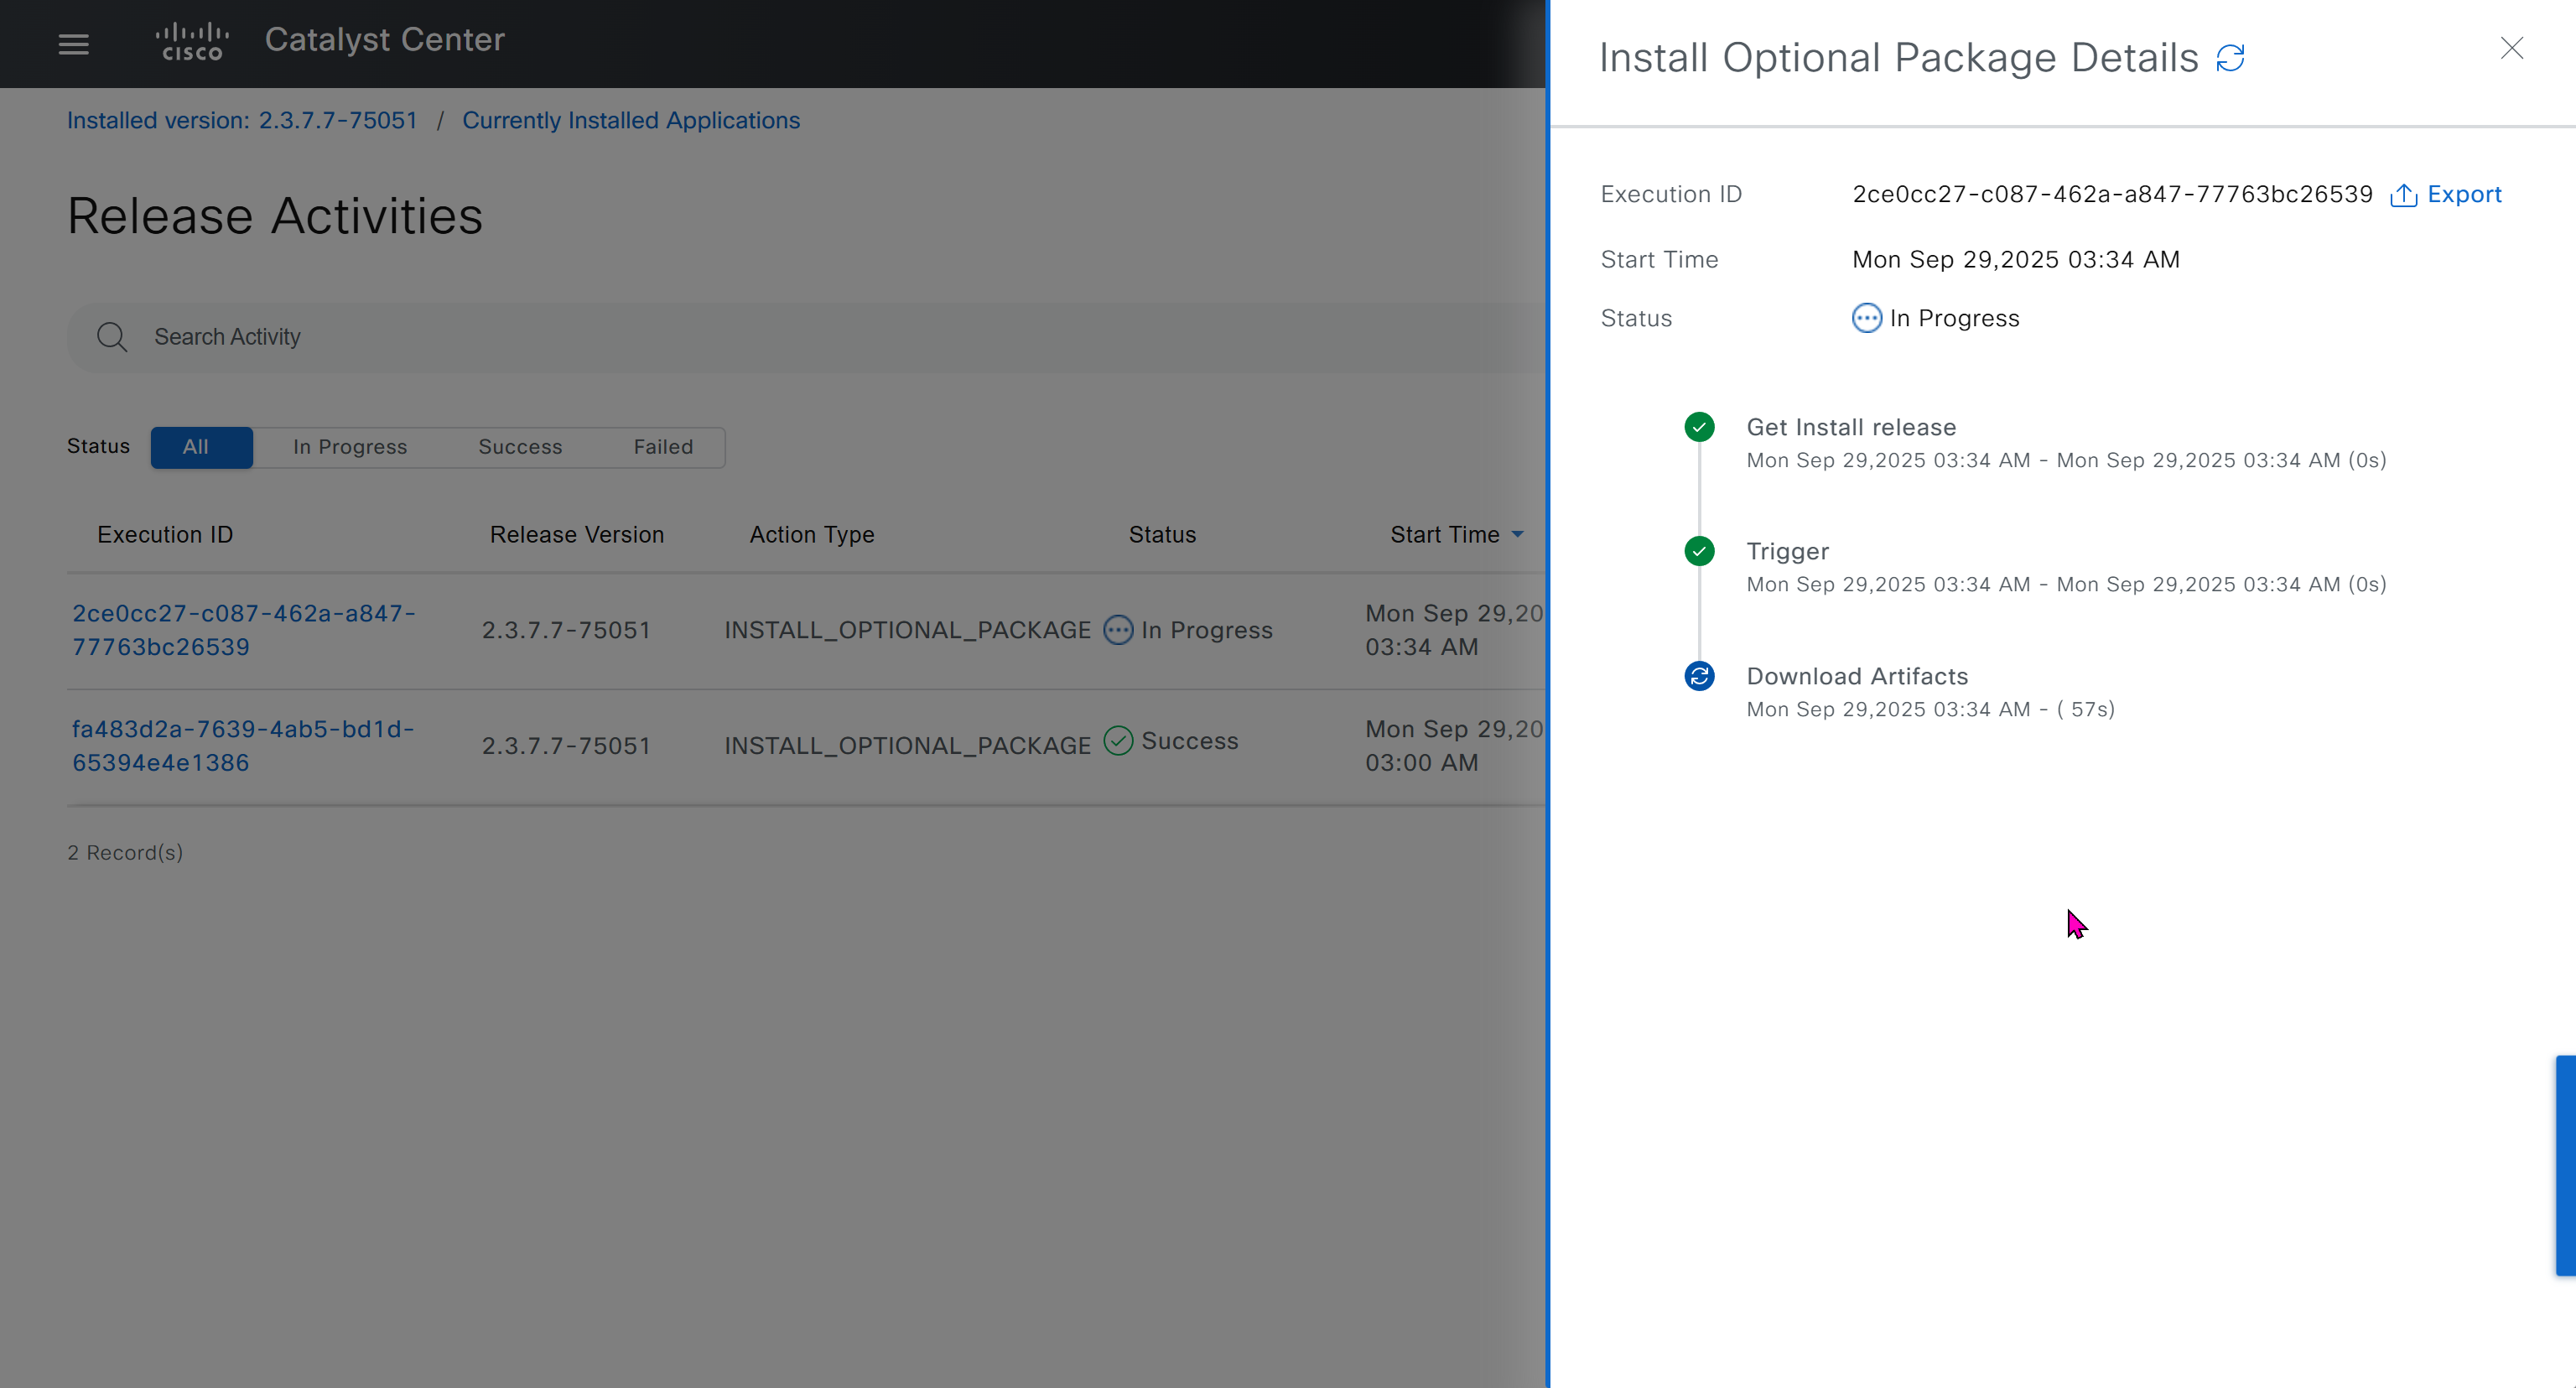
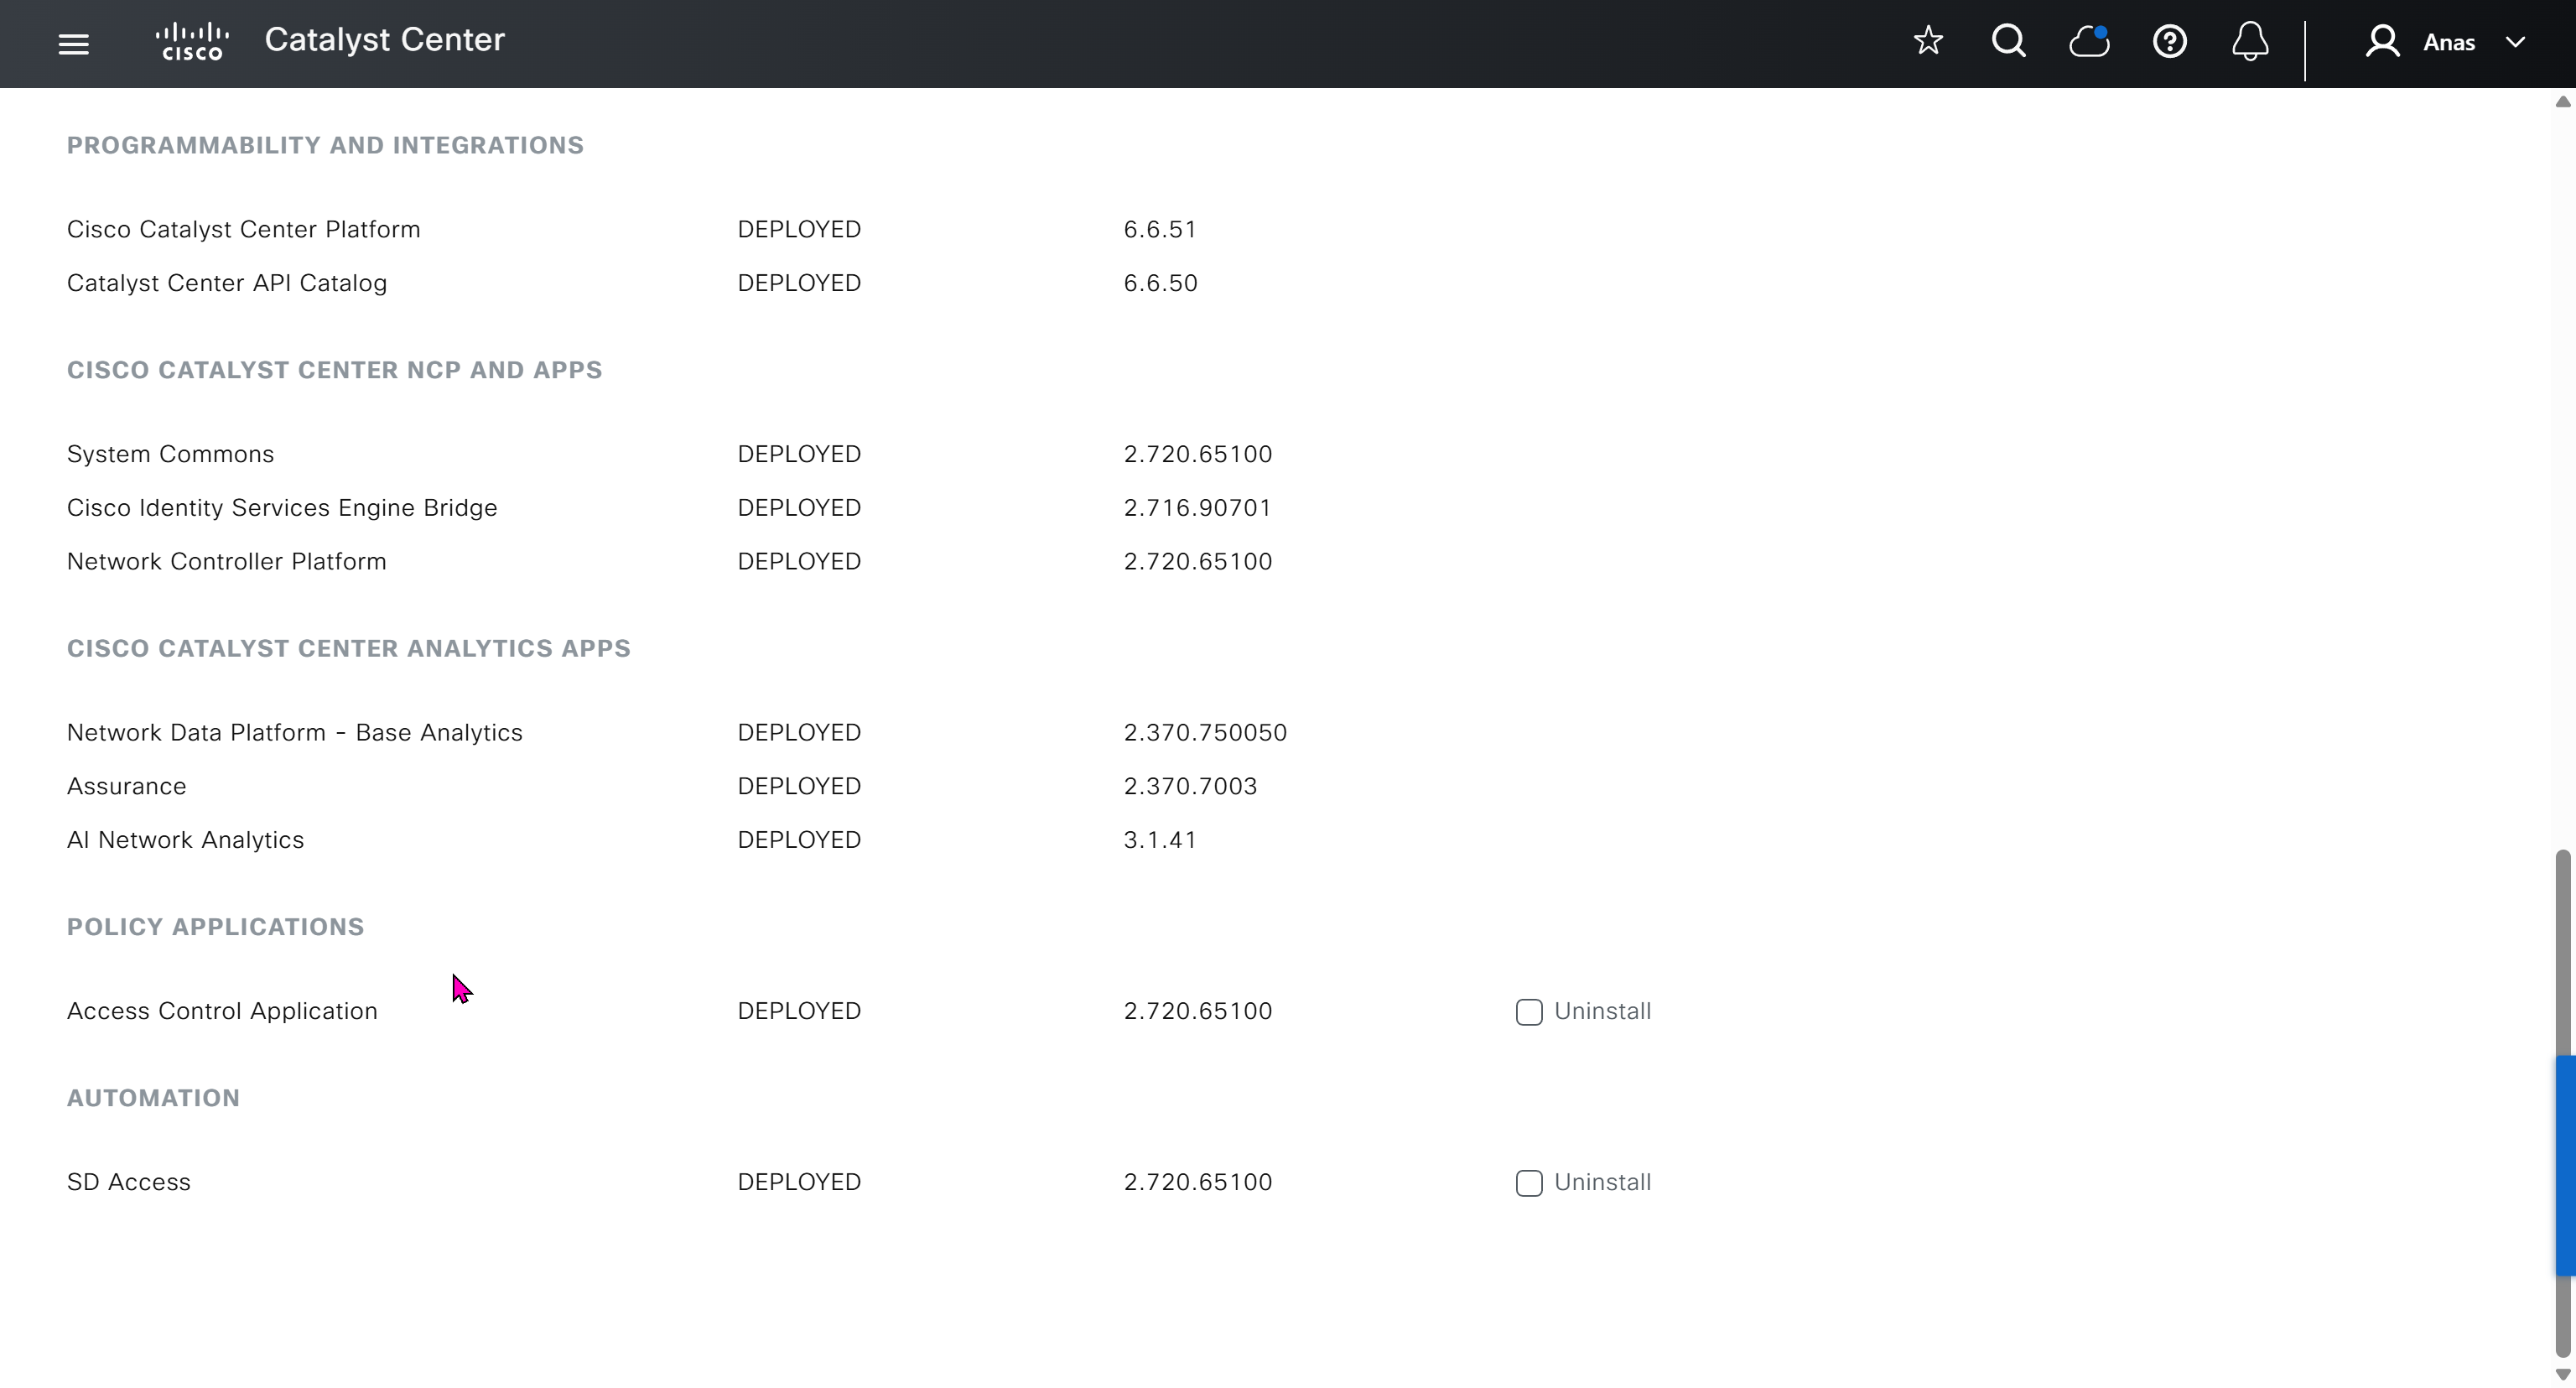
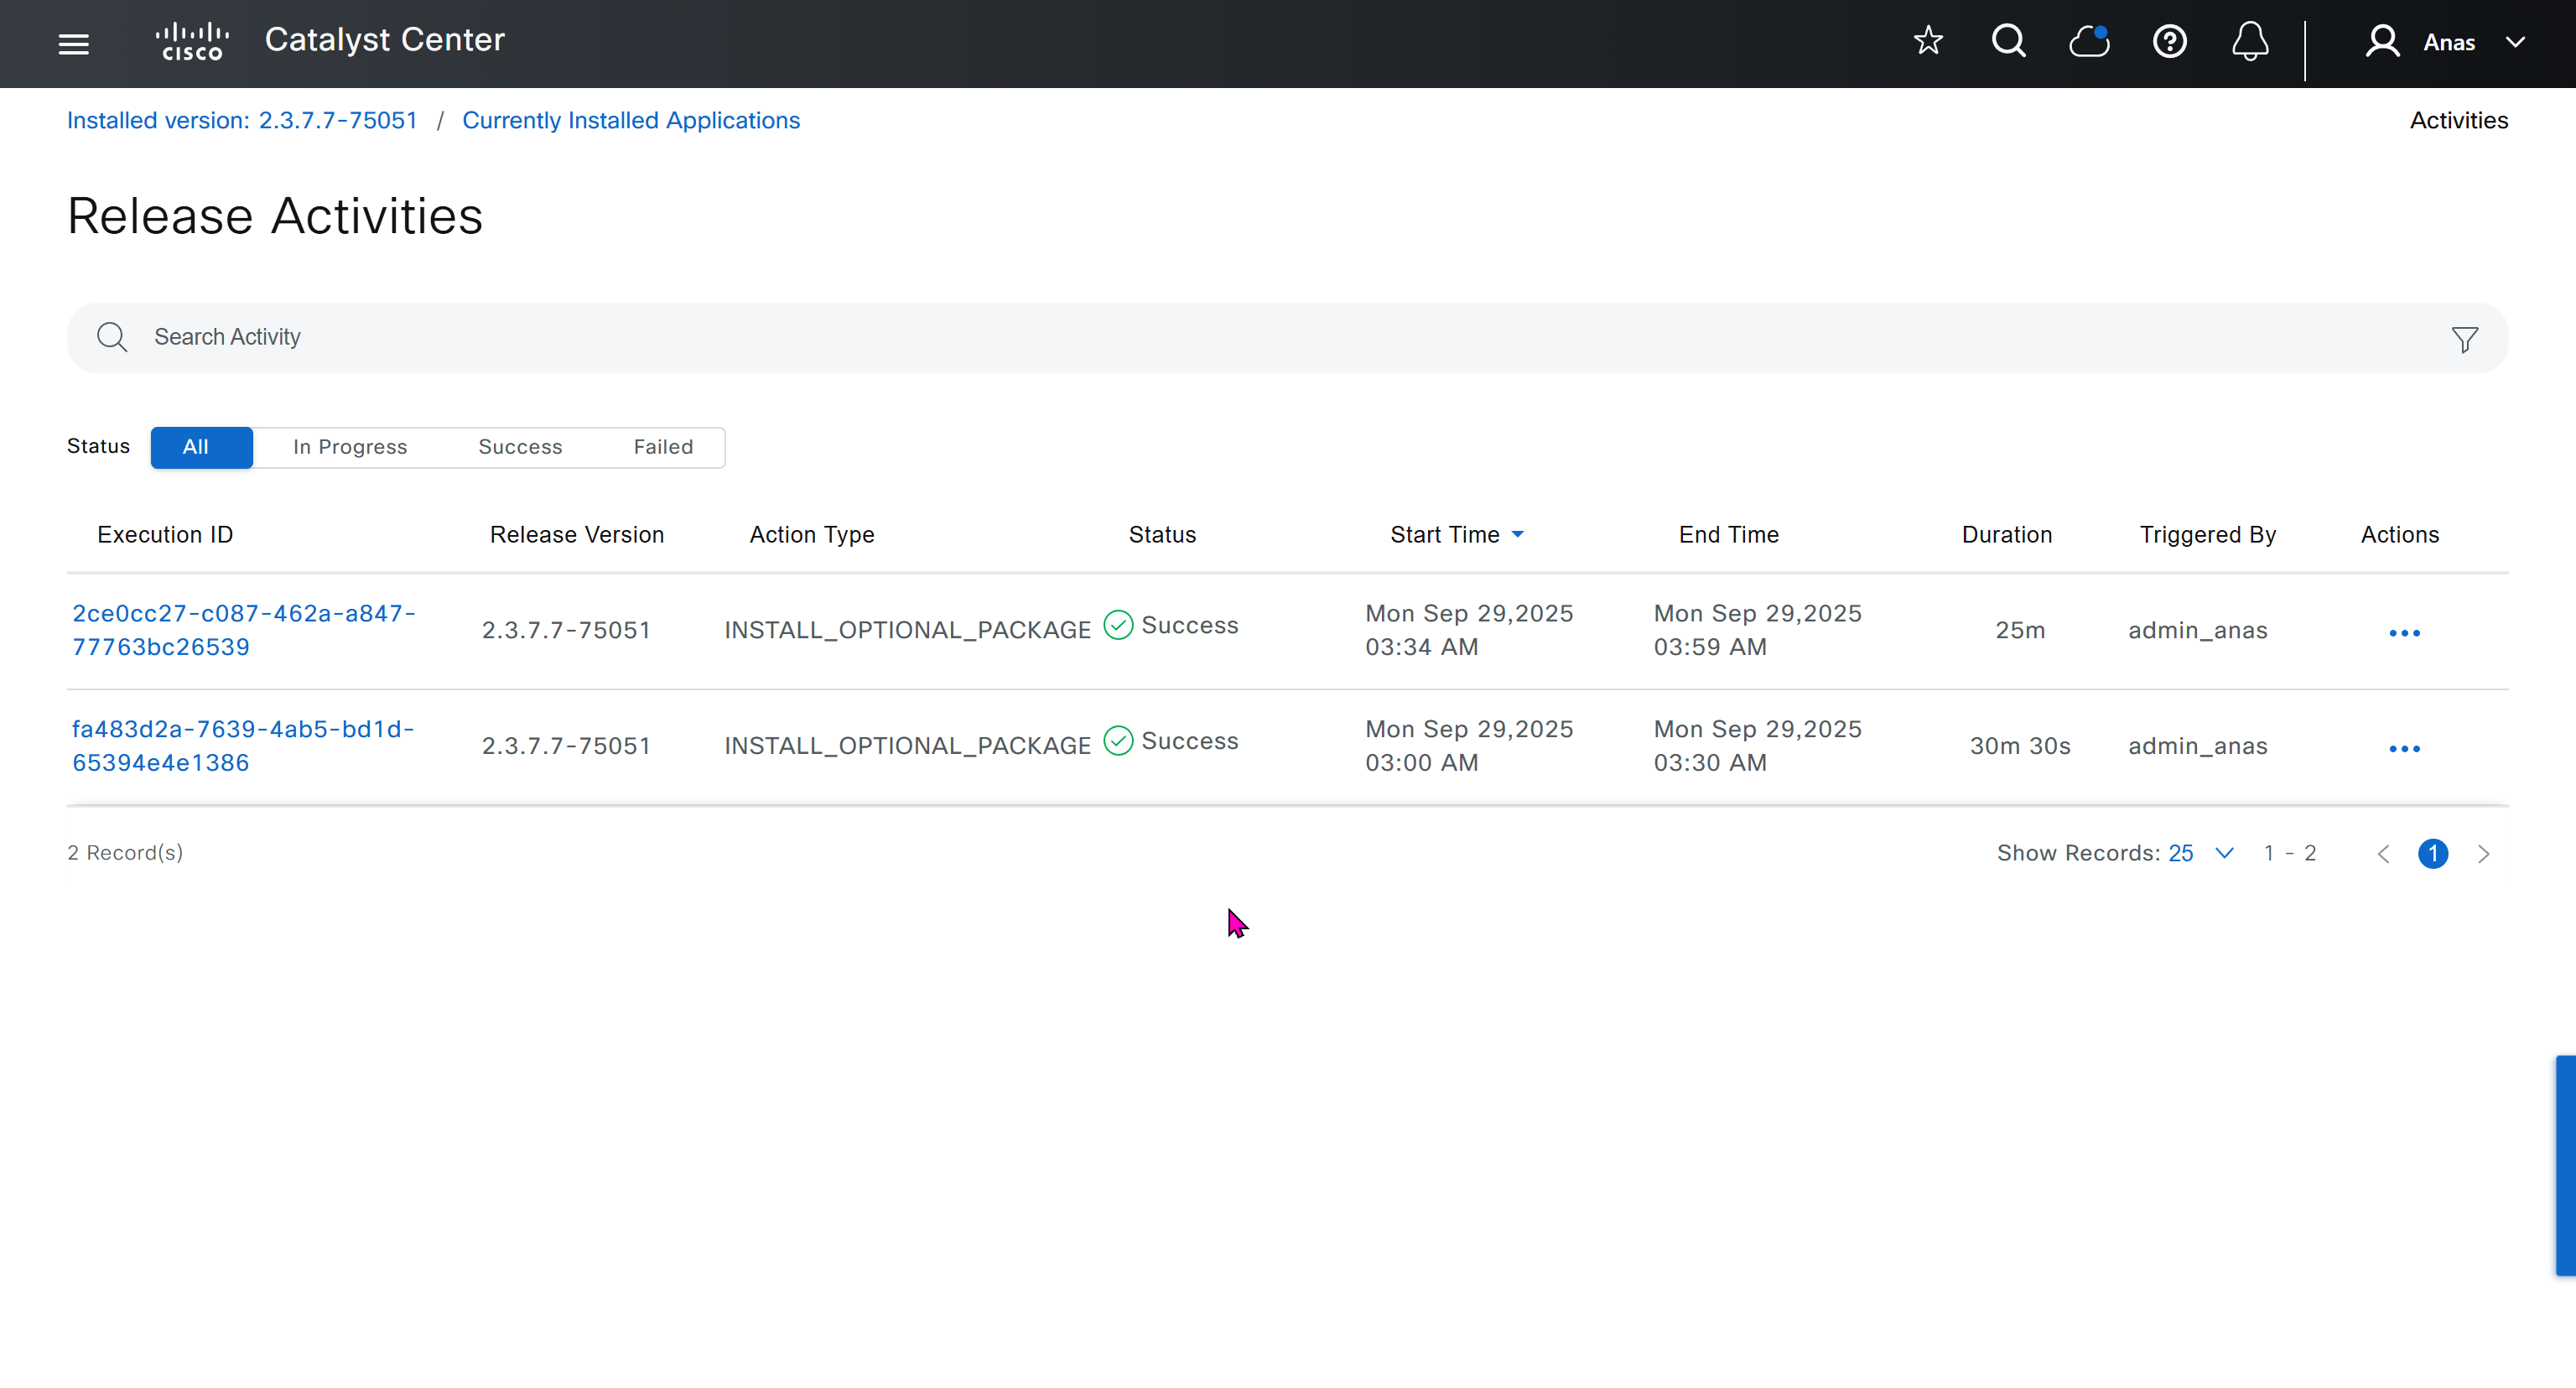
With new build make sure DNAC has internet access, go ahead and download the applications packages which are needed for SGT and SDA, Cisco has divided these features into applications or packages and with fresh install / build download these packages
- Download these packages
- Turn off the VM
- Take Snapshot with exact date and time
- Turn off time syncing of VM with ESXI
- ESXI add NTP server same as Windows Server
- Windows Server move back time on server when it is time to restore the VM
- When restore cut off internet access to DNAC


Here do not use personal email instead use email from company’s cco

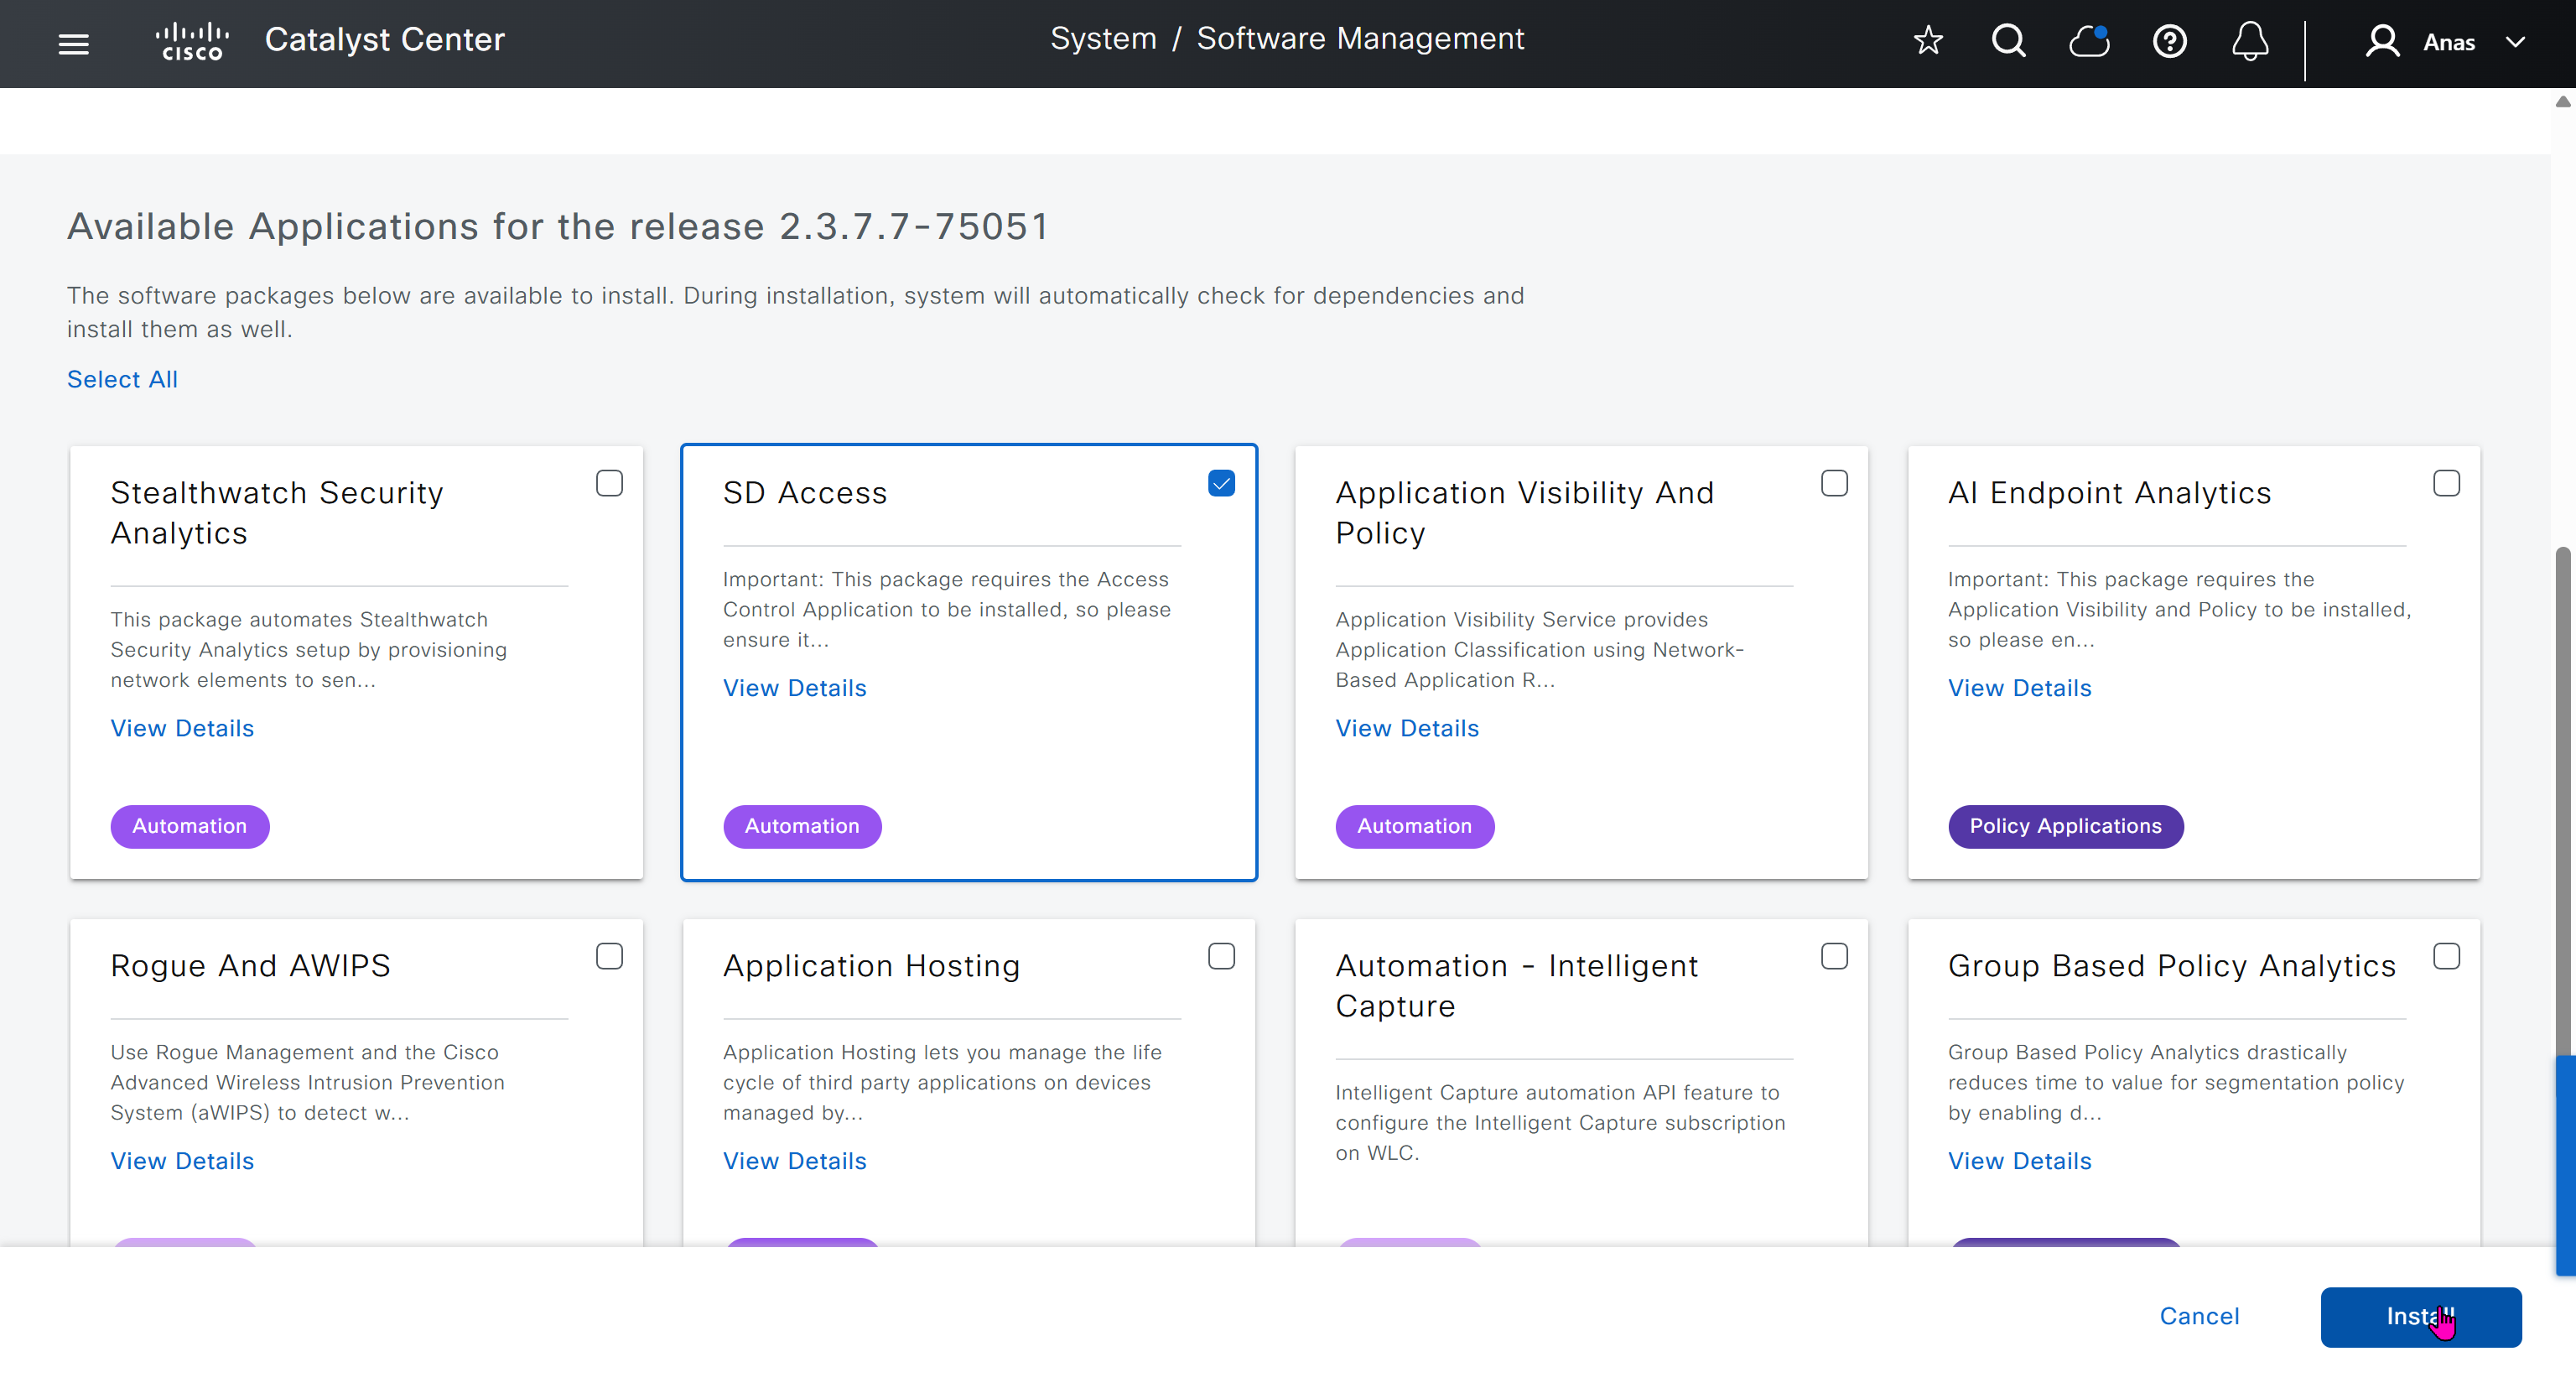
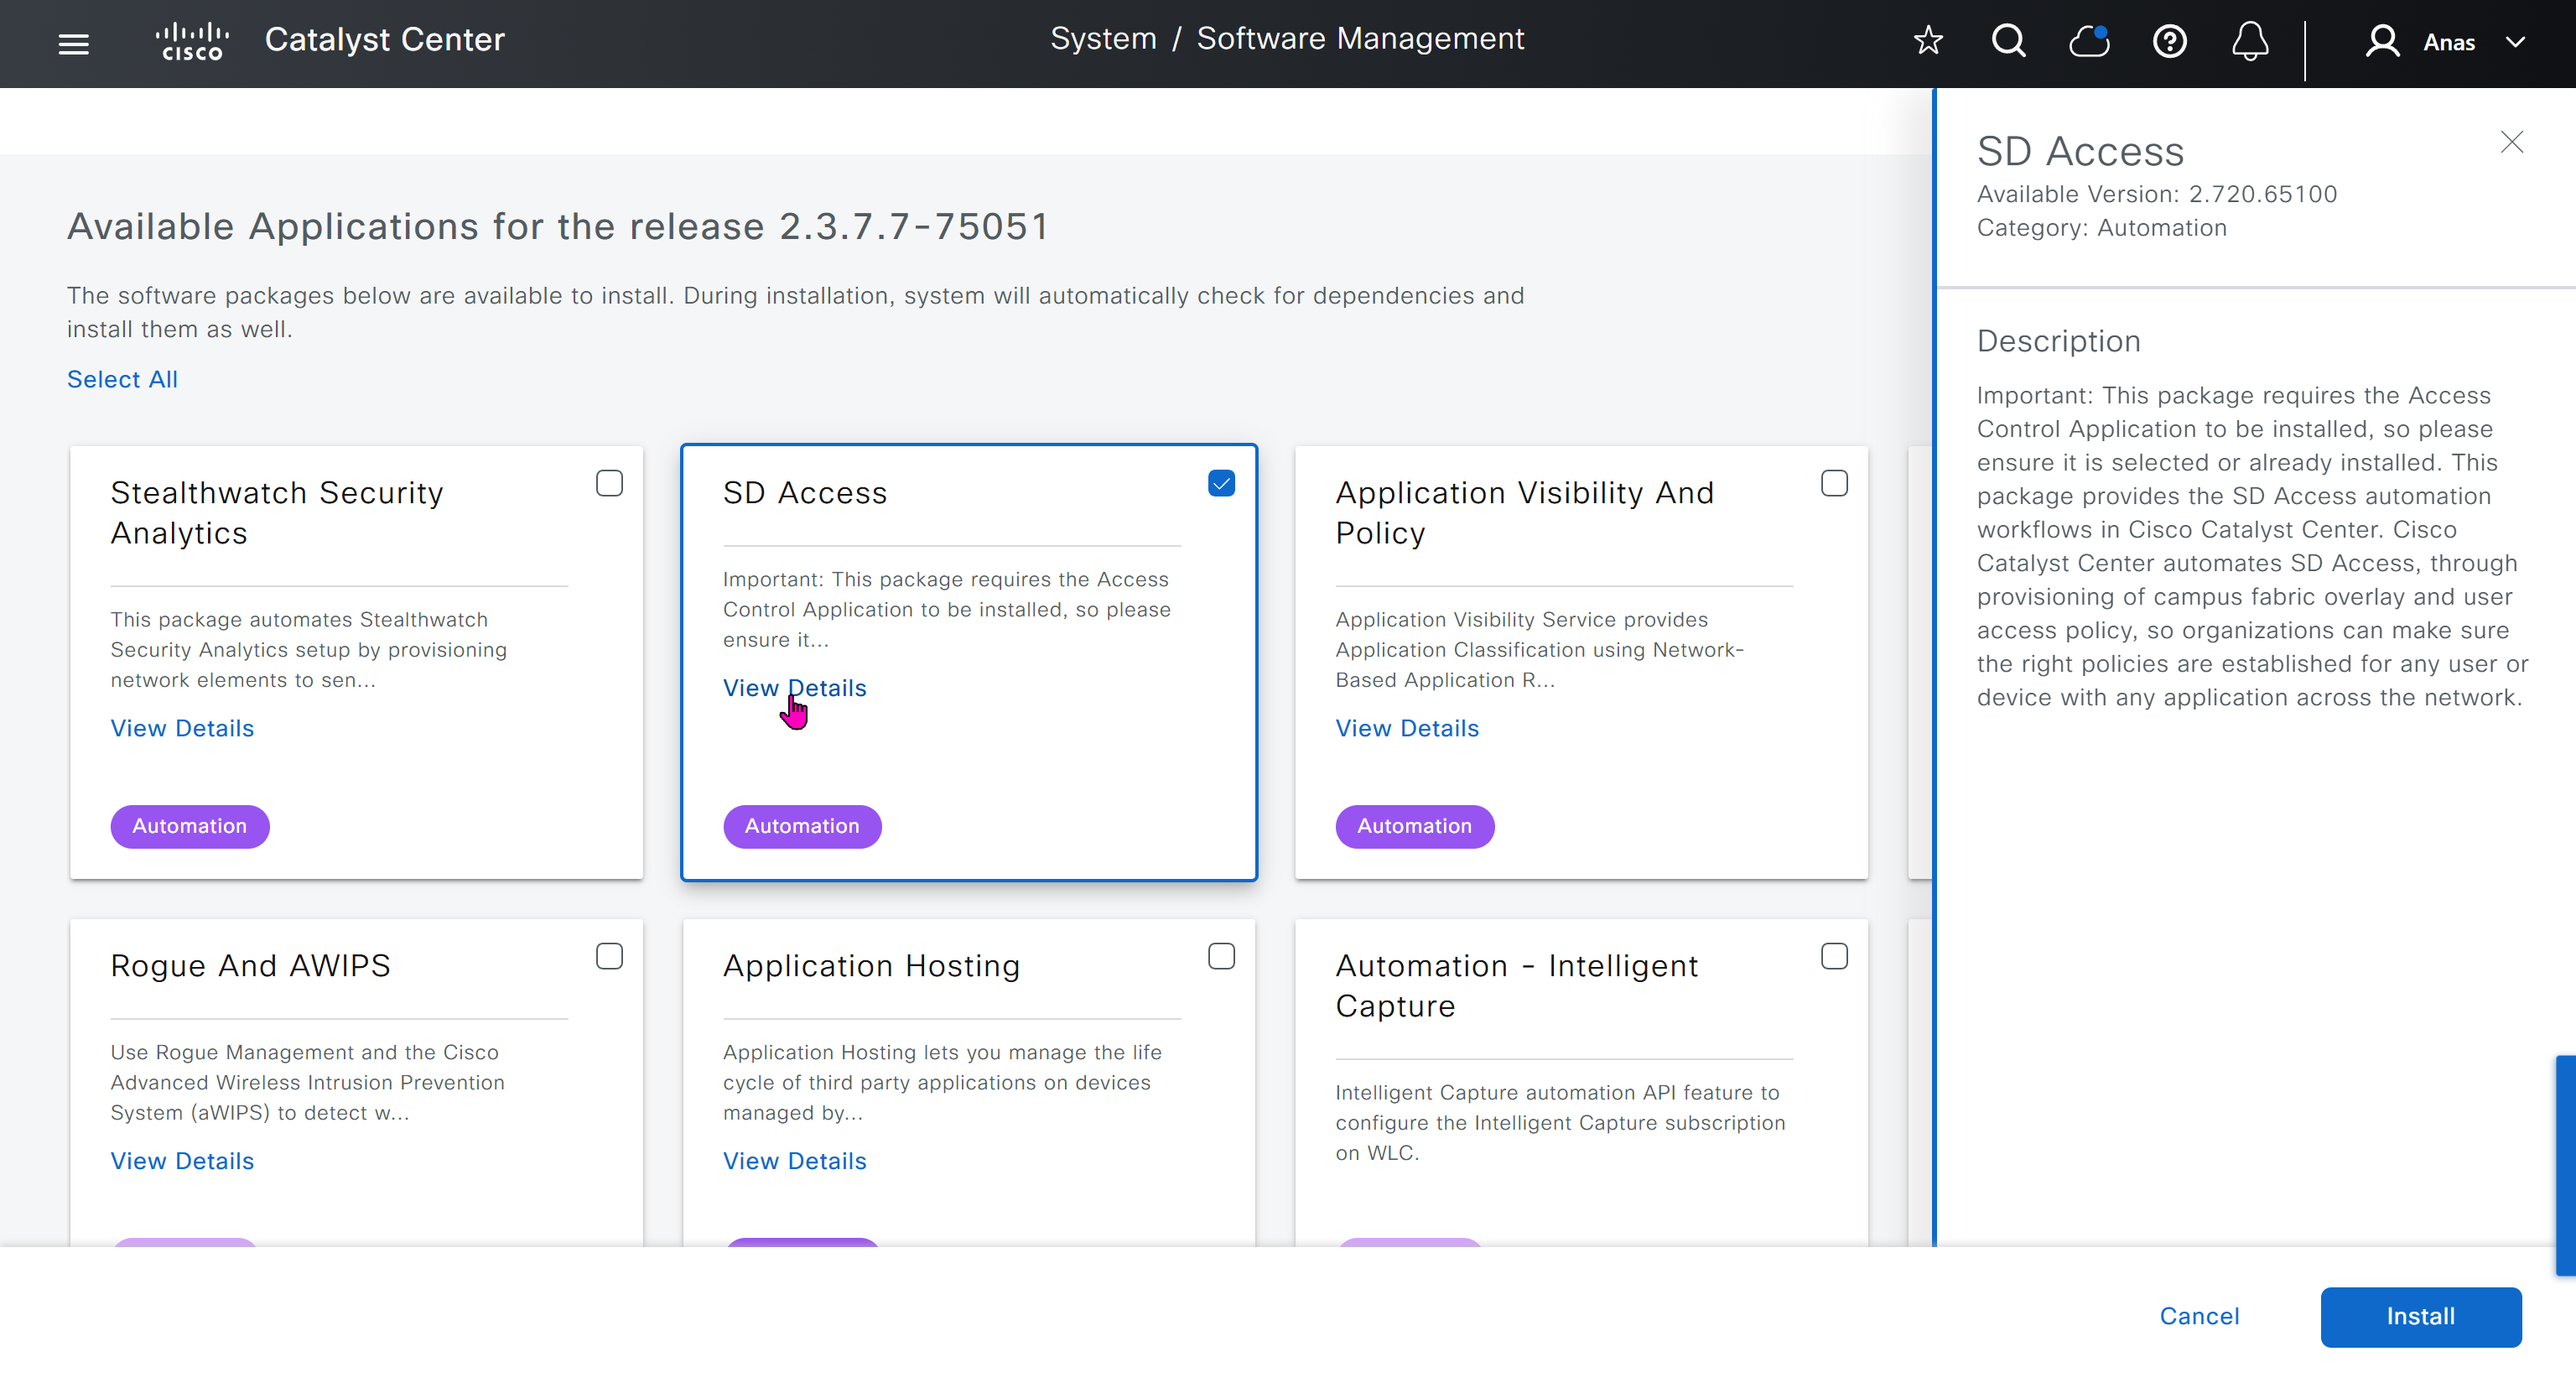


on next deployment also download below modules also
Sensor Assurance
AI Endpoint Analytics
Application Visibility and Policy (EasyQoS)
Only after these steps, add certificate to DNAC
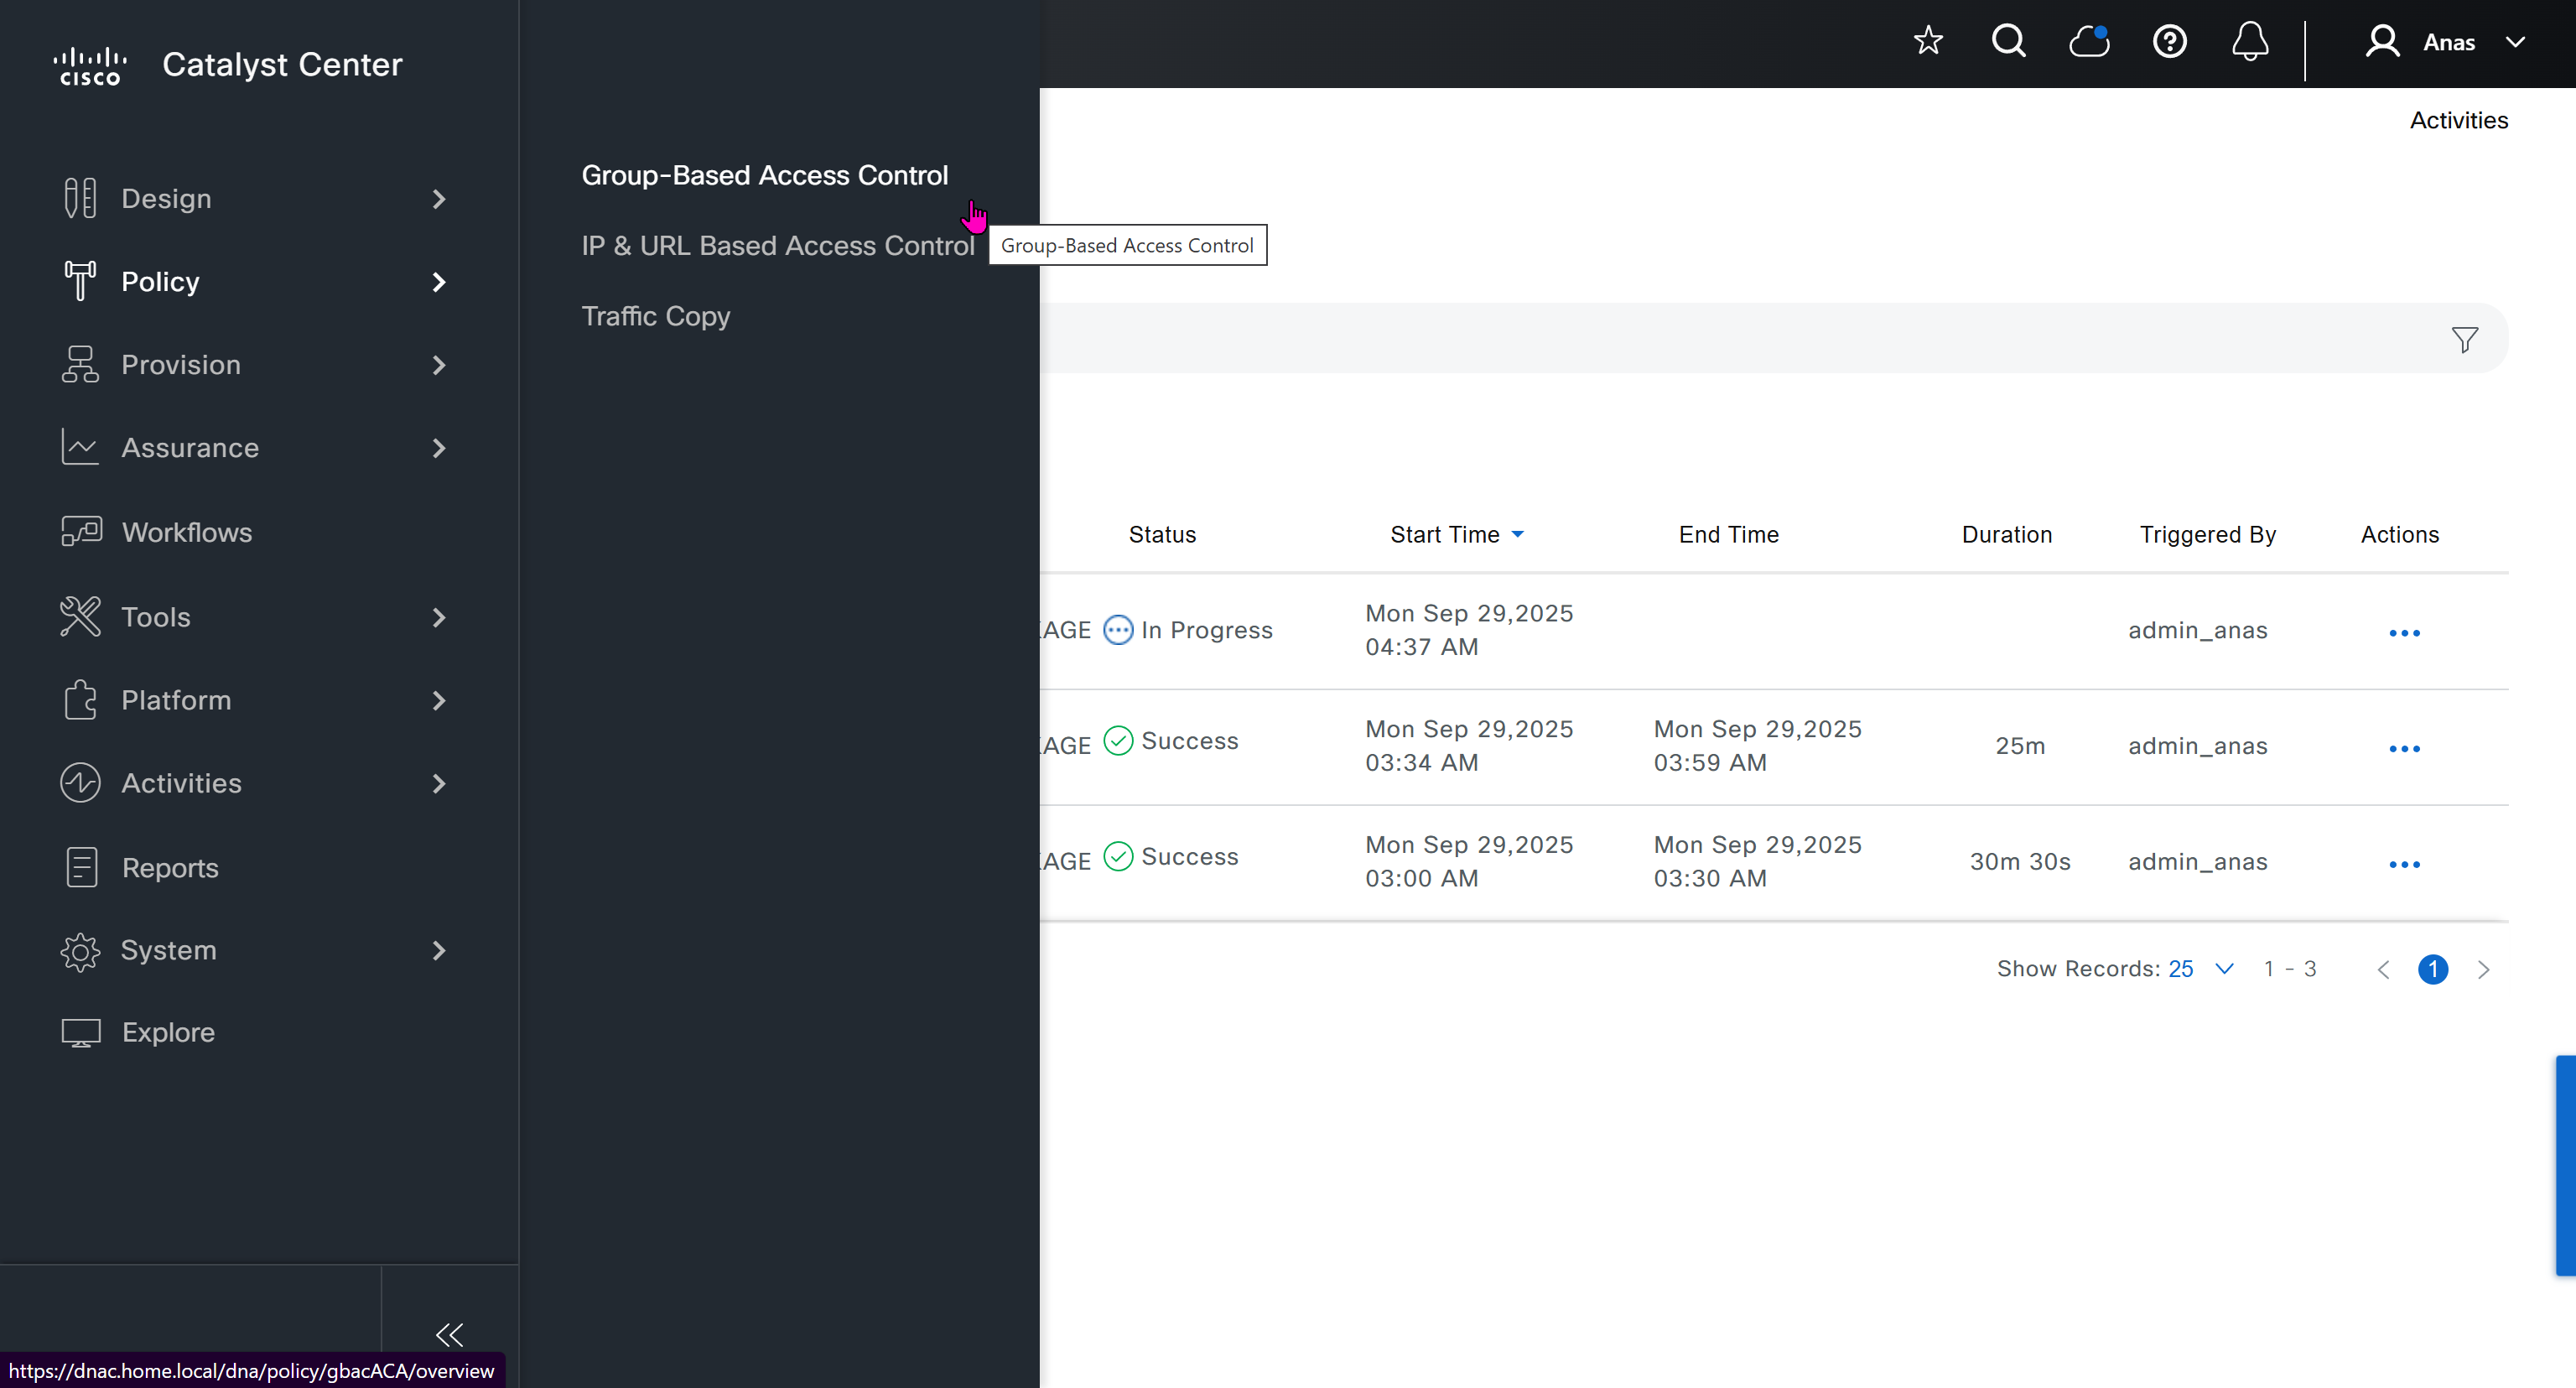
Further configuration and ISE integration
Graceful shutdown DNAC
! Cat center shutdown
$ shutdown

! VYOS shutdown
sudo bash
shutdown -h now

! vcenter shutdown
Gracefully shutdown from esxi
SDA Links
https://www.cisco.com/c/en/us/td/docs/cloud-systems-management/network-automation-and-management/catalyst-center/catalyst-center-va/esxi/2-3-7/deployment-guide/b_cisco_catalyst_center_237x_on_esxi_deployment_guide.html#configure-a-virtual-appliance-using-the-interactive-cc-va-launcher
https://www.cisco.com/c/en/us/td/docs/solutions/CVD/Campus/SD-Access-Distributed-Campus-Deployment-Guide-2019JUL.html
https://www.cisco.com/c/dam/en/us/td/docs/solutions/CVD/Campus/sda-fabric-deploy-2019oct.pdf
https://www.cisco.com/c/en/us/td/docs/solutions/CVD/Campus/cisco-sda-design-guide.html
https://www.cisco.com/c/dam/en/us/td/docs/solutions/CVD/Campus/CVD-Software-Defined-Access-Segmentation-Design-Guide-2018MAY.pdf